
Where to Store a Stand Mixer in a Small Kitchen: 15 Clever Ideas
A stand mixer weighs 18 to 37 pounds and eats a square foot of counter. This guide covers 15 storage spots for a small kitchen, plus the two questions, how often you bake and how heavy your mixer is, that tell you which one is right for you.
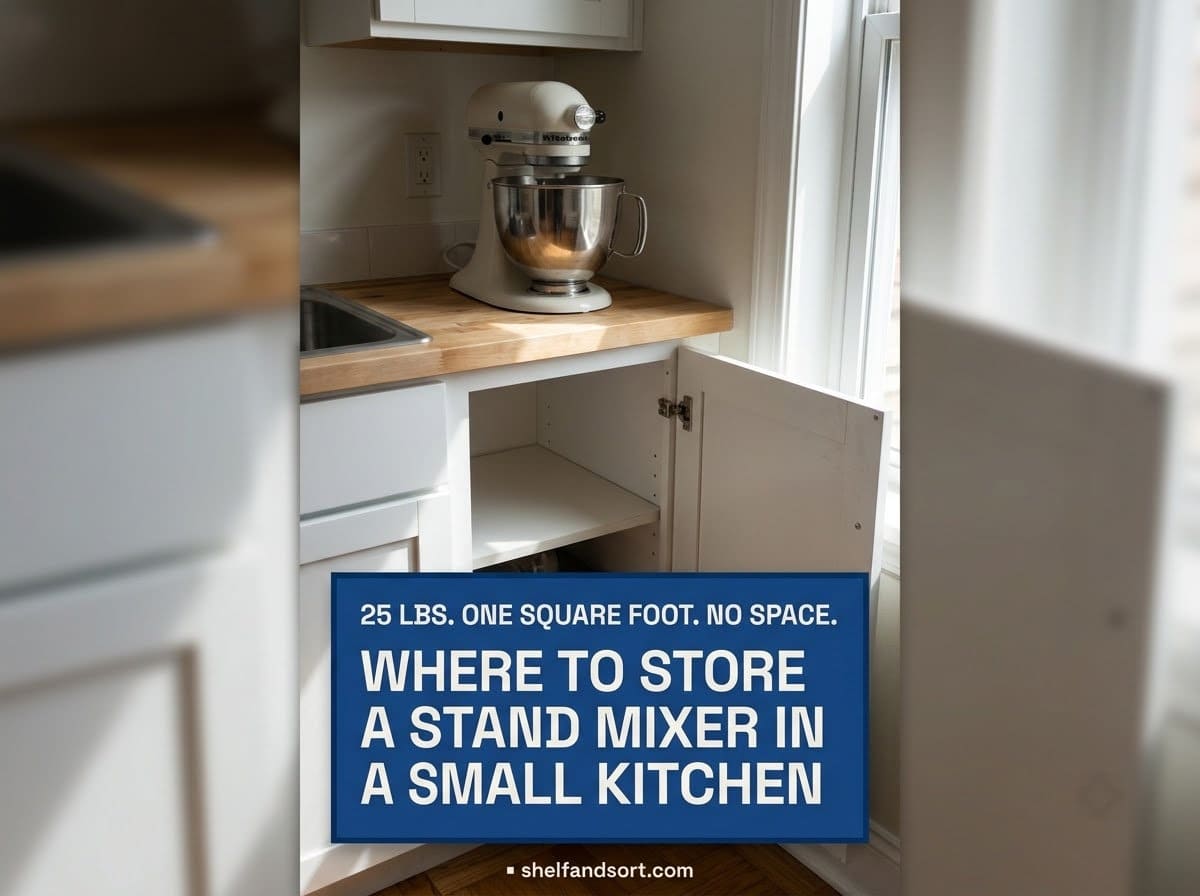
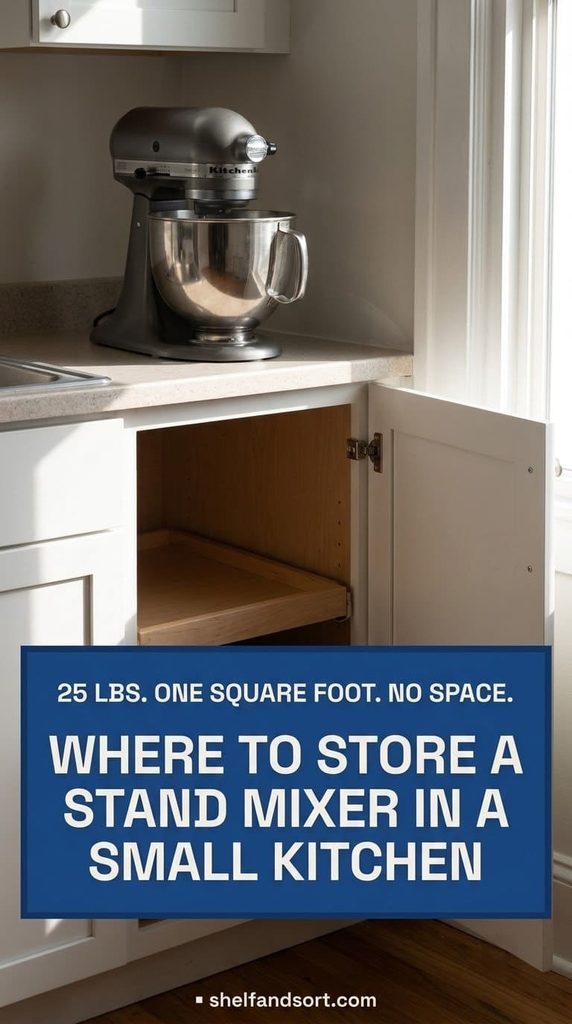
The best place to store a stand mixer in a small kitchen depends on two things: how often you bake and how much the mixer weighs. If you bake weekly, keep it on the counter, pushed back under the upper cabinets or on an appliance slider so it hides against the backsplash.
If you bake monthly or less, store it in a lower cabinet at the front, in a deep drawer with a non-slip mat, or on a spring-assisted mixer lift that raises it to counter height with no lifting.
Tilt-head models run about 18 to 26 pounds and a strong person can move them. Bowl-lift models run 29 to 37 pounds and really want a lift, a drawer, or a low shelf so you are not hauling that weight up and down.
Whatever spot you pick, store it upright, cover it, and keep the attachments in the same place.
Two questions to answer before you pick a spot
Every “where to store a stand mixer” list skips the part that actually matters. Before you look at ideas, answer these.
How often do you really bake? Not aspirationally. If the answer is once a week or more, the mixer should live on or near the counter, because hauling 25 pounds out of a low cabinet every few days gets old fast and you will stop baking. If it is once a month or less, it can go somewhere out of sight.
How much does your mixer weigh? A KitchenAid Artisan tilt-head is around 26 pounds, the Mini is about 18, and bowl-lift models run 29 to 37 pounds according to KitchenAid’s own comparison. Weigh yours on a bathroom scale. That number decides whether a high shelf is even an option.


KitchenAid’s storage guidance adds one rule that applies everywhere: store the mixer resting upright, never on its side. With those three things settled, here are the 15 spots.
The 15 storage ideas
1. Leave it on the counter, pushed back under the uppers
If you bake weekly, stop fighting it. The mixer earns its counter spot.
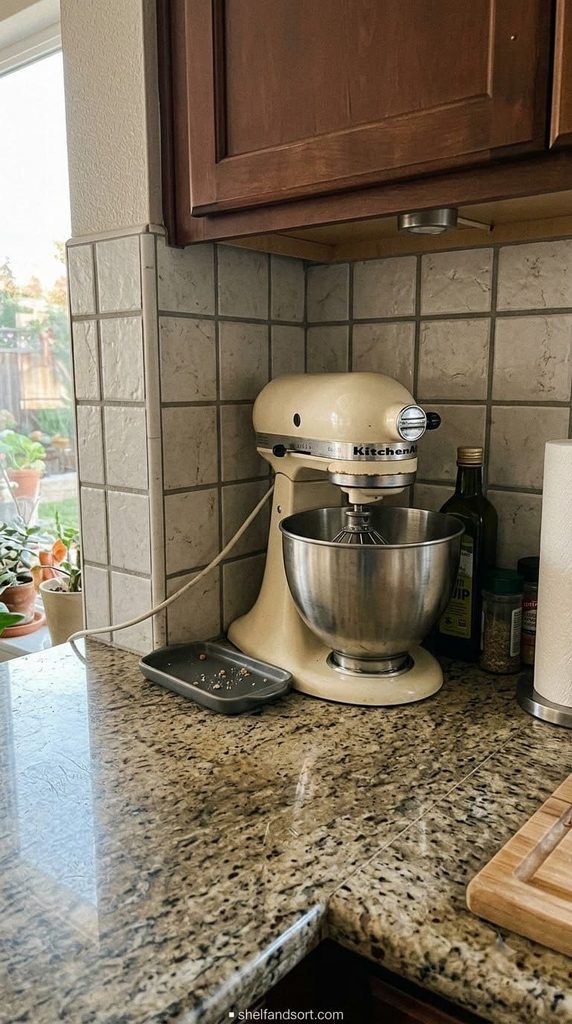
Push it all the way back so it tucks under the upper cabinets, which usually have 15 to 18 inches of clearance above the counter. A tilt-head fits under standard uppers with the head down. Measure your bowl-lift with the handle up before you assume it clears.
The mistake is leaving it mid-counter where it blocks prep space. Back corner, against the backsplash, is the move. Put a small tray under it so you can slide the whole thing forward to use it.
2. Put it on an appliance slider so it hides and glides
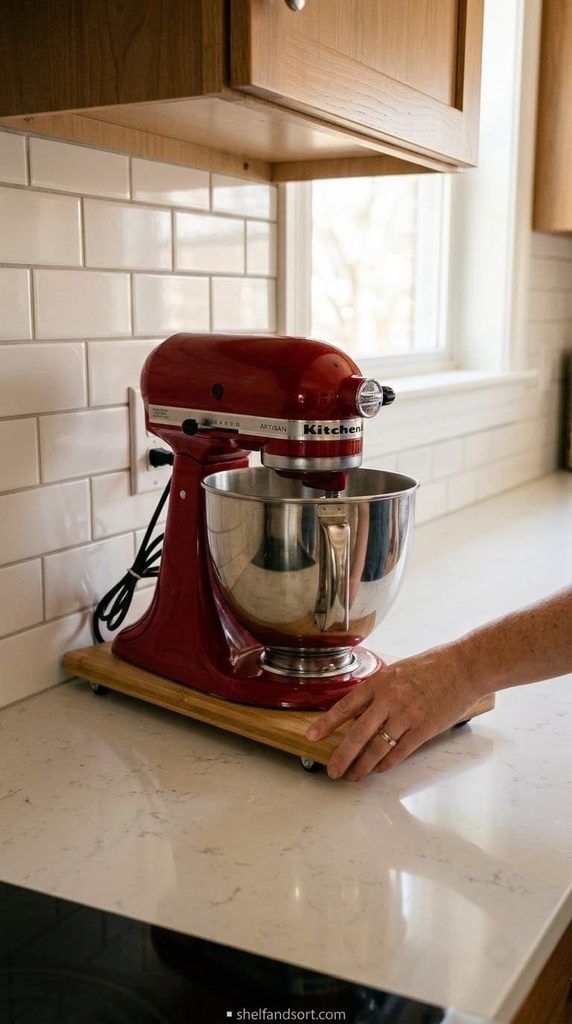
A slider is a low tray on felt feet or wheels that lets you shove a 25-pound mixer back against the wall with one hand, then pull it forward to use.
Get one sized to your mixer’s base. Bamboo and acrylic both work. Slide it back after each use so the mixer sits flush against the backsplash and the counter reads as clear.
The mistake is dragging the mixer directly across the counter, which scratches the surface and the mixer feet. The slider protects both and cuts the effort to almost nothing.
Renting? This is the best option, since it needs zero installation and moves with you.

This is idea 4, the purpose-built solution. The spring-assisted arm raises a mixer up to 60 pounds from a base cabinet to counter height, and the soft-close lowers it back with no drop. It fits base cabinets with 15-inch openings and about 24-inch depth, and the tension adjusts in three settings so you can tune it to a light tilt-head or a heavy bowl-lift. It is the most expensive option here by far, but for a weekly baker who does not want to lift 30 pounds, it is the one that gets used.
Shop NowThis post contains affiliate links. We may earn a commission on qualifying purchases at no extra cost to you.
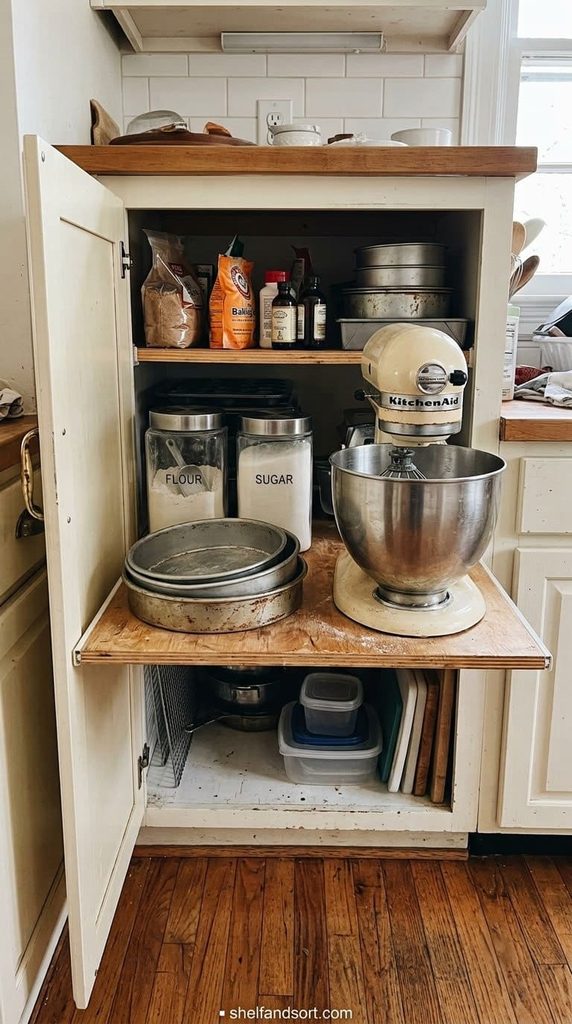
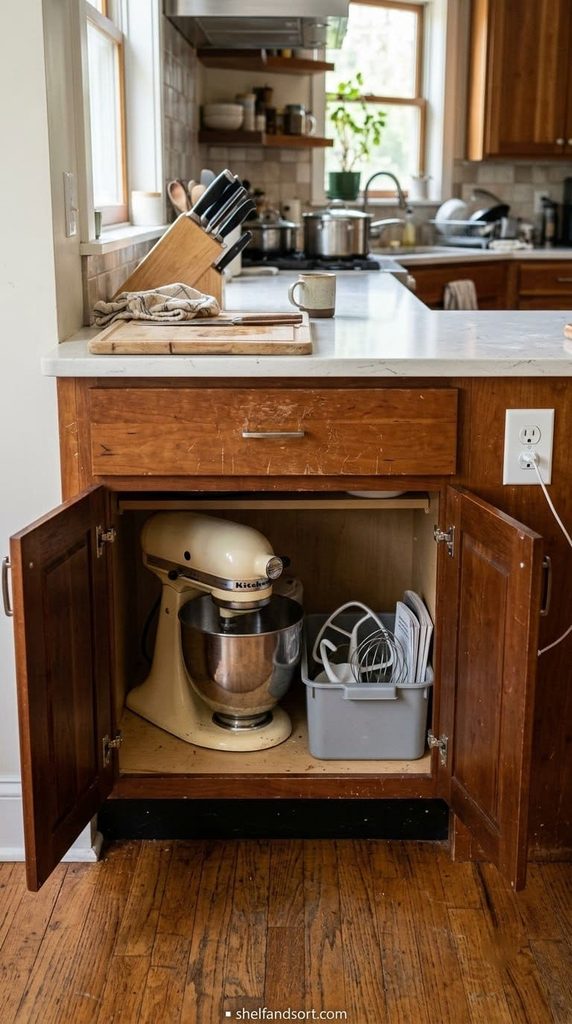
3. Give it a dedicated lower cabinet as a baking cabinet
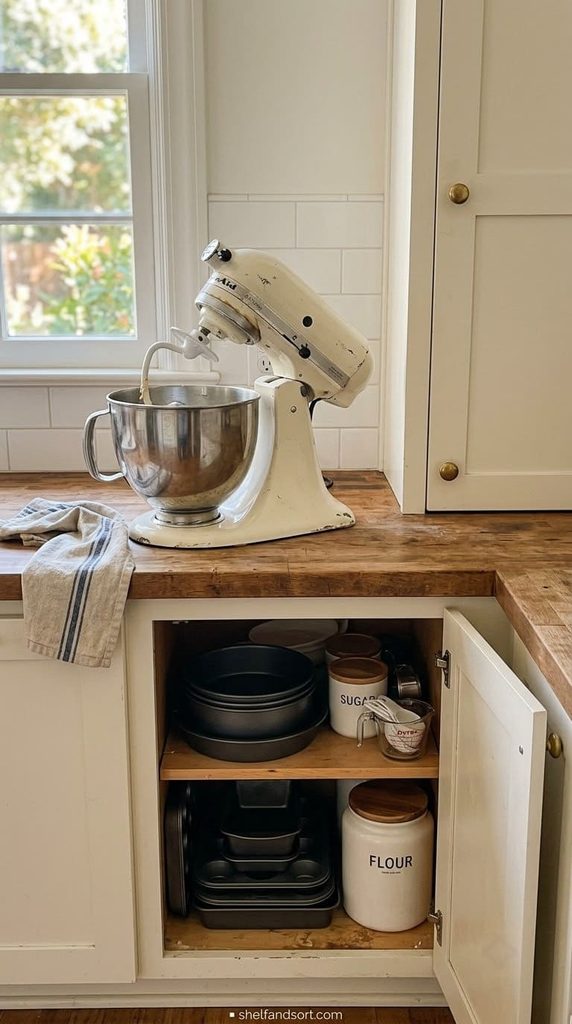
Clear one lower cabinet near where you bake and make it the mixer’s home, with the flour, sugar, and baking pans stored around it.
Store the mixer at the very front of the cabinet, not the back, so you slide it out rather than crawl in after it. A pull-out cabinet shelf or a sturdy tray under it makes this a two-second move.
The mistake is a deep cabinet where the mixer lives behind the stockpots. You will not use it. KitchenAid recommends a designated baking cabinet exactly so everything for one task sits together.
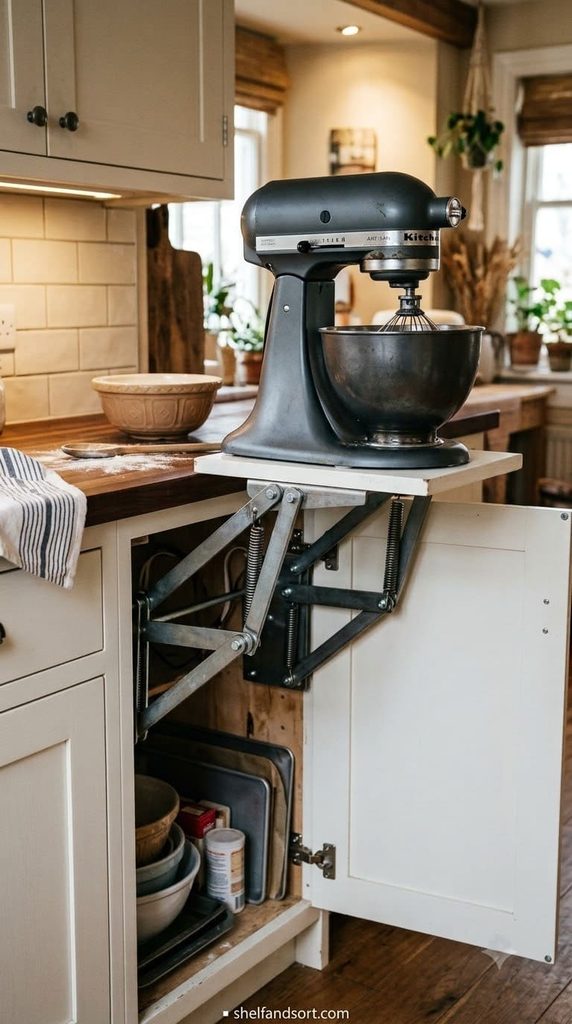
4. Install a spring-assisted mixer lift in a base cabinet
This is the purpose-built answer. A mixer lift is hardware that mounts inside a full-height base cabinet. You open the door, pull, and a spring or gas arm swings the mixer up to counter height. Push down and a soft-close lowers it back in.
Heavy-duty models handle up to 60 pounds and have adjustable tension for your mixer’s weight. They fit cabinets with 12 to 21-inch openings and about 24-inch depth.
The mistake is buying a light-rated lift for a bowl-lift mixer. Match the rated capacity to your weighed mixer plus the bowl and attachments.
This is the priciest option, around $150 to $250 for the hardware, but for a serious baker with a bad back it is the one that actually gets used.
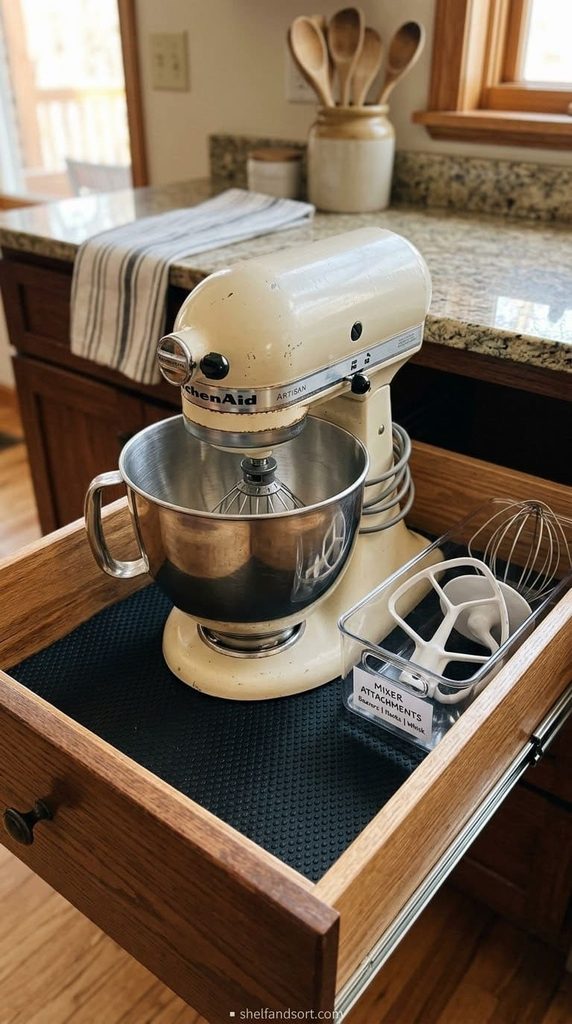
5. Store it in a deep drawer with a non-slip mat
A deep pot drawer near your baking zone is one of the best spots, since you pull the drawer out and lift straight up instead of bending into a dark cabinet.
Line the drawer with a thick non-slip mat. Professional organizer Meaghan Kessman, quoted in a Livingetc guide to stand mixer storage, notes that a lower drawer with a non-slip liner keeps the mixer accessible and out of sight. Arabella Drake of Ankersen Drake Home Organisation adds that the anti-slip mat stops the mixer sliding when you open and close the drawer.
The mistake is a drawer that is not rated for the weight. Check that the slides handle 30-plus pounds before you load a bowl-lift model.
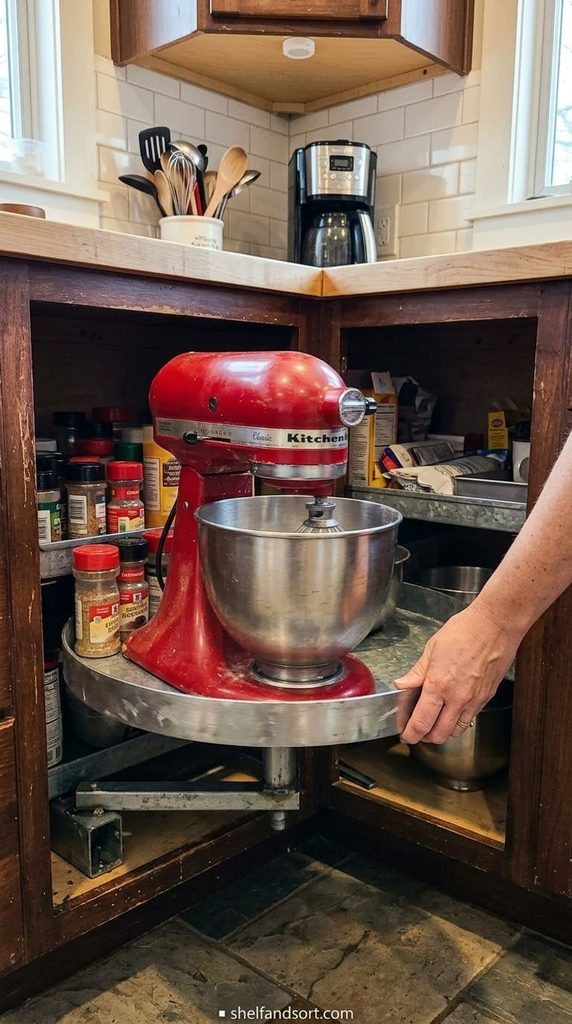
6. Use a corner base cabinet with a large lazy Susan
The blind corner cabinet is dead space in most kitchens. A large heavy-duty turntable turns it into a mixer garage.
Set the mixer on the turntable, spin it to the back when you are done, spin it forward when you need it. No reaching into the dark corner.
The mistake is a flimsy turntable that sags under 25 pounds. Get a steel or heavy-duty one rated for appliance weight, and make sure the cabinet opening is wide enough to lift the mixer straight out.
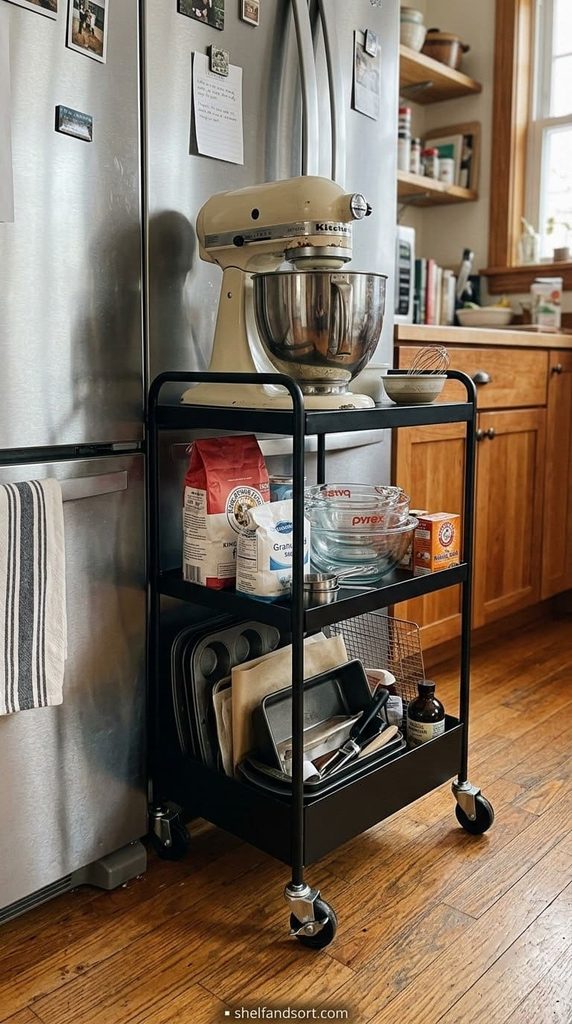
7. Park it on a rolling cart that tucks into a gap
If you have a 12 to 18-inch gap beside the fridge or at the end of a counter run, a narrow rolling cart holds the mixer on top and the baking supplies below.
Roll it to your work area, bake, roll it back. The cart doubles as extra prep surface. Lock the casters while you mix so it does not travel.
The mistake is a cart too tall to use the mixer on, or too wide for the gap. Match the cart’s top height to a comfortable working height and measure the gap first.
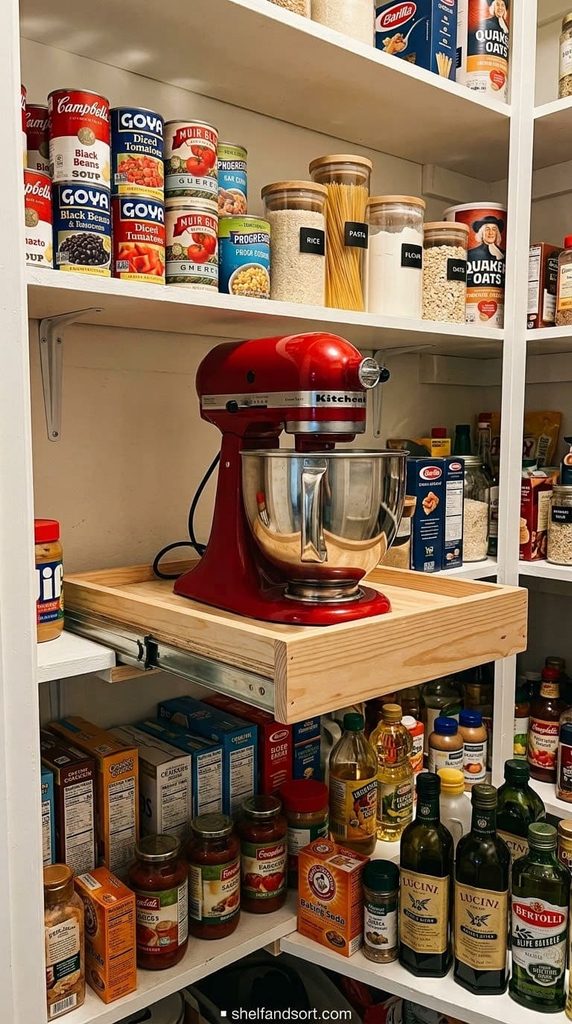
8. Give it the pantry shelf at hip-to-chest height
If your pantry has room, a reinforced shelf between hip and chest height is a safe mixer spot. That height means no floor bending and no overhead lifting.
Put it on a pull-out shelf or a tray so you slide it out rather than lift it off a fixed shelf. Reinforce the shelf if it is wire or particleboard, since 25-plus pounds in one spot can sag or crack it over time.
The mistake is the top pantry shelf. Lifting a heavy mixer down from above your head is how it gets dropped or how you get hurt.
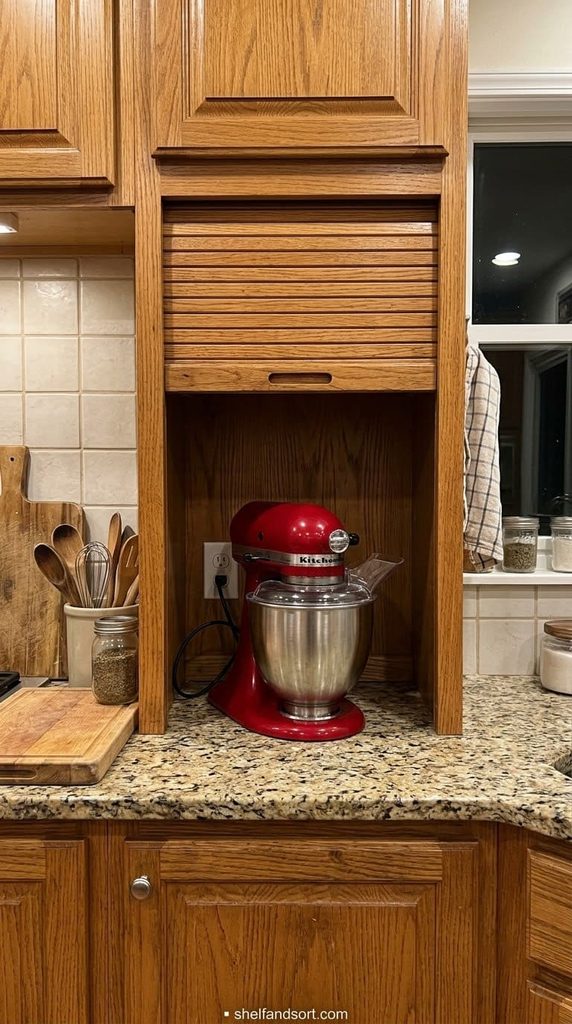
9. Build or buy an appliance garage on the counter
An appliance garage is a small cabinet that sits on the counter with a roll-up or hinged door. The mixer lives inside, plugged in and ready, hidden behind the door.
You can buy a freestanding one or have a cabinet maker build one into a corner. It keeps the mixer at working height with zero lifting, which is its big advantage over any low-cabinet option.
The mistake is an appliance garage too shallow for the mixer with the head tilted back. Measure the mixer at its tallest and deepest, then add two inches.
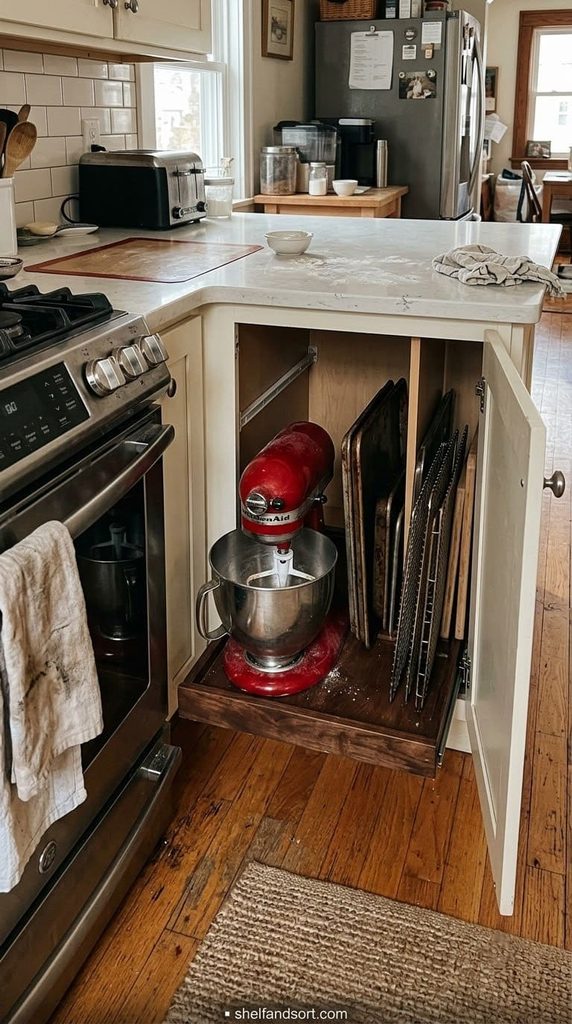
10. Claim the end cabinet next to the oven
The cabinet at the end of a run, right by the oven, is prime baking real estate. Everything you pull the mixer out for happens within a step of that spot.
Store the mixer low in that cabinet on a slide-out tray, with sheet pans and cooling racks filed vertically beside it. You have built a baking station without a renovation.
The mistake is using that prime cabinet for pots you use daily instead. The mixer plus baking gear has a stronger claim to the spot next to the oven.
11. Store it under a kitchen island or peninsula
If you have an island or peninsula with a base cabinet, that is often the deepest, most flexible storage in a small kitchen.
Put the mixer on the island side closest to an outlet and a clear stretch of counter. Island cabinets are usually deep enough for a mixer plus its bowl and a container of attachments.
The mistake is the far side of the island where there is no counter to set the mixer on when you lift it out. Store it under the working side.
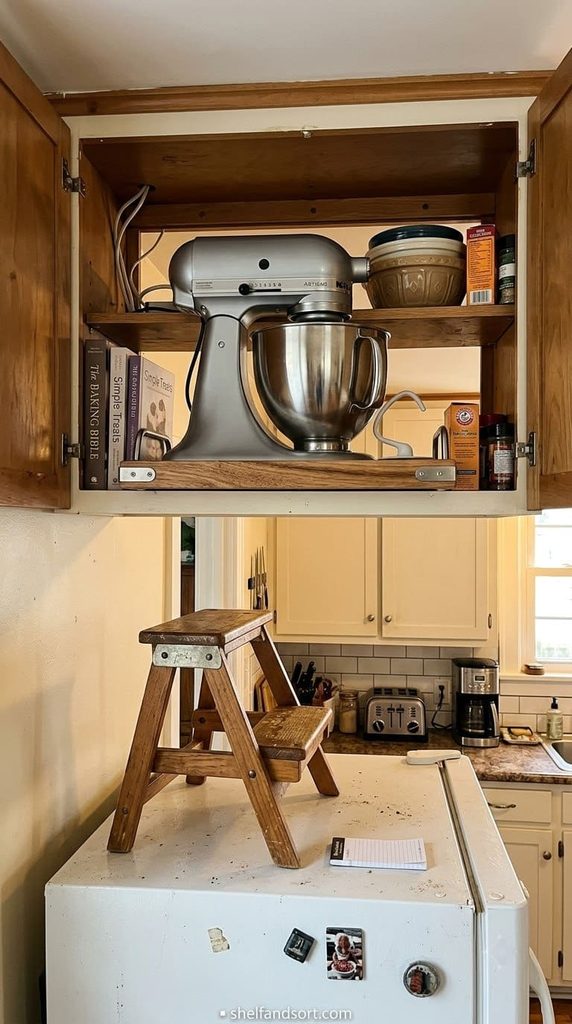
12. Use a cabinet above the fridge, only if the math works
The over-fridge cabinet is empty space, but it is a hard spot: high and deep. It only works for a light tilt-head mixer and a person who can safely lift it overhead.
If that is you, store it there on a handled tray or in a bin you can grip with both hands, front and center so you are not reaching past other things.
The mistake is putting a 32-pound bowl-lift mixer up there. That is a dropped mixer or a hurt shoulder waiting to happen. Weigh it first, and if there is any doubt, pick a lower spot.
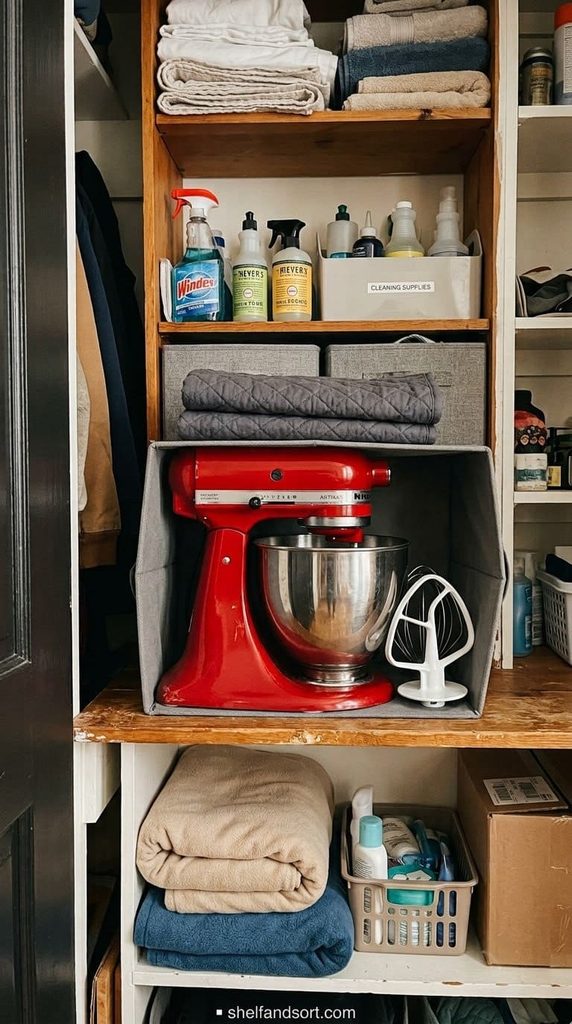
13. Move it out of the kitchen to a hall or pantry closet
If the kitchen is genuinely full and you bake a few times a year, the mixer does not need to be in the kitchen at all.
A shelf in a nearby hall closet, a butler’s pantry, or a dining room sideboard works. Store it in a bin or with a cover so it does not collect dust between uses. Keep the bowl and attachments in the same bin.
The mistake is treating this as failure. For an occasional baker, a mixer in the kitchen is a square foot of storage spent on something used twice a year.
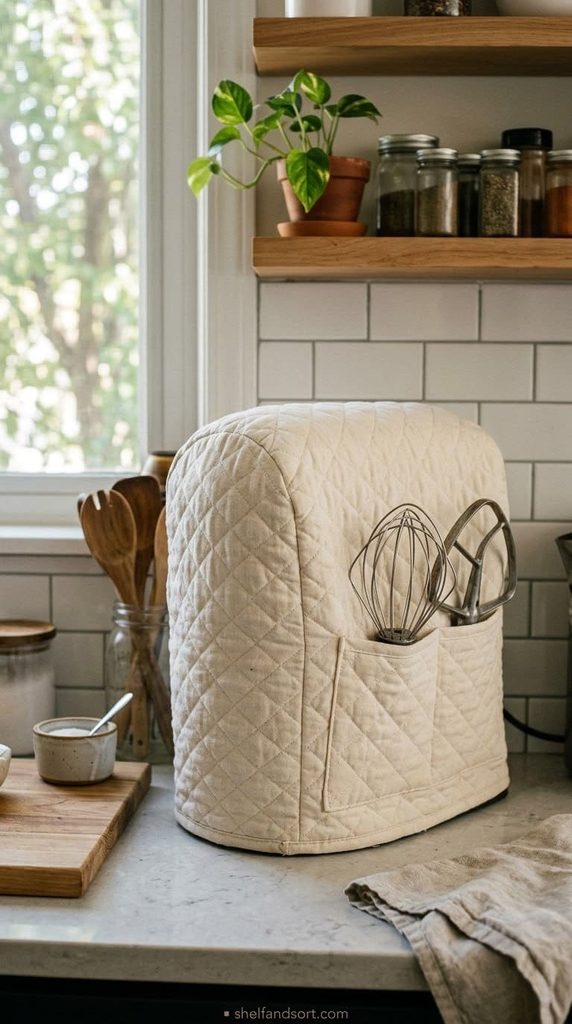
14. Keep it on the counter but under a fitted cover
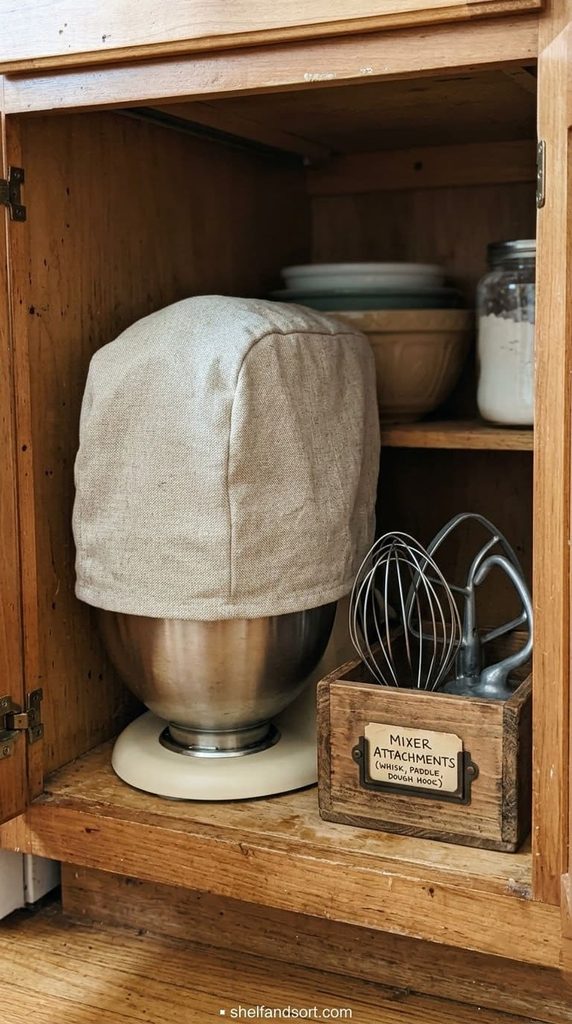
If it has to stay on the counter and you want it to look intentional, a fitted quilted cover turns it from clutter into a tidy shape, and protects it from dust and grease.
Covers with attachment pockets store the whisk, paddle, and dough hook right on the mixer, so you are not hunting a drawer for them.
The mistake is a loose pillowcase-style cover that slides off. Get one fitted to your model so it stays put and looks deliberate.
15. Wherever it lands, store it upright, covered, with its attachments
This applies to every spot above. Store the mixer sitting upright on its base, never on its side, per KitchenAid.
Cover it, even in a cabinet, with a washable cover or a clean tea towel so grease film and dust do not settle into the vents and crevices. And keep the bowl, whisk, paddle, and dough hook in the same place as the mixer, in a labeled bin or the cover pockets, so setup is one trip.
The mistake is a mixer in one cabinet and its attachments scattered across three drawers. You will dread baking. One home for the whole kit.
Which storage spot fits your situation
| Your situation | Best spots | Skip |
|---|---|---|
| Bake weekly, tilt-head | Counter under uppers, appliance slider, appliance garage | Any low cabinet, over-fridge |
| Bake weekly, bowl-lift | Mixer lift, deep drawer, end cabinet by the oven | Over-fridge, top pantry shelf |
| Bake monthly, any model | Baking cabinet at the front, deep drawer, corner lazy Susan | Mid-counter without a slider |
| Bake a few times a year | Hall closet, butler’s pantry, top of a pantry | Prime counter or cabinet space |
| Renter, no installs | Appliance slider, rolling cart, drawer with a mat, covered on the counter | Mixer lift, built-in appliance garage |
| Bad back or shoulder | Mixer lift, appliance garage, deep drawer, counter | Any overhead or floor-level cabinet |
How to make the spot stick
Picking the spot is half the job. The other half is not letting the mixer drift back to a random counter corner.
Store the attachments with it from day one. If the bowl and hooks live somewhere else, you will leave the mixer out because putting the whole kit away is a chore. Keep it to one trip.
Label the spot, especially if it is a cabinet or drawer other people open. A small “stand mixer” label on the shelf edge keeps the space from filling with other stuff the week you do not bake.
And do a quick check when you do your weekly kitchen reset: is the mixer back in its spot, is the cover on, are all the attachments there. Ten seconds. It keeps the system from quietly falling apart. For the rest of the kitchen, our guide to organizing a small kitchen covers the same zone-and-reset approach for every appliance and drawer.
Frequently asked questions
Where should I store a stand mixer if I have no counter space?
Match the spot to how often you bake. If you bake weekly, put the mixer on an appliance slider so it hides against the backsplash and glides forward when you need it, or install a spring-assisted mixer lift in a base cabinet so it rises to counter height with no lifting. If you bake monthly or less, a deep drawer with a non-slip mat, a dedicated lower baking cabinet with the mixer at the front, or a reinforced pantry shelf at chest height all work. Bake only a few times a year, and the mixer can move out of the kitchen entirely to a hall closet.
Is it OK to store a KitchenAid mixer in a cabinet?
Yes. KitchenAid specifically suggests clearing a lower cabinet and making it a designated baking cabinet with the mixer and baking supplies together. Store it upright on its base, never on its side, and put it at the front of the cabinet on a pull-out shelf or a tray so you slide it out instead of reaching into the back. Cover it with a washable cover or a clean tea towel so dust and grease film do not settle into the vents.
How much does a stand mixer weigh, and why does it matter for storage?
KitchenAid tilt-head models run about 18 pounds for the Mini and 26 for a standard Artisan. Bowl-lift models run 29 to 37 pounds. That weight decides your options. Anything over about 25 pounds should not go on a high shelf or in an over-fridge cabinet, since lifting it overhead is how it gets dropped or how you strain a shoulder. Heavier mixers do best on a mixer lift, in a deep drawer, or on a low shelf where you lift straight up rather than bend and haul.
What is a mixer lift and is it worth it?
A mixer lift is a spring or gas-assisted hardware arm that mounts inside a base cabinet. You open the door, pull, and it raises the mixer to counter height, then a soft-close lowers it back when you push down. Heavy-duty versions hold up to 60 pounds. It costs around $150 to $250 for the hardware plus installation, so it is not cheap. It is worth it for someone who bakes weekly, has a heavy bowl-lift mixer, and does not want to lift that weight in and out of a cabinet by hand. For an occasional baker, a slider or a drawer is enough.
Should I keep my stand mixer on the counter or put it away?
Keep it on the counter if you use it once a week or more. Hauling 25-plus pounds out of storage every few days is the friction that makes people stop baking. Push it back under the upper cabinets or put it on a slider so it does not eat prep space. Put it away only if you bake monthly or less, and then store it somewhere you can reach without bending to the floor or lifting overhead, with its attachments in the same spot.
Products We Recommend
This post contains affiliate links. We may earn a commission on qualifying purchases at no extra cost to you.
Rev-A-Shelf Heavy-Duty Stand Mixer Lift with Soft-Close
This is idea 4, the purpose-built solution. The spring-assisted arm raises a mixer up to 60 pounds from a base cabinet to counter height, and the soft-close lowers it back with no drop. It fits base cabinets with 15-inch openings and about 24-inch depth, and the tension adjusts in three settings so you can tune it to a light tilt-head or a heavy bowl-lift. It is the most expensive option here by far, but for a weekly baker who does not want to lift 30 pounds, it is the one that gets used.
Shop Now
Bamboo Appliance Slider for KitchenAid Tilt-Head Mixers
This is ideas 2 and 14, the renter-friendly fix. The mixer sits on the bamboo tray and glides back against the backsplash with one hand, then pulls forward to use, so the counter reads as clear without you lifting anything. It is sized for the 4.5 to 5-quart tilt-head base. Check your model's base dimensions before ordering, since bowl-lift bases are wider.
Shop now
KitchenAid Fitted Tilt-Head Stand Mixer Cover with Storage Pocket
This is idea 15. The quilted cotton cover is fitted to the tilt-head shape so it stays put and looks deliberate on the counter, not like a draped towel. The side pocket holds the flat beater and whisk, which is the attachment-storage half of the problem solved in the same product. KitchenAid also makes a bowl-lift version if that is your model.
Shop now