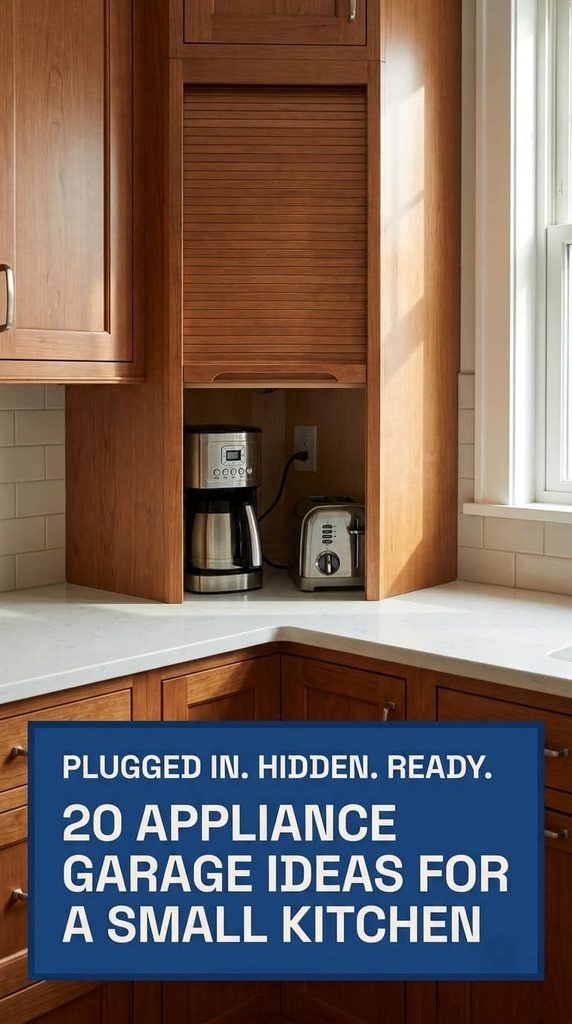
Park Your Kitchen Essentials in One of These 20 Appliance Garage Ideas
An appliance garage parks the coffee maker, toaster, and blender behind a door, plugged in and ready, so the counter stays clear. These 20 ideas cover where to put one, which door style fits your space, the outlet and lighting details that make it usable, and how to fake one without a renovation.
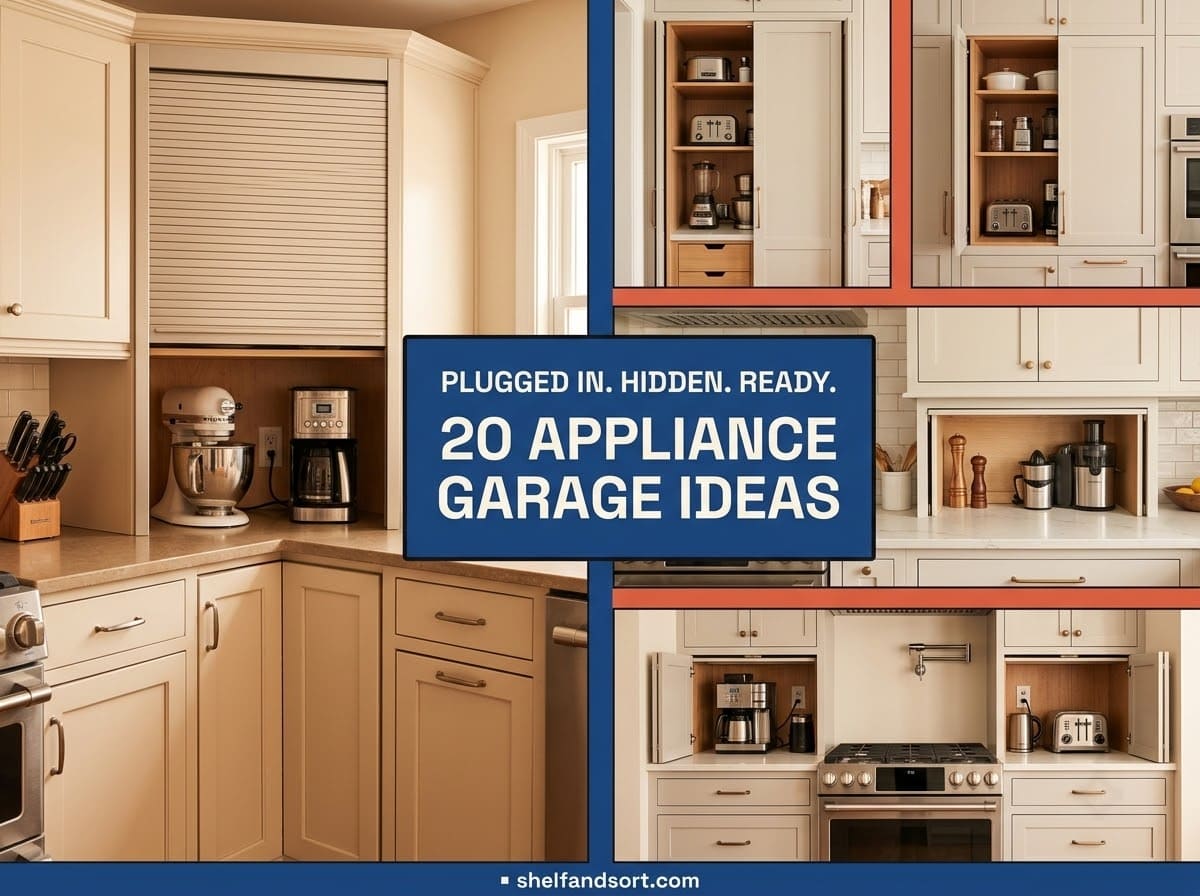
An appliance garage is a cabinet that sits on the counter, or fills a corner or a column, with a door that hides small appliances while they stay plugged in. The best spot is a corner or the run next to a full-height cabinet or the fridge, where the door does not block your work zone. For door style, a tambour roll-up or a lift-up flipper keeps the space in front clear, while pocket doors slide fully out of the way at a higher cost.
Put at least one outlet inside on its own 20-amp circuit, add a pull-out tray so you are not reaching into the back, and light it with a motion-sensor LED. Size the interior to your tallest appliance plus about two inches for airflow and cord room.
If you rent or cannot renovate, an appliance slider plus a tension-rod curtain, or a freestanding cabinet, gets you most of the benefit.
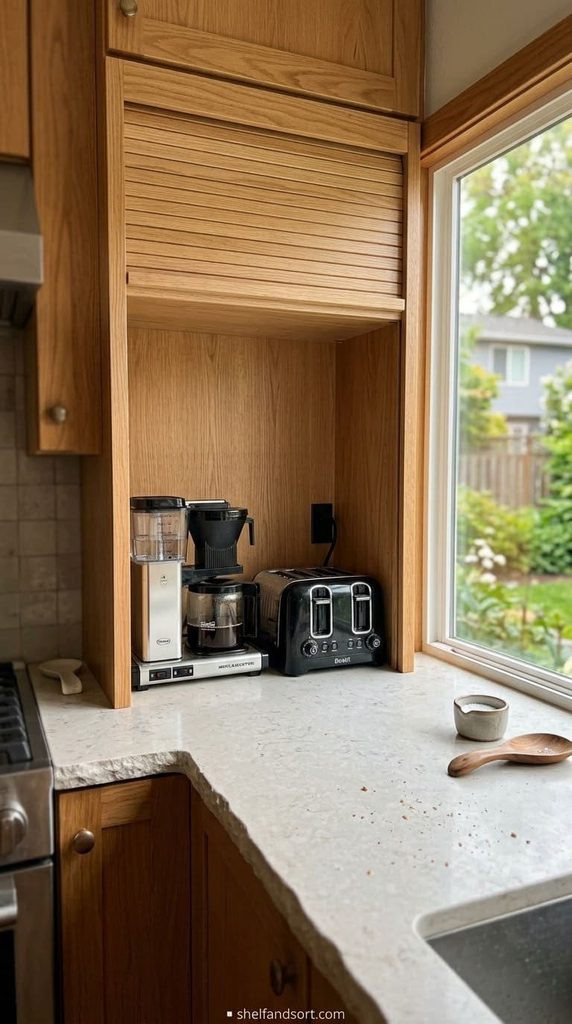
What an appliance garage does, and when it is worth it
Jenny Slingerland, principal designer at Black Ink Interiors, describes an appliance garage in a Reader’s Digest piece as a functional way to keep small countertop appliances accessible but out of sight. Like a garage for your car, but tinier.
The point is not just hiding things. It is that the coffee maker stays plugged in, at counter height, ready to use, but the counter reads as clear when you are not using it. You skip the daily lift-out that makes people stop using a bread machine or a stand mixer.
It is worth it if you have two or more appliances you use most days and no counter to spare. It is not worth a full cabinet if you use those appliances once a week, since that is prime storage spent on something you could keep in a lower cabinet.
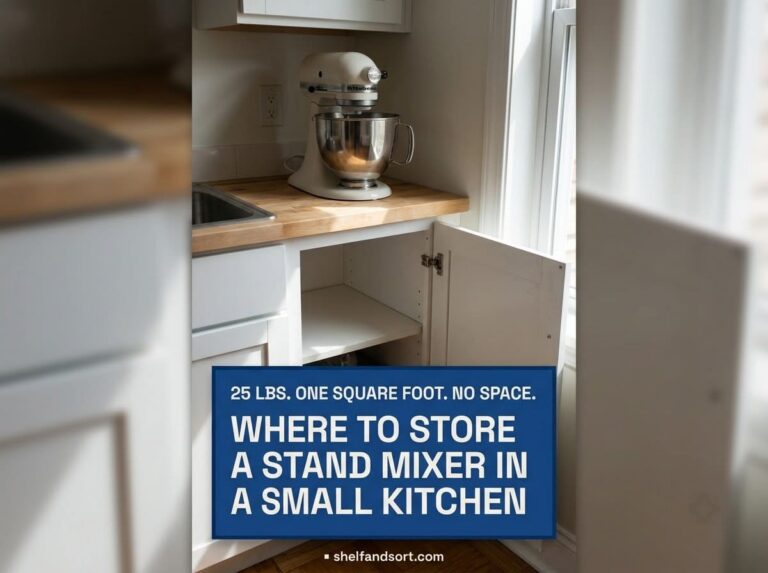
These 20 ideas run in three groups: where to put the garage, which door to use, and the details that decide whether you actually use it. If your appliance is a stand mixer specifically, our guide to where to store a stand mixer in a small kitchen goes deeper on that one.

Where to put an appliance garage
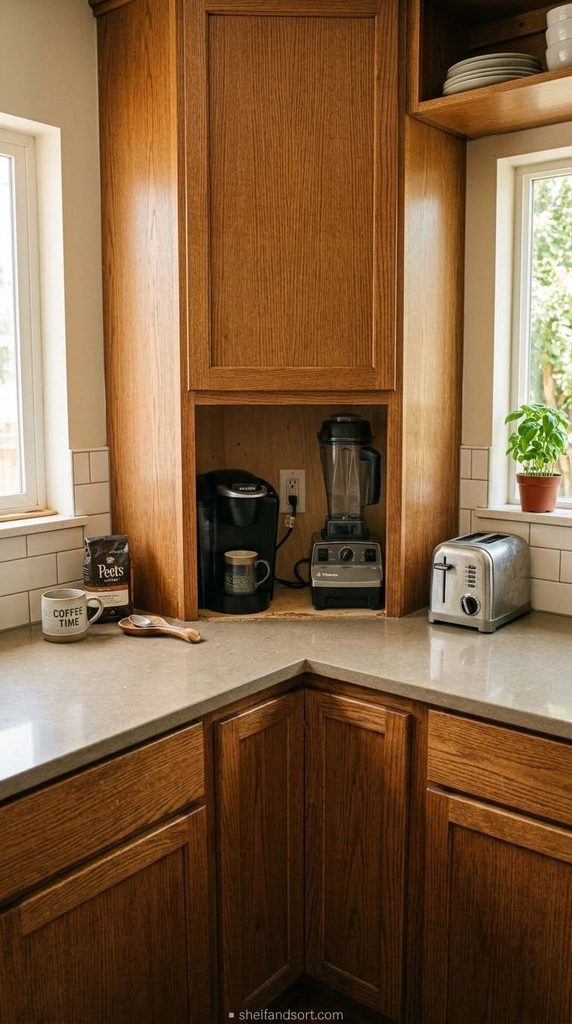
1. Tuck it into the corner
The counter corner is the classic spot, because a diagonal or L-shaped garage fills the dead space where two runs meet and the door does not swing into a walkway.
Set the appliances at a slight angle so you can reach both, and run the outlet up the back corner where cords hide. A corner garage usually gives you the most interior volume for the least lost counter.
The mistake is a corner garage so deep that the appliance in the back is unreachable. Keep the usable depth to about 16 inches and add a pull-out tray for anything behind that.
2. Stack it next to a full-height cabinet or the fridge
Kitchen designers often place an appliance garage right beside a tall pantry cabinet or the refrigerator, so the garage reads as part of that vertical block instead of interrupting a run of counter.
The tall neighbor also hides the garage’s side panel and gives the door something to butt against. Put the garage on the side you naturally walk to first.
The mistake is floating a garage in the middle of a counter run with open counter on both sides. It looks like a box someone set down. Anchor it to a tall element.
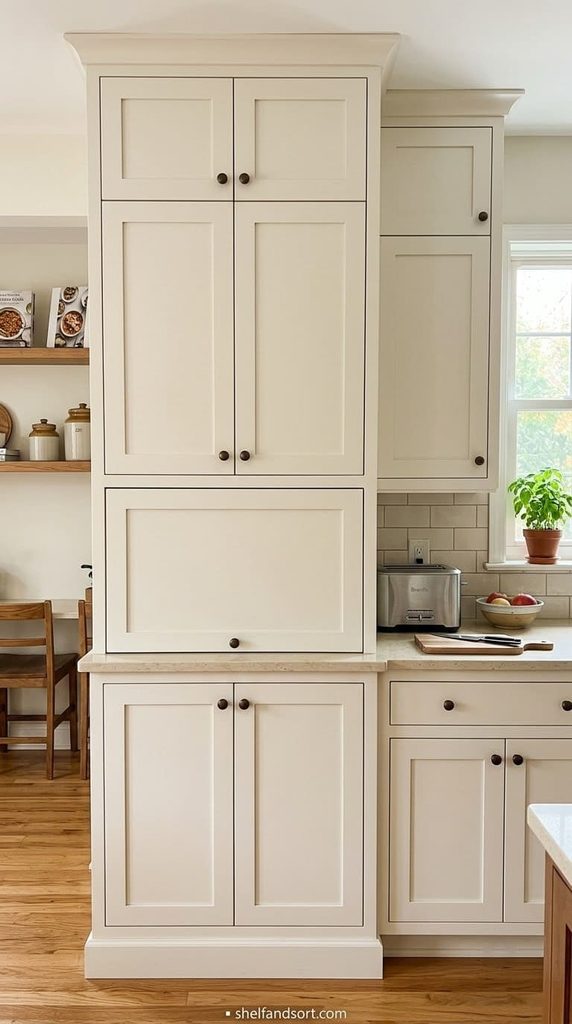
3. Build it into a full-height pantry cabinet column
If you are planning cabinets, a garage bay inside a floor-to-ceiling pantry column keeps every small appliance in one place, at working height, with the door closed against the rest of the pantry.
Put the garage bay at counter height inside the column, with a pull-out counter or a fixed shelf you can work on. Store the appliance boxes and rarely used gear above and below.
The mistake is a garage bay too high or too low to use the appliance in place. The working surface inside needs to land at about 36 inches, standard counter height.
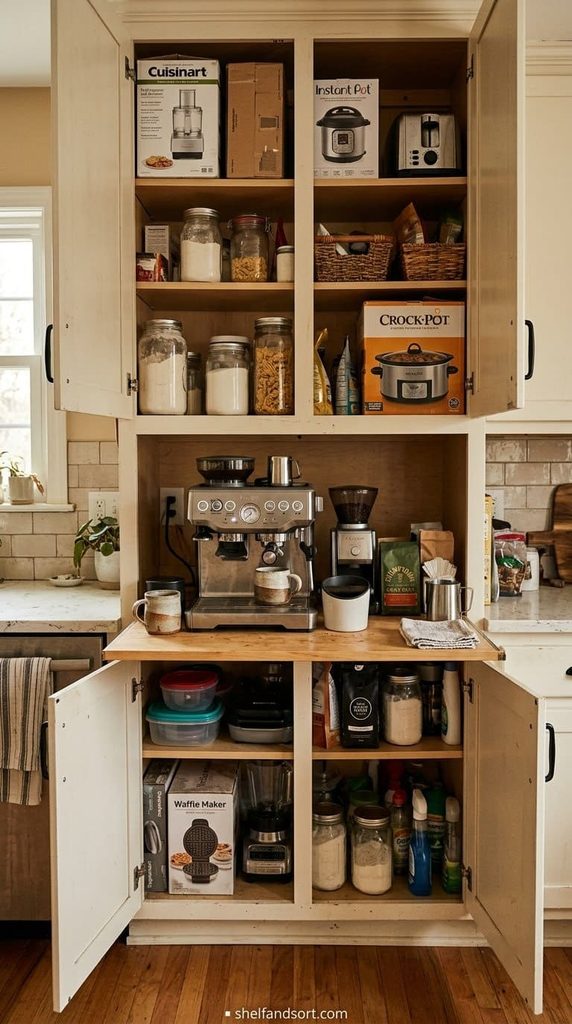
4. Drop it into a lower cabinet or the island
A garage does not have to be at counter height. A base cabinet or island cabinet fitted with a lift or a pull-out platform brings the appliance up when you open it, then hides it completely when closed.
This is the cleanest look, since nothing sits on the counter at all. It works best for one heavier appliance like a stand mixer on a spring-assisted lift.
The mistake is a low garage with no lift for a heavy appliance. You are back to hauling 25 pounds up from a cabinet. Pair a low garage with a lift or a pull-out at counter height.
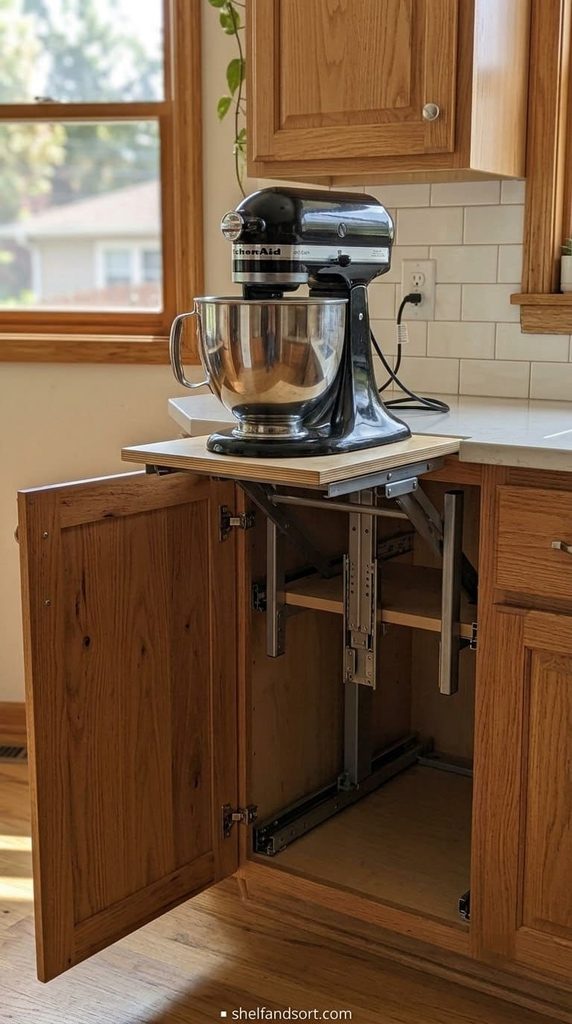
5. Run a long low garage across the back of the counter
Where you have a deep counter, a shallow garage just 10 to 12 inches deep can run the whole length of the backsplash, holding the toaster, kettle, and coffee grinder in a row behind one long tambour or a set of bypass doors.
This keeps the whole back strip of counter permanently clear and every appliance plugged in.
The mistake is making it deep enough to lose the front working counter. Keep it shallow, just deep enough for the appliances, so you still have usable prep space in front.
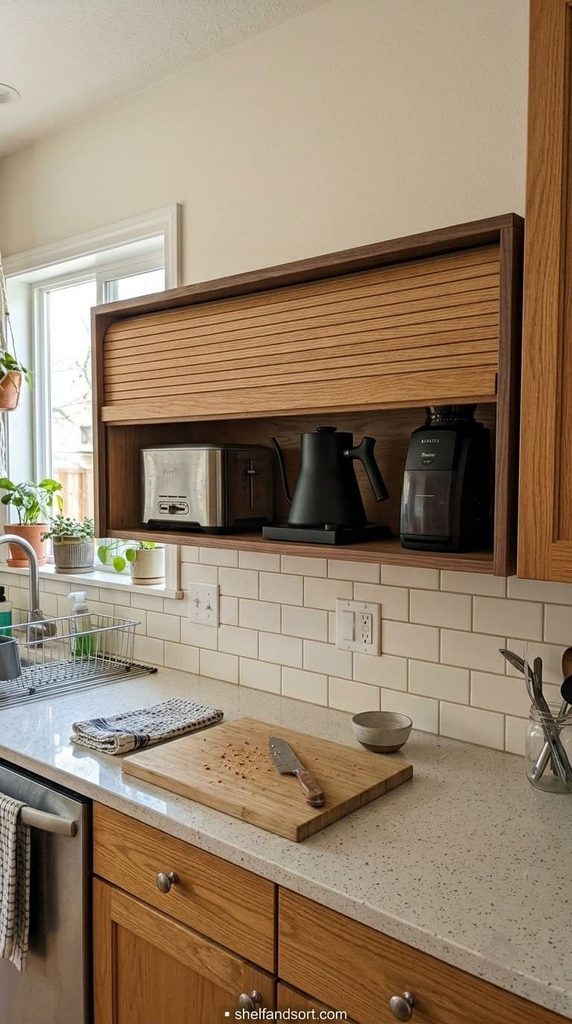
6. Pair two garages, one on each side of the range or sink
If your appliances split into two groups, coffee and breakfast on one side, prep tools on the other, two smaller garages flanking the range or sink put each set where you use it.
Two small garages also look more intentional than one oversized box, and each door is lighter and easier to operate.
The mistake is two garages that do not match each other. Keep the door style, finish, and height identical so they read as a deliberate pair.
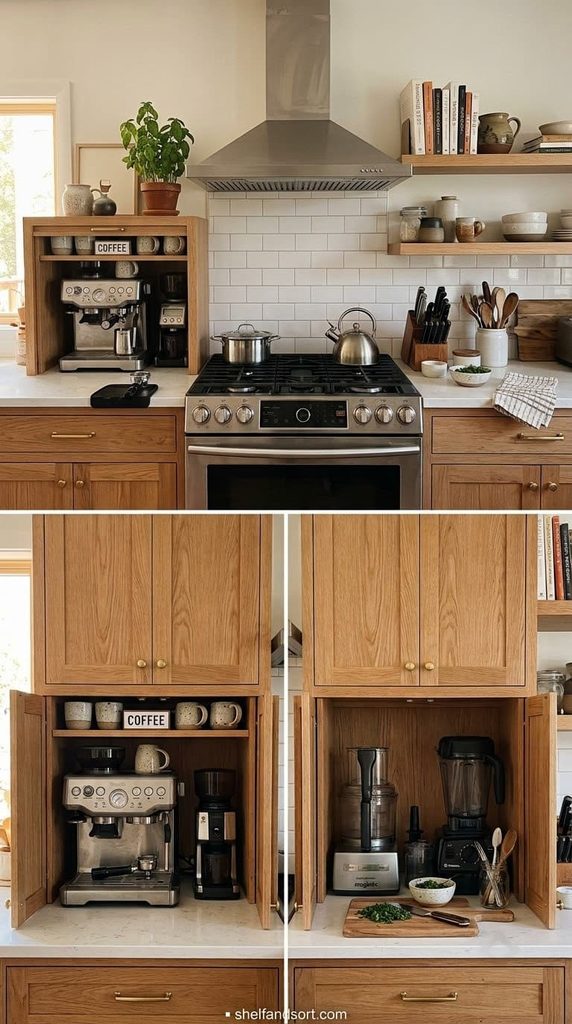
Pick the right door for an appliance garage
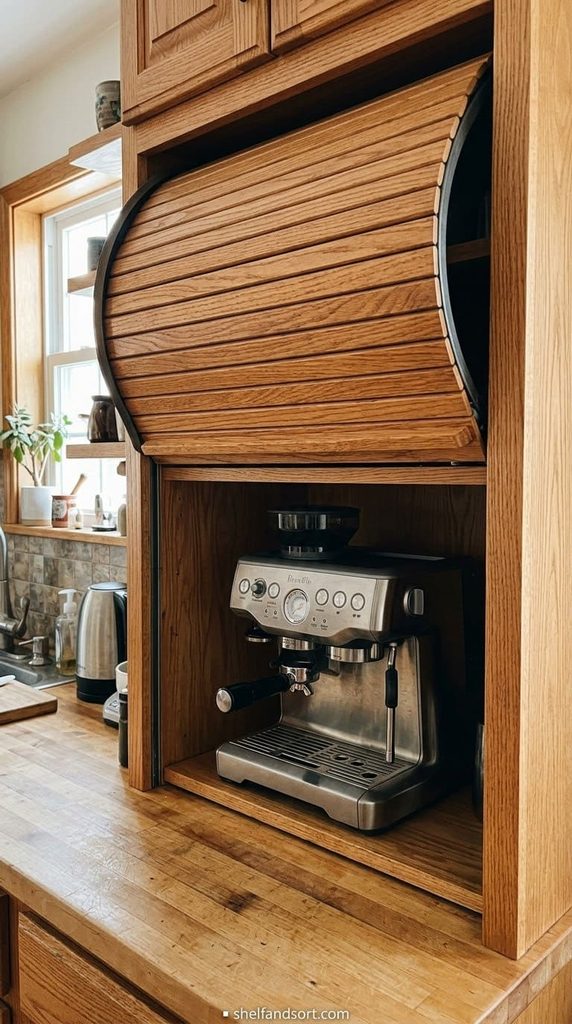
7. Use a tambour roll-up door for tight spots
A tambour door is made of slats that roll up and back along a track into the top of the cabinet. Because it rolls up instead of swinging out, it keeps the counter in front completely clear, which the WoodWeb cabinetmaking knowledge base notes is its main advantage in a small kitchen.
The tradeoff is header space. The roll-up mechanism eats 4 to 6 inches at the top of the cabinet, so plan the box taller than the appliance by that much.
The mistake is a tambour on a cabinet too short to hide the coiled door. It bunches at the top and jams. Give it the header room it needs.
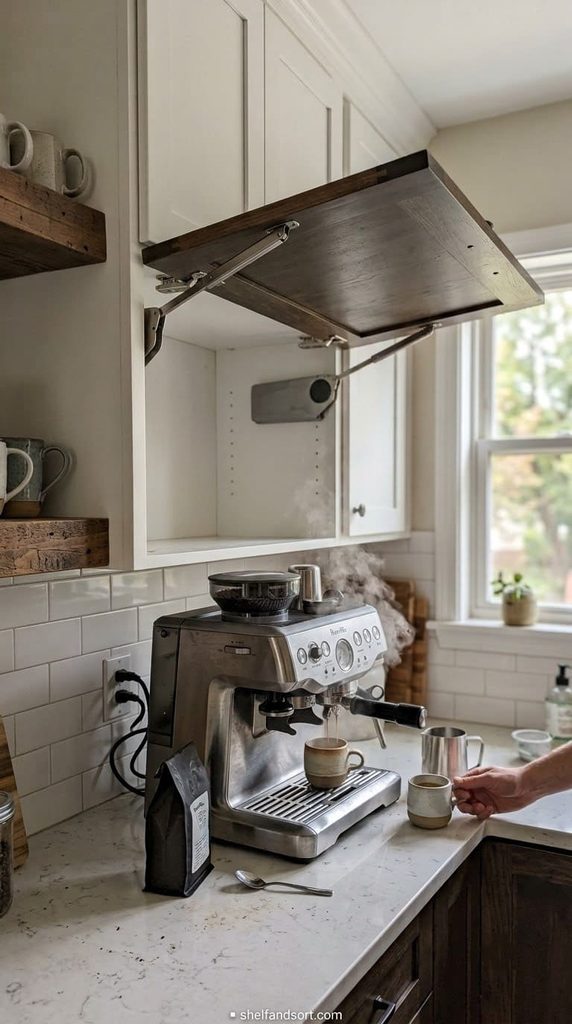
8. Choose a lift-up flipper door so it clears your work zone
A lift-up or flipper door hinges at the top and swings up above the opening, where it stays out of your way while you use the appliance underneath.
It is simpler and cheaper than a tambour and loses less interior space, just 2 to 3.5 inches of overhead clearance. Add a soft-close or a stay so it does not drop on your hands.
The mistake is a lift-up door under a low upper cabinet, where it hits the cabinet above before it clears. Measure the gap to the uppers first.
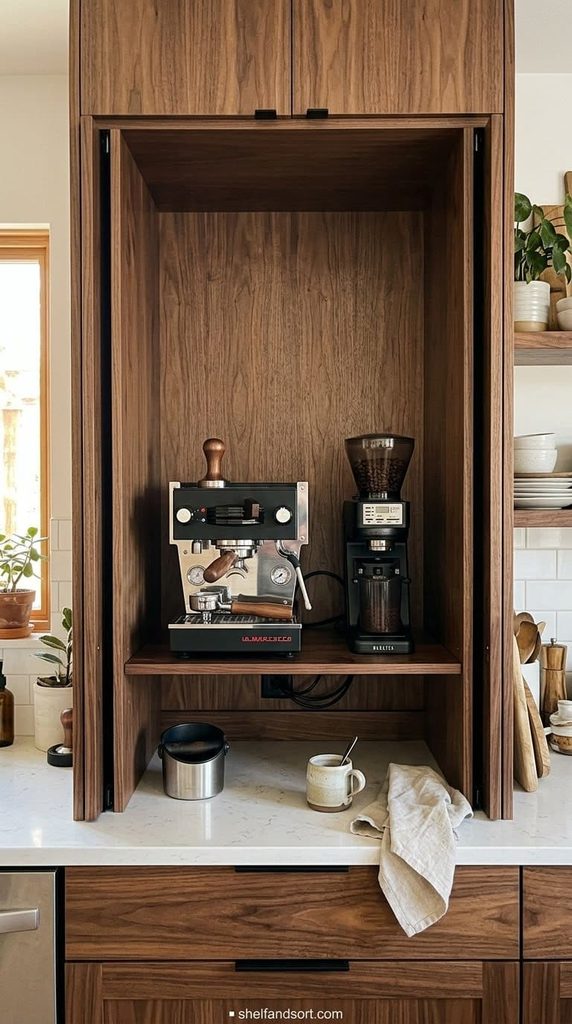
9. Fit pocket doors that slide into the cabinet sides
Pocket doors open, then slide back into slots in the sides of the cabinet, disappearing completely. This is the cleanest look and the door never sits in your way.
It is also the most complex and expensive to build, and the side pockets take 2.5 to 3.5 inches of interior width on each side. Plan the cabinet wider than the appliance to keep real usable space.
The mistake is retrofitting pocket doors into a cabinet that was not built for them. This is a design-phase decision, not an add-on.
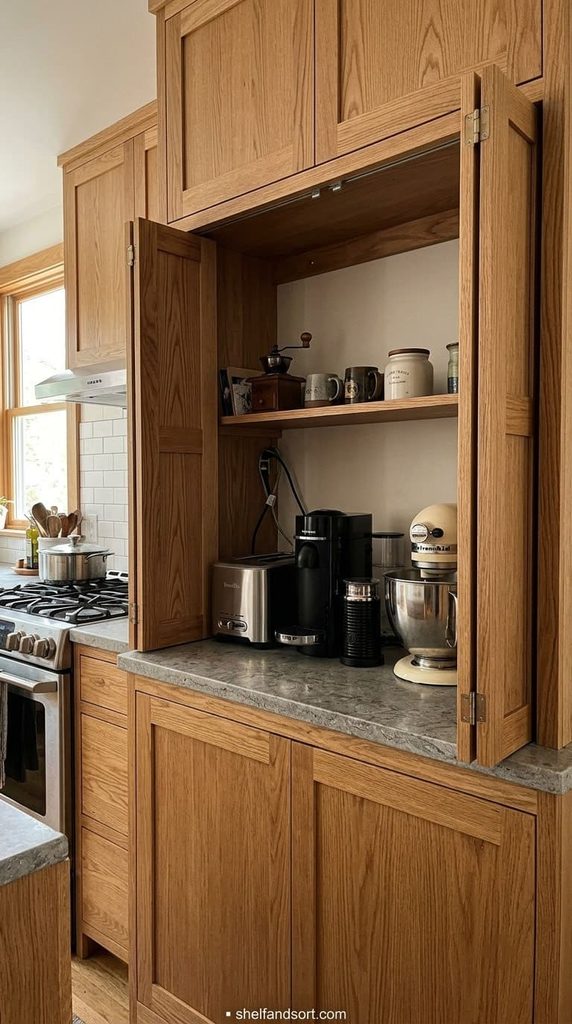
10. Use bi-fold doors for a wide opening
Bi-fold doors fold in half as they open, so a wide garage can open fully without a door that sweeps far into the room.
They work well on a garage that is wider than it is tall, holding several appliances side by side. The fold hardware is simple and reliable.
The mistake is bi-folds on a narrow cabinet, where the folded door still blocks a third of the opening. Bi-folds pay off on width, not on a small box.
11. Put bypass sliding doors on a shallow run
Two doors that slide past each other on a track work for a long, shallow garage. You can only open half at a time, but you never have a door projecting into the room.
This suits the back-of-counter strip from idea 5, where the appliances sit in a row and you only need one at a time.
The mistake is bypass doors on a garage where you often need to see everything at once. If you reach for two appliances together, pick a door that opens the whole span.
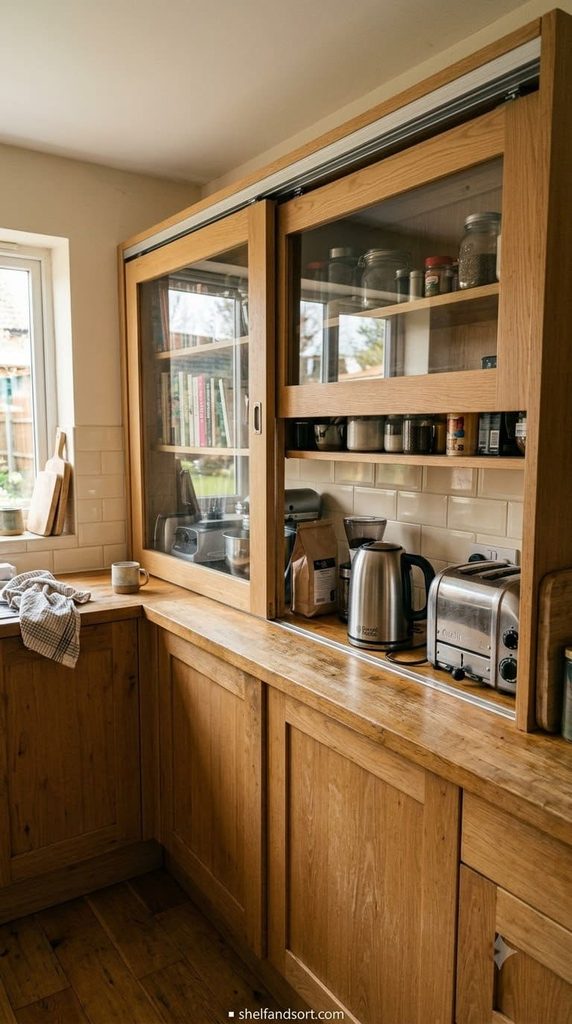
12. Keep it simple with hinged doors on a budget
Standard hinged cabinet doors still make sense when the budget is tight, especially in a corner where the open door does not block anything.
They cost the least, use ordinary hinges, and lose almost no interior space. The only downside is the door swinging into the room while the appliance is in use.
The mistake is hinged doors on a garage next to a walkway or the range. There, the open door is a hazard. Save hinged doors for the corner.
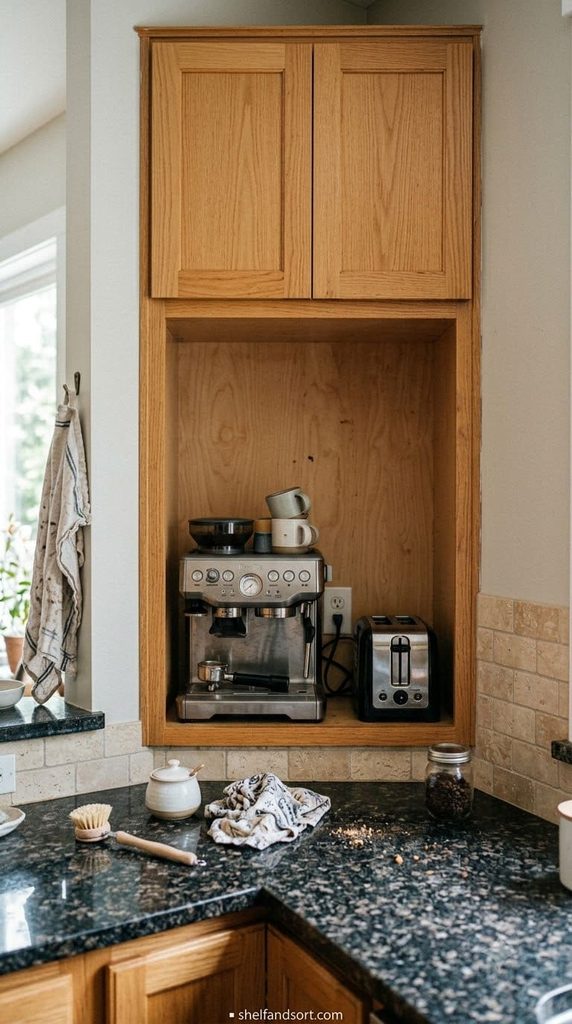
13. Or skip the door entirely with an open niche
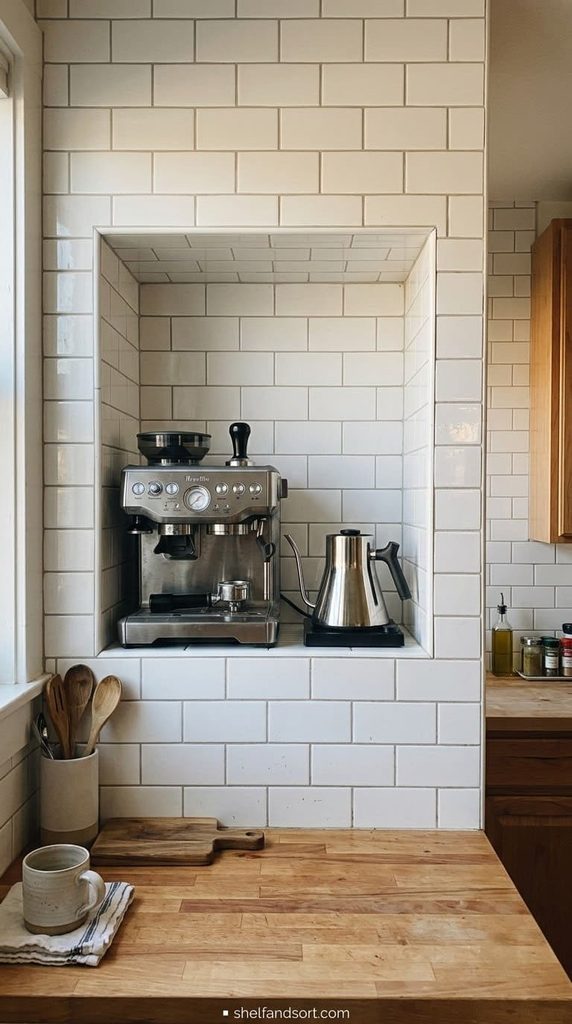
An open niche, a recessed shelf with no door at all, gives you the counter-clearing and cord-hiding benefit without any door hardware or cost.
It works if your appliances are ones you do not mind seeing, a nice espresso machine, a matching kettle. Line it with the backsplash tile so it reads as a designed feature.
The mistake is an open niche for the ugly stuff. If the toaster and the plastic blender live there, you have just moved the clutter, not hidden it. Open niche for the appliances you would display anyway.
Make an appliance garage actually work
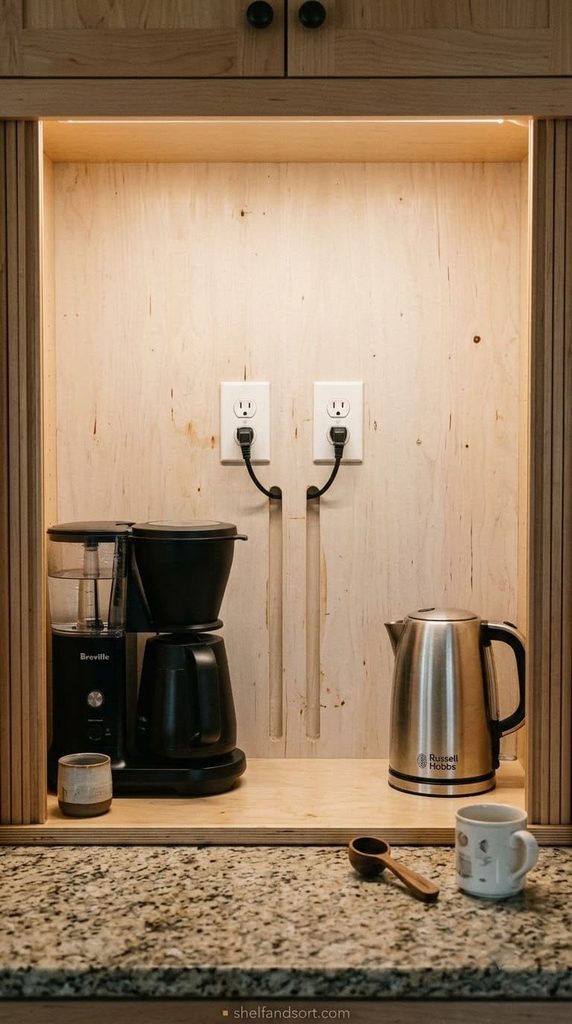
14. Put outlets inside, on their own circuit, with a cord channel
An appliance garage without power inside is just a cabinet. Add at least one outlet, ideally two, on the back or side wall.
Kitchen electrical code puts countertop outlets 15 to 20 inches above the counter and requires GFCI protection, and appliances that draw heavy power do best on a dedicated 20-amp circuit. Route a cord channel or a grommet so the door closes with everything still plugged in.
The mistake is one shared outlet for a garage full of high-draw appliances. A toaster plus a kettle plus a coffee maker on one circuit trips the breaker. Plan the load with your electrician.
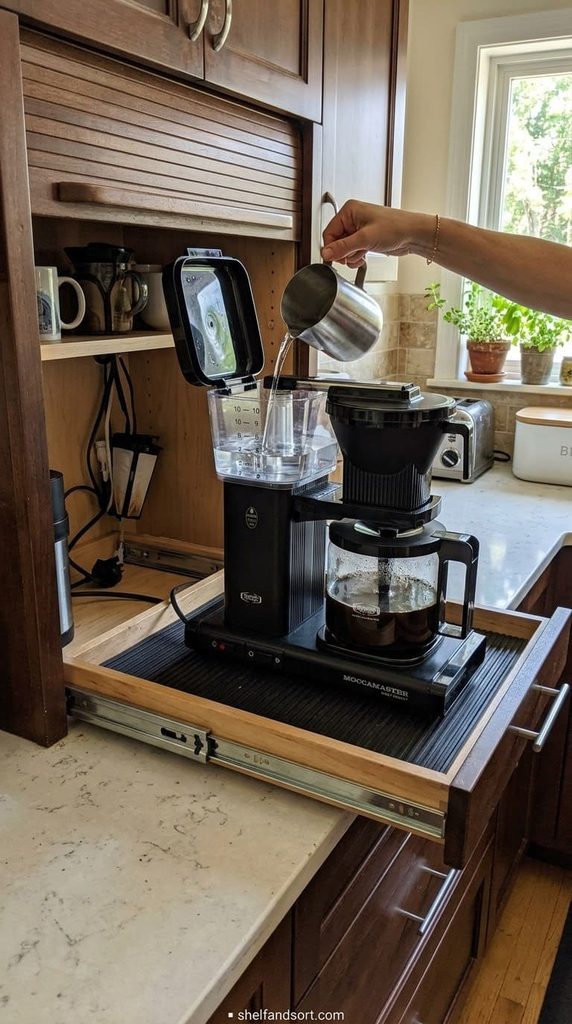
15. Add a pull-out tray or shelf
A pull-out tray brings the appliance forward so you fill the water tank or the hopper without leaning into the cabinet, then slides back so the door closes.
Rate the tray for the appliance weight, use full-extension slides, and add a lip or a non-slip mat so nothing walks off the front. This is what makes a deeper garage usable all the way to the back.
The mistake is a fixed shelf in a deep garage. The back half becomes storage you never touch. Put anything past the front 12 inches on a pull-out.
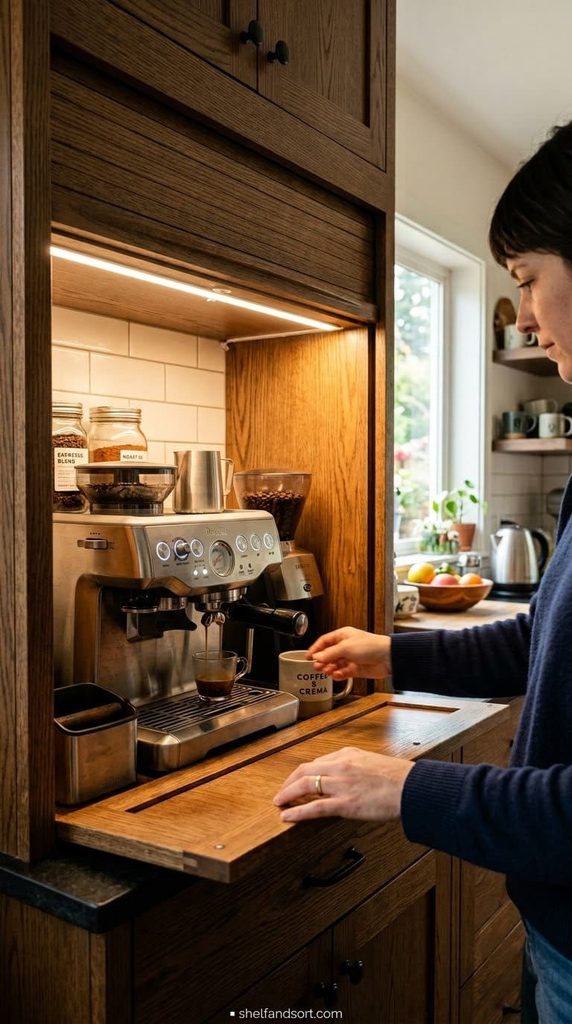
16. Light it with a motion-sensor LED
The inside of a garage is dark, especially under a tambour or below a lift-up door. A small motion-sensor LED strip or puck light turns on when the door opens.
Rechargeable stick-on lights need no wiring and re-charge every few months. Warm white around 2700 to 3000K matches kitchen light and shows what you are doing.
The mistake is no light at all, then squinting to line up a portafilter in the shadows. It is a five-minute, no-wiring fix.
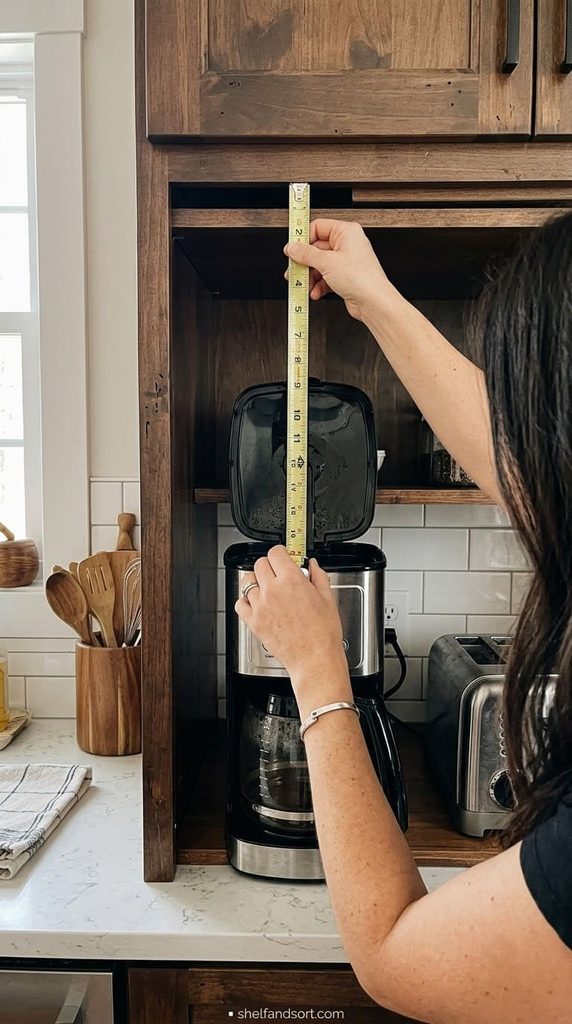
17. Size the interior to your tallest appliance plus venting room
Measure every appliance that will live in the garage at its tallest, widest, and deepest point, including handles and the lid opened if it opens upward.
Then add about two inches on top and behind for airflow and cord room. A trade guide to appliance garage clearances notes that steam appliances like kettles and coffee makers want 16.5 to 17.5 inches of net vertical height for venting. Standard backsplash height, counter to upper cabinet, is only 18 inches, so a counter garage has to fit in that gap.
The mistake is sizing to the appliance exactly. Steam and heat with no clearance warps the cabinet and shortens the appliance’s life.
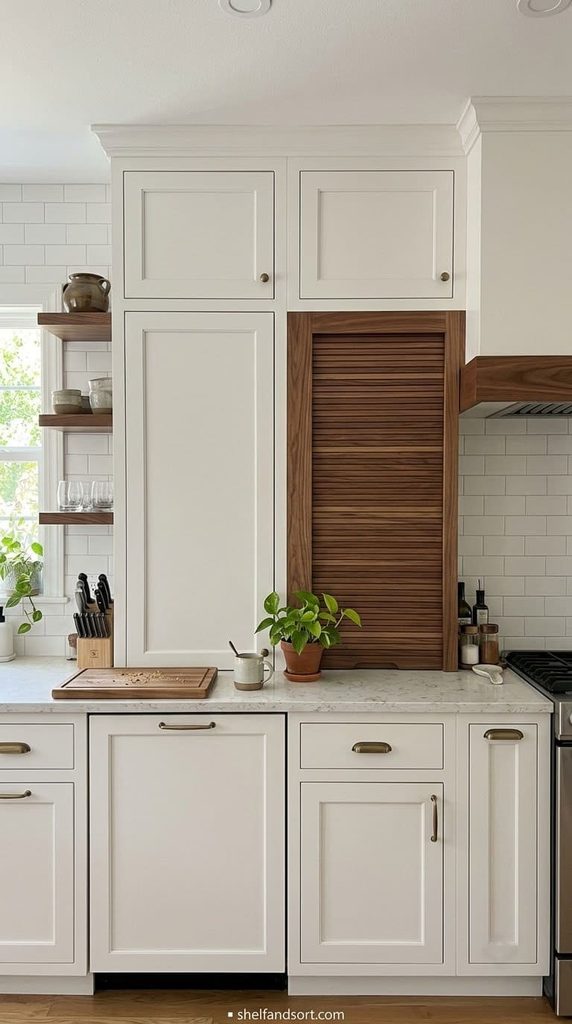
18. Match the finish to disappear, or contrast it on purpose
Give the garage doors the same finish as the surrounding cabinets and it vanishes into the run. Wrap the interior in the backsplash tile and even an open one reads as architecture, not storage.
Or go the other way: a contrasting wood or a metallic aluminum front makes the garage a deliberate feature. Both work. A half-committed in-between finish looks like a mistake.
The mistake is a garage door in a finish that almost matches the cabinets but not quite. Match it exactly or contrast it clearly.
19. Give it a wipeable floor
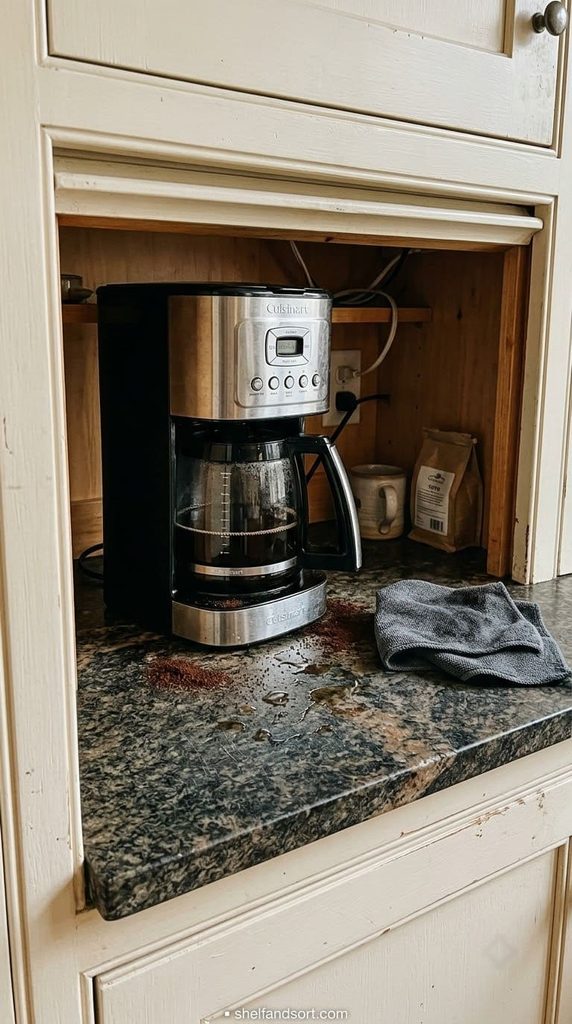
The garage floor collects coffee grounds, crumbs, and water drips. Make it a surface you can wipe, a stone remnant, a solid-surface offcut, or at least a sealed and finished wood.
A removable tray or a cut-to-fit silicone mat on the floor of the garage catches the mess and lifts out for a rinse.
The mistake is raw melamine or unfinished wood on the garage floor. It stains and swells the first time the kettle overflows. Seal it or line it.
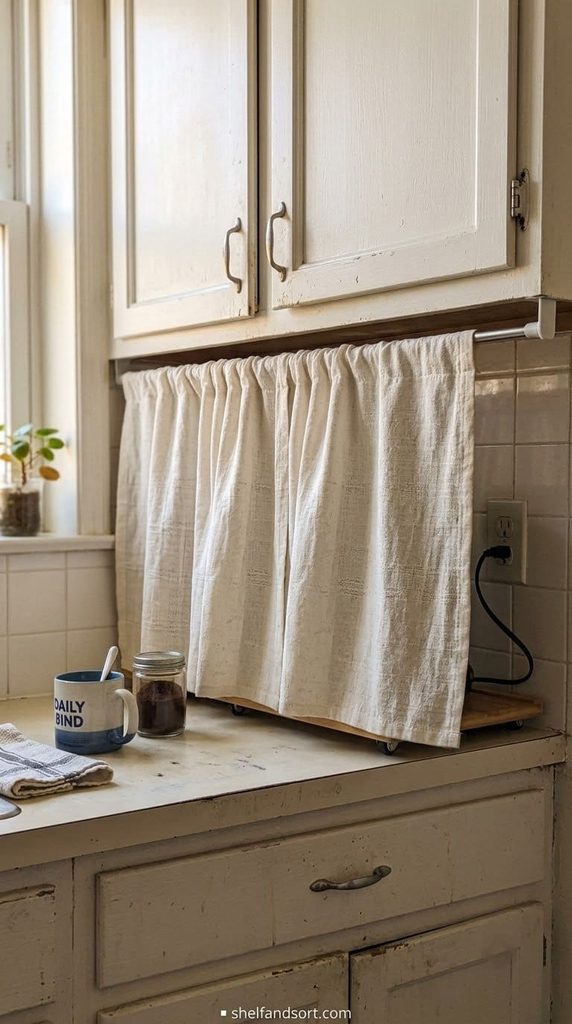
20. No renovation? Fake it with a slider and a curtain, or a freestanding cabinet
You do not need to build anything. Put the coffee maker on an appliance slider so it rolls back under the upper cabinets, and hang a short cafe curtain on a tension rod across the front of that counter section.
Or buy a freestanding appliance cabinet, a small cupboard that sits on the counter with its own doors, and set the appliances inside with a power strip.
The mistake is thinking an appliance garage requires a contractor. The slider-and-curtain version costs under $50 and comes with you when you move.
Appliance garage door styles compared
| Door style | Best for | Interior space lost | Cost | Door in your way? |
|---|---|---|---|---|
| Tambour roll-up | Tight spots, tall boxes | 4 to 6 inches of header | Higher | No |
| Lift-up flipper | Everyday-use appliances | 2 to 3.5 inches overhead | Medium | No, stays up |
| Pocket doors | Cleanest look, planned builds | 2.5 to 3.5 inches each side | Highest | No, fully hidden |
| Bi-fold | Wide garages, several appliances | Minimal | Medium | Partly |
| Bypass sliding | Long shallow runs | Minimal | Medium | No, but half opens |
| Hinged | Budget, corners | Almost none | Lowest | Yes, swings out |
| Open niche | Display-worthy appliances | None | Lowest | No door at all |
How to plan an appliance garage that gets used
The design phase is the only cheap place to get this right, so decide three things before the cabinets are ordered.
First, the door style, based on where the garage sits and how often you open it. A daily coffee station wants a lift-up or a tambour that stays out of the way. A once-a-week garage can take a hinged door.
Second, the power. Confirm the outlet count, the circuit, and the cord channel with your electrician while the walls are open. Retrofitting power into a finished garage is the expensive way.
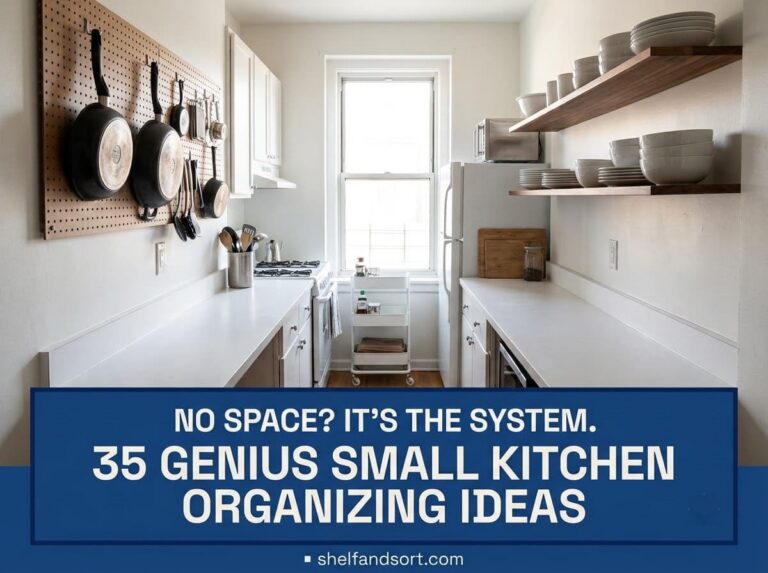
Third, the exact interior dimensions, measured from your actual appliances plus clearance, not from a generic cabinet size. Then keep it working with the same weekly reset you use for the rest of the kitchen: wipe the floor, coil the cords, put strays back. Our small kitchen organization guide covers that reset for every zone.
Frequently asked questions
How deep should an appliance garage be?
Keep the usable interior depth to about 16 inches for a counter garage, since anything deeper puts the back appliance out of easy reach. If you need more depth for a large appliance, add a full-extension pull-out tray so you can slide it forward. A trade guide to appliance garage clearances suggests 21 to 24 inches of total interior depth for a garage built into an island, to line up with the island’s own depth, but that only works with a pull-out.
Do appliance garages need their own outlet?
Yes, at least one, and ideally two. Kitchen electrical code places countertop outlets 15 to 20 inches above the counter and requires GFCI protection. Appliances that draw heavy power, a kettle, a toaster, a coffee maker, do best on a dedicated 20-amp circuit rather than sharing with the rest of the counter. Add a cord channel or grommet so the door closes with everything plugged in, and confirm the total load with an electrician while the walls are open.
What is the best door style for an appliance garage?
For a garage you open every day, a lift-up flipper door or a tambour roll-up is best, because both keep the counter in front of the cabinet clear while the appliance is in use. Pocket doors that slide into the cabinet sides give the cleanest look but cost the most and eat interior width. Hinged doors are the budget choice and work fine in a corner where the open door does not block anything. Match the door style to how often you use the garage and where it sits.
Are appliance garages worth it in a small kitchen?
They are worth it if you use two or more appliances most days and have no counter to spare, since the garage keeps those appliances plugged in and ready while the counter stays clear. They are not worth a full cabinet if you use the appliances weekly or less, because that is prime storage spent on something you could keep in a lower cabinet. If you cannot renovate, an appliance slider with a tension-rod curtain, or a freestanding appliance cabinet, gets you most of the benefit for under $50.
Can steam from a kettle or coffee maker damage an appliance garage?
Yes, if there is no clearance. Steam appliances need about 16.5 to 17.5 inches of net vertical height for venting, and running them in a tight enclosure traps heat and moisture that can warp the cabinet and shorten the appliance’s life. Size the garage to your tallest appliance plus about two inches on top and behind, use a wipeable floor, and pull the appliance out on its tray to run it if the garage is shallow. Only use appliances inside a fully closed garage if the door is open while they run.