
Leftover Coffee Grounds? 20 Smart Ways to Put Them to Work
Most “uses for coffee grounds” lists skip the part where wet grounds mold in a jar by day three. This guide gives you 20 real uses, plus the small storage system that keeps saved grounds useful instead of turning them into their own clutter problem.
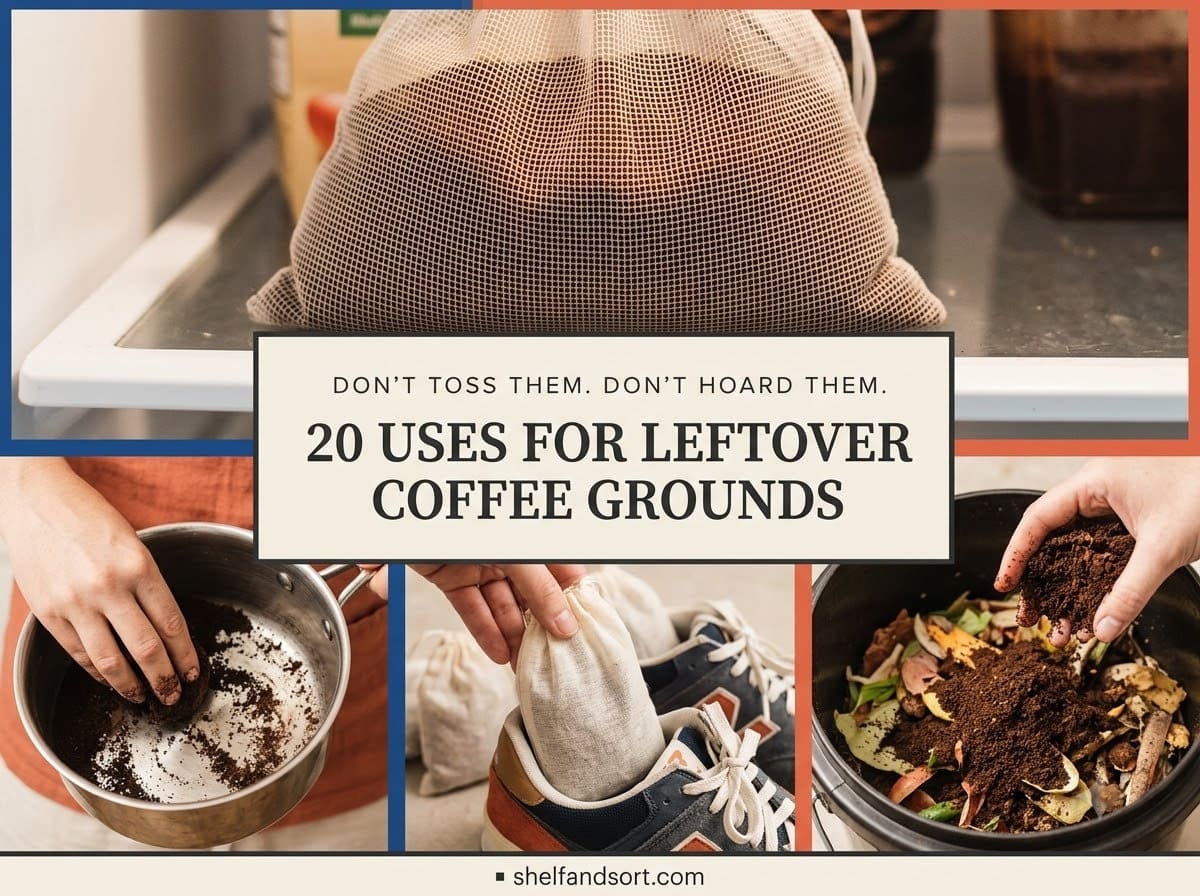
The best way to use leftover coffee grounds is to dry them first, store about a week’s worth in an airtight container, and send the rest to compost or the trash. Dry grounds do not mold, and they work for most of the jobs on this list: deodorizing the fridge, scrubbing stuck-on food off pots, scouring the smell off your hands, hiding scratches in dark wood, and covering scuffs on dark leather.
A small amount also helps a compost pile as a nitrogen “green,” and worked thinly into soil around plants. Skip the drain, since grounds clog pipes.
Keep grounds away from dogs and cats, because caffeine is toxic to pets even in used grounds. And do not count on grounds to make soil acidic. That is a myth. Once coffee is brewed, the grounds test close to neutral.
Two questions to answer before you save a single scoop
Most coffee-grounds lists jump straight to the ideas. Answer these two first, or the grounds go bad before you use them.
Are the grounds actually brewed and cooled? This whole list is about used, spent grounds, the wet puck left in the filter or the portafilter after you brew. Fresh, unbrewed grounds are a different thing. They hold far more caffeine and more acid, so they are riskier around pets and behave differently in soil. Let used grounds cool to room temperature before they go anywhere near a container or a plant.
Where will they dry and live? Wet grounds packed in a closed jar grow mold in two or three days. You need a spot to spread them out to dry, usually a sheet pan on the counter or by a sunny window, and then an airtight container to keep the dry grounds in. Decide this before you start hoarding a soggy bowl by the sink.
With those settled, here are the 20 uses, starting with prep.
Get the grounds ready
1. Make sure they’re brewed, cooled, and headed for a dry container
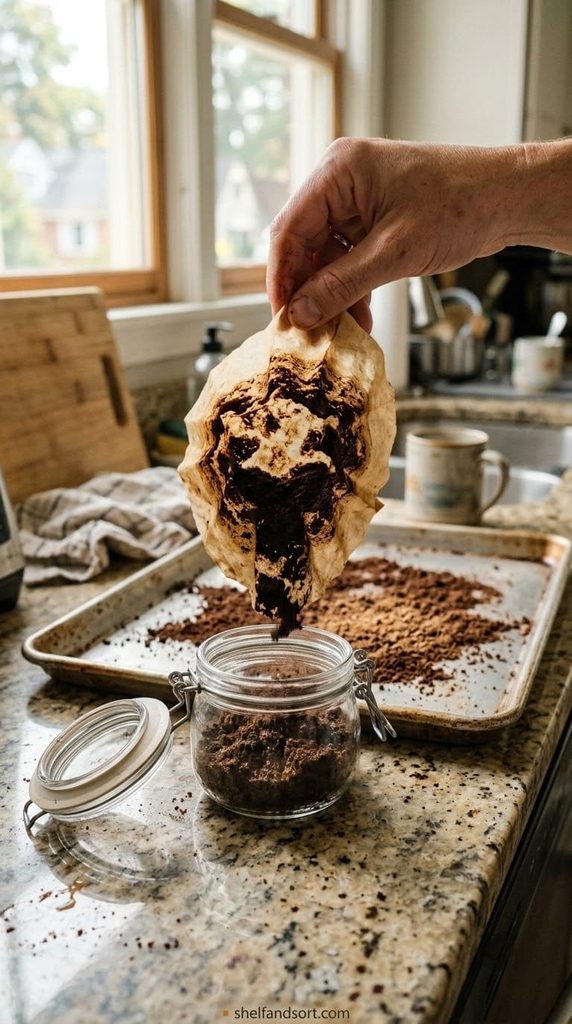
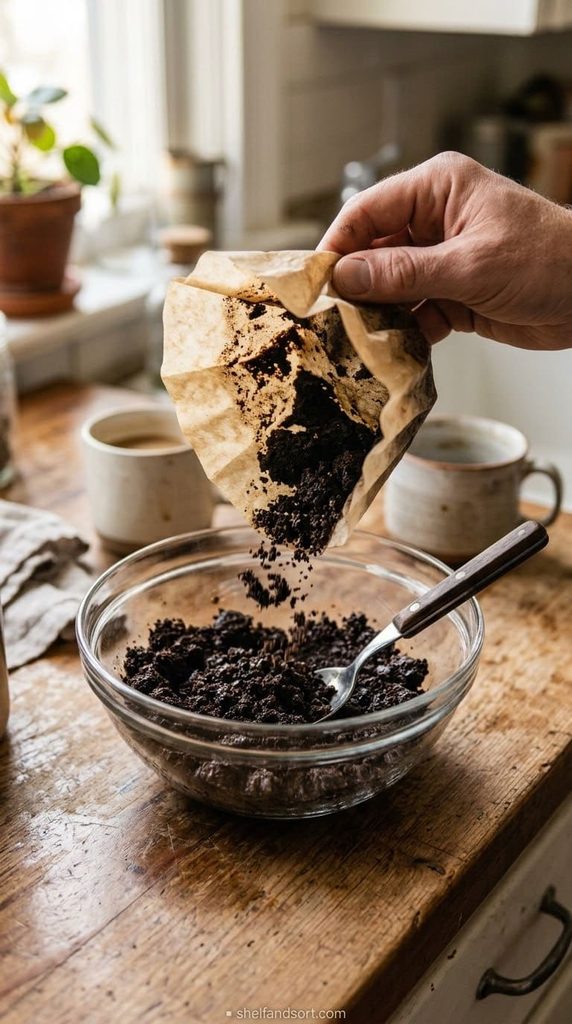
The prep is the whole game. Tip the spent grounds out of the filter into a bowl and let them sit until they are cool to the touch.
Do not save grounds that touched soap, drain water, or a dirty sink. Only clean spent grounds from your actual brew. If you use paper filters, the filter can go in the compost too. If you use a metal filter or a machine puck, just knock the grounds loose.
The mistake is scooping wet grounds straight into a sealed jar to “deal with later.” By the time you open it, there is a fuzzy gray layer on top and the whole batch is trash. Cool and dry first, always.
Short on time? Freeze the wet grounds in a bag instead. Frozen grounds do not mold, and you thaw and dry a batch when you actually need them.
2. Dry them on a sheet pan so they don’t mold
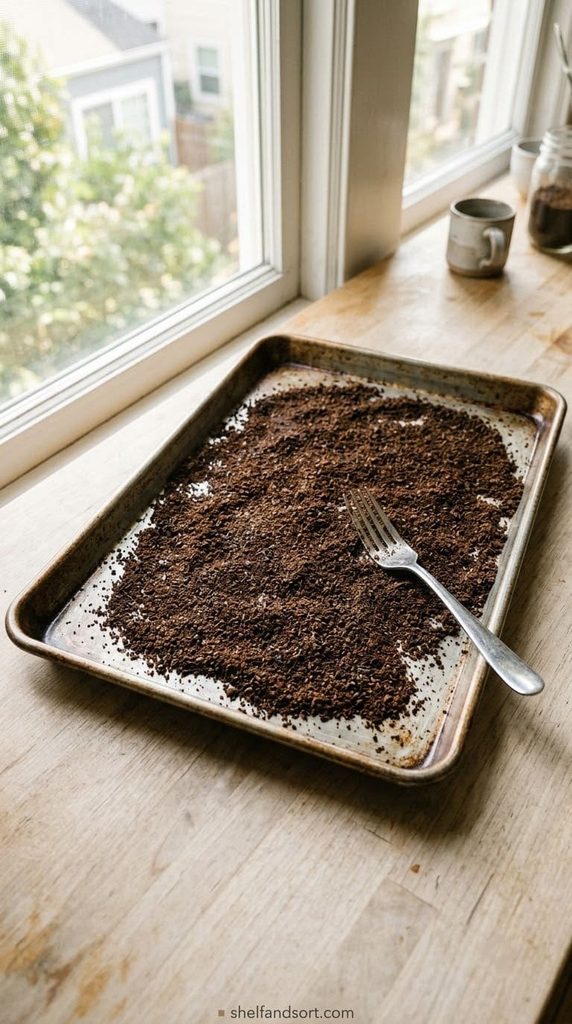
Spread the cooled grounds in a thin, even layer on a rimmed baking sheet. Thin is the key word. A deep pile stays wet in the middle and molds anyway.
Leave the pan somewhere warm and dry for a day or two, or by a sunny window. Stir once or twice so the bottom layer dries. You want them loose and sandy, not clumpy. Then they go in your airtight container.
The mistake is oven-drying them at a high temp to rush it, which can scorch the grounds and fill the kitchen with a burnt smell. If you must use the oven, keep it under 200 degrees and watch them.
Live somewhere humid? Run a low fan over the pan, or dry smaller batches more often so grounds never sit wet for long.

This is the "one container, a week's worth" from the maintenance rule. The lid has a one-way valve and a date wheel, so you can seal dried grounds, note when you filled it, and dump the batch on schedule. Stainless steel means it will not hold coffee smell the way plastic does once you rinse it. The 16-ounce size is deliberately small, which stops you from stockpiling more than you will actually use.
Shop NowThis post contains affiliate links. We may earn a commission on qualifying purchases at no extra cost to you.
Kill odors around the house
3. Deodorize the fridge and freezer
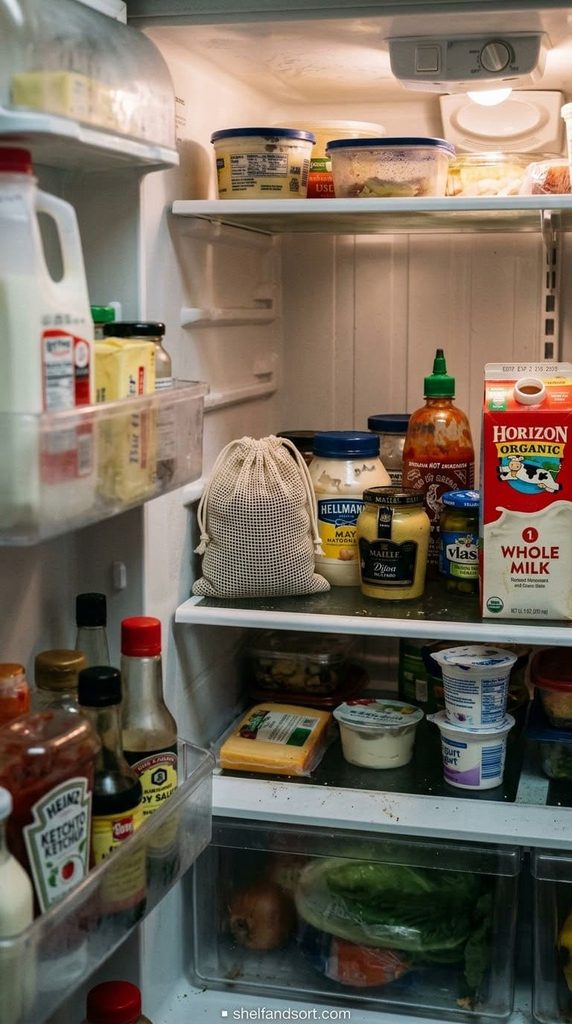
Dry grounds pull odors out of the air the same way an open box of baking soda does. Put about a cup of dry grounds in a small open bowl or a mesh bag and set it on a back shelf.
Swap it for a fresh batch every three to four weeks. Grounds that have been absorbing fridge smells for two months stop working and can start to smell stale themselves.
The mistake is a bowl with no lid or bag sitting right next to an open container of butter or leftovers, where a bump spills grounds into your food. Use a bag or a bowl with a mesh top, tucked where nothing knocks it.
4. Scrub the smell off your hands after cooking
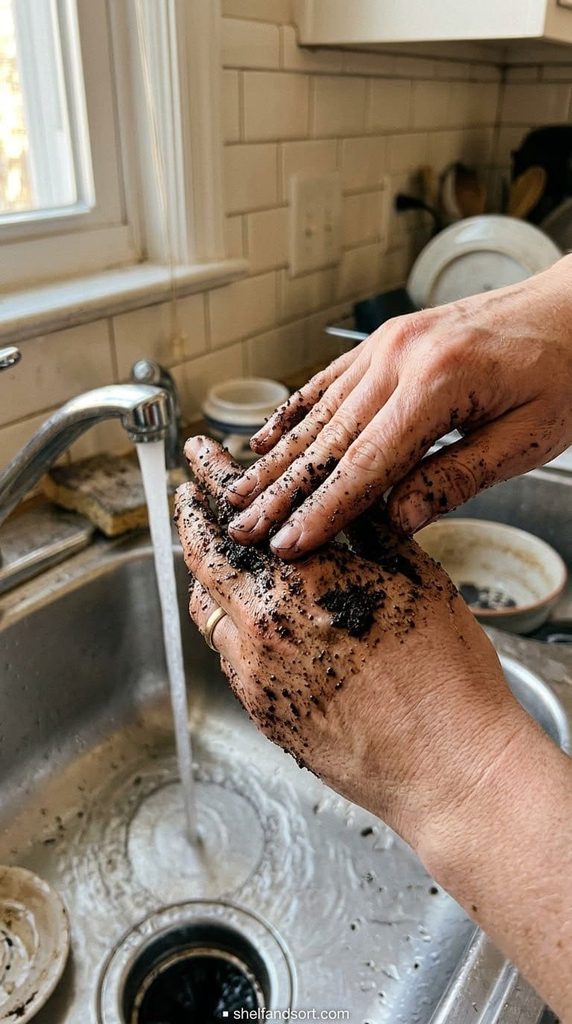
Garlic, onion, and fish leave sulfur compounds on your skin that soap alone does not touch. A pinch of damp grounds does.
Take a small scoop of grounds, add a few drops of water, and rub your hands together over the sink for 20 seconds like you are washing them. Rinse, then wash normally with soap. The grit lifts the smell and exfoliates at the same time.
The mistake is doing this with a hand that has a fresh cut or a raw hangnail. The grit stings and you do not want coffee oils in an open cut. Skip broken skin.
5. Make odor sachets for shoes, gym bags, and the car
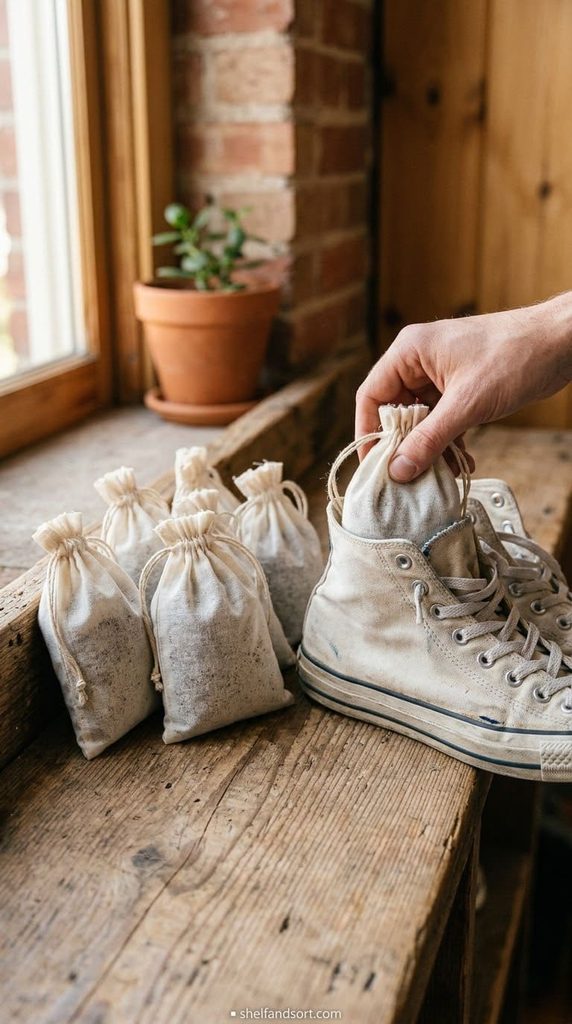
Fill small breathable bags with dry grounds and tie them off. Drop one in each smelly shoe overnight, one in the gym bag, one under the car seat.
Muslin drawstring bags or clean old socks both work. Make five at once so you always have a fresh one. Replace the fill every month or so, and dump the old grounds in the compost.
The mistake is using a bag that is not fully sealed, so grounds sift out into the shoe or the bag lining. Double-knot it, or use a bag with a tight drawstring, and do not overfill past three-quarters.
Have pets in the car or the house? Keep these sachets zipped inside a bag or up high. A curious dog will chew one open, and grounds are not safe for them to eat.
6. Freshen a musty closet, drawer, or basement
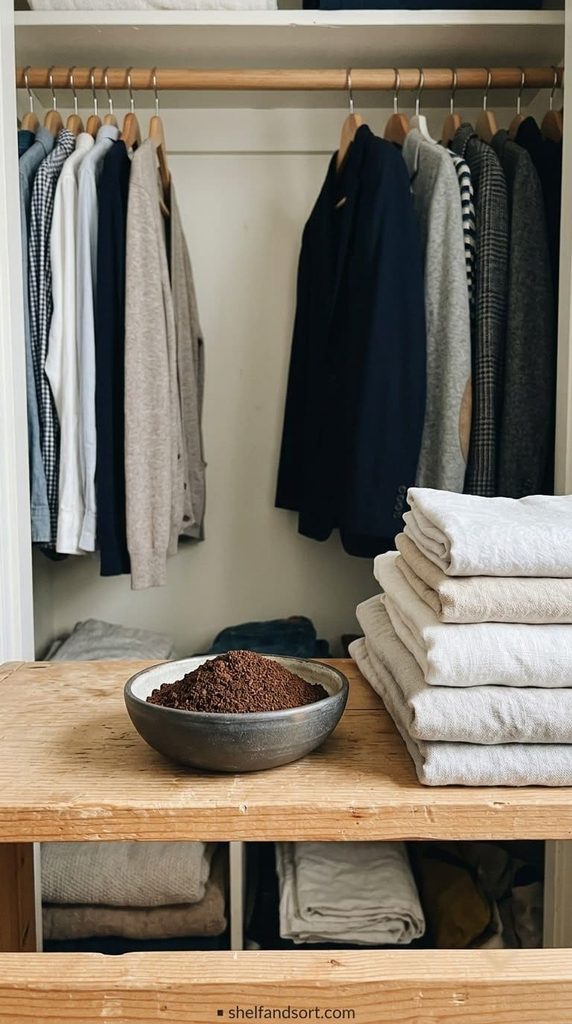
Same sachet trick, bigger space. A bowl or a few bags of dry grounds in a closet corner, a dresser drawer, or a damp basement takes the edge off a stale smell.
Set them where air moves, not buried under folded clothes. In a basement, put one near the stairs and one by the wall that smells worst. Check them monthly.
The mistake is treating grounds as a fix for actual mold or a water leak. They mask a mild musty smell. They do nothing for a moisture problem, which needs a dehumidifier or a repair. If the smell comes back in days, you have a bigger issue.
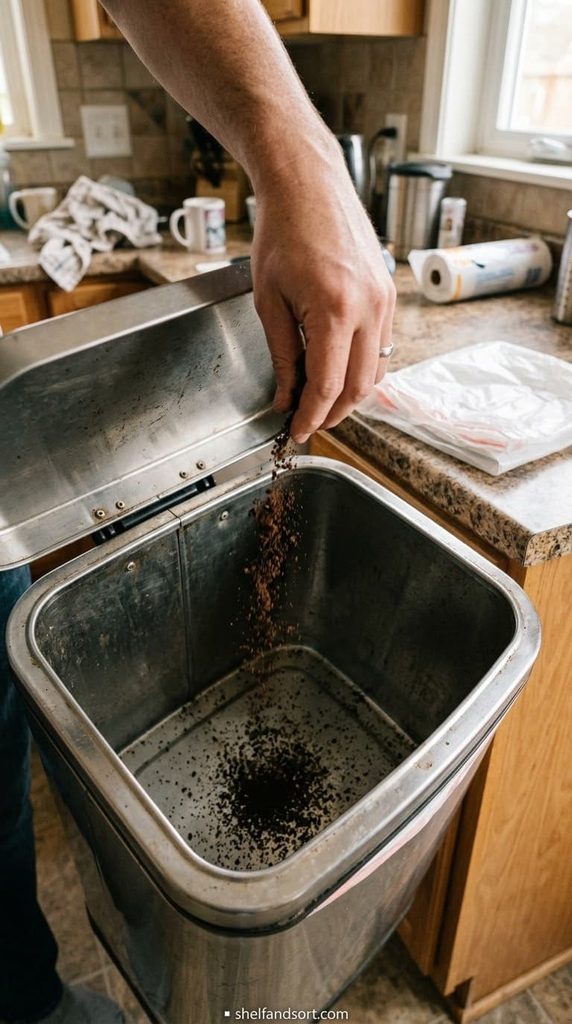
7. Cut the smell in the kitchen trash can
The bottom of the trash can holds onto odors even after you take the bag out. Sprinkle a handful of dry grounds in the empty can, or tuck a small bag under the fresh liner.
Refresh it each time you change the bag. It costs nothing and takes five seconds.
The mistake is pouring wet grounds loose into the bottom of the can, which just adds a damp, moldy layer that leaks when the next bag tears. Dry grounds only, or a sealed bag.
Clean with the grit
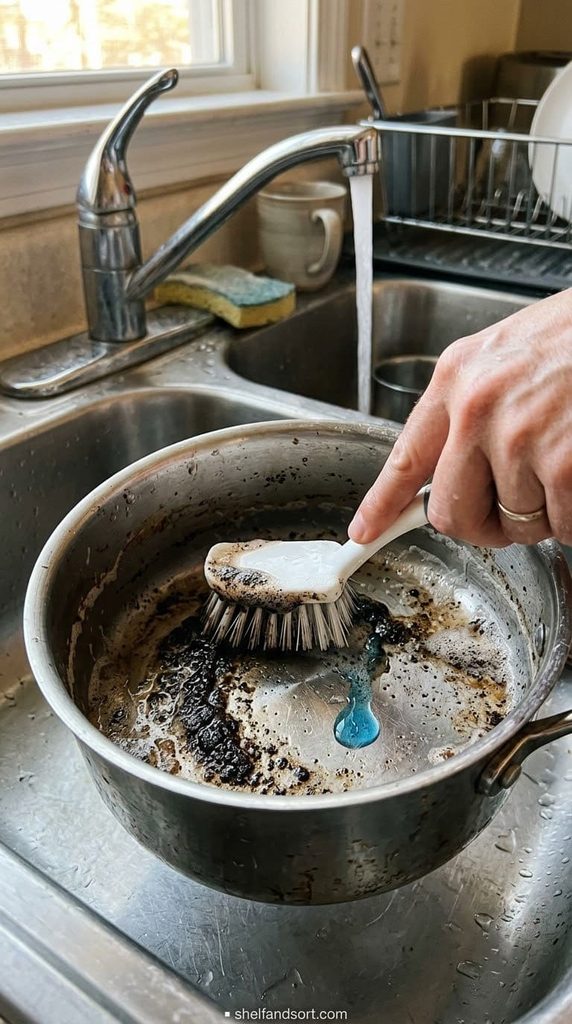
8. Scour stuck-on food from pots, pans, and the sink
Used grounds are a mild abrasive, roughly like a soft scouring powder. They cut through baked-on food without scratching stainless steel or enamel.
Sprinkle a spoonful onto the stuck spot, add a drop of dish soap, and scrub with a brush or a rag. Rinse well so no grounds stay behind. Works on the sink basin too.
The mistake is using grounds on a nonstick pan or a polished or coated surface. The grit is fine for steel and cast iron, but it can dull a nonstick coating over time. Keep it to pans that can take a scrub.
Only have a minute? Just hit the one worst spot and leave the rest to soak.
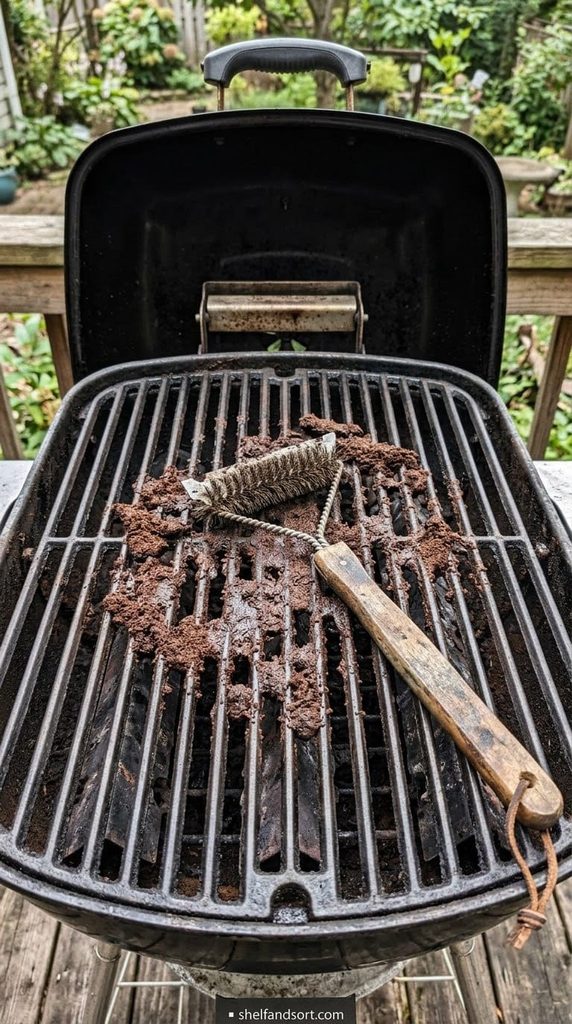
9. Degrease the grill grates
Cooled grill grates get a greasy, carbonized crust that a wire brush skips over. Grounds give the brush something to bite with.
Let the grates cool. Scatter a generous handful of damp grounds across them, let it sit 10 minutes, then scrub with a grill brush and rinse. The grit plus the mild oil-cutting action loosens the crust.
The mistake is doing this on a hot grill. The grounds smoke, stick, and bake on worse than the grease did. Cool grates only.
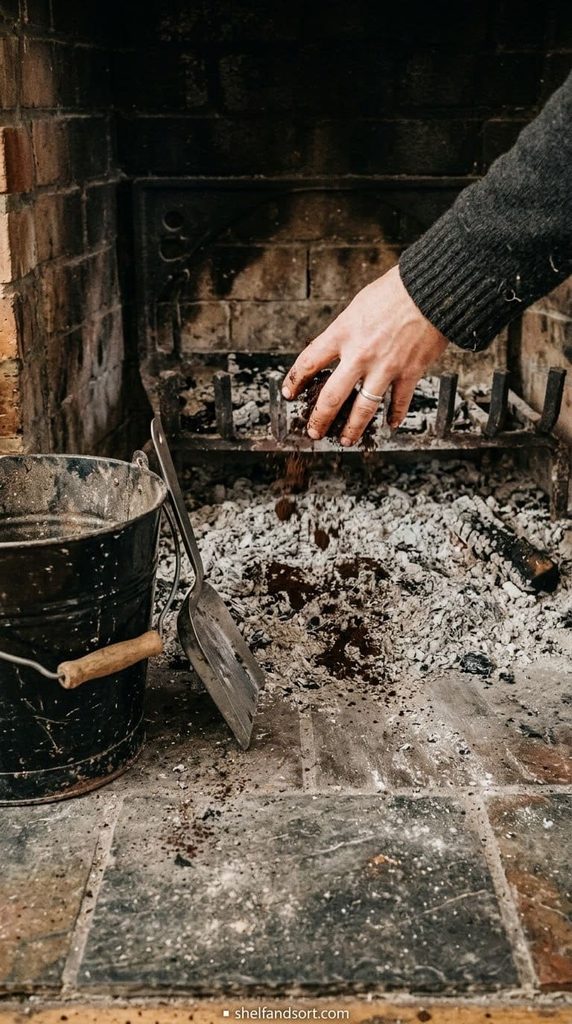
10. Keep ash dust down when you clean out the fireplace
Cleaning a fireplace or wood stove sends a cloud of fine ash into the room. Damp grounds weigh the ash down so it stays put.
Once the ashes are fully cold, scatter damp used grounds over them, wait a few minutes, then scoop. The ash clumps to the grounds instead of billowing up. Bag it and toss it.
The mistake is doing this while any embers are live. Ashes can hold heat for more than a day. Wait at least 24 hours after the last fire, and check with a metal tool before you add anything.
Fix and finish
11. Hide scratches and water rings on dark wood
A light scratch on a walnut table or a dark shelf disappears under a coffee-ground rub. The grounds stain the raw wood in the scratch to match.
Make a thick paste with a little water, dab it into the scratch with a cotton swab, wait 10 minutes, then wipe along the grain with a soft cloth. Repeat for a darker result. Finish with a little furniture wax or oil.
The mistake is doing this on light wood, painted wood, or a glossy factory finish. It only works on bare or oiled dark wood where the stain can soak in. Test a hidden spot first.
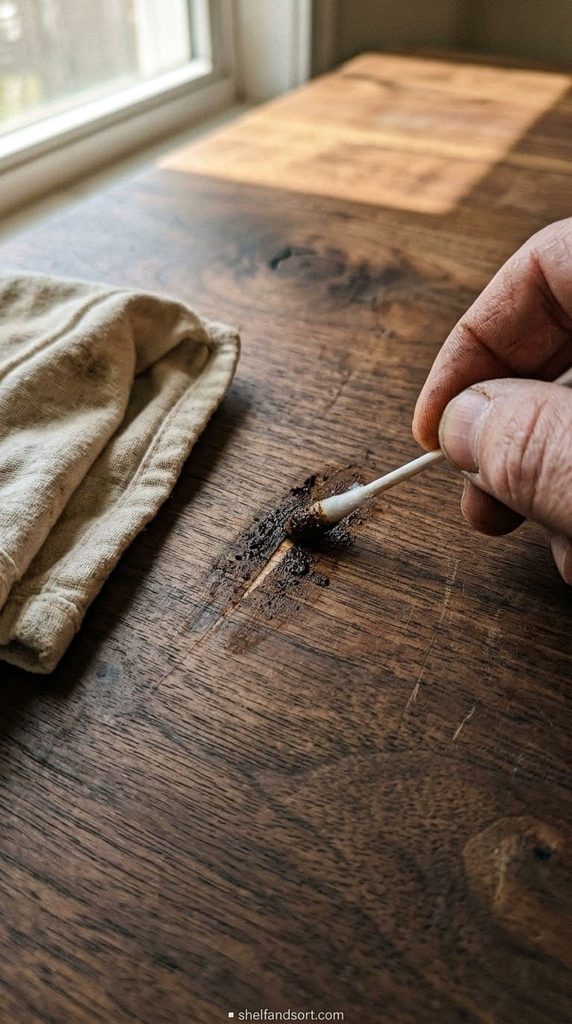
12. Cover scuffs on dark leather shoes and bags
A scuffed toe on black or brown leather takes color from strong brewed coffee or a wet-grounds rub in a pinch.
Dip a cloth in cooled strong coffee or press damp grounds onto the scuff, rub gently, let it dry, then buff and apply leather conditioner. It is a quick fix between real polish jobs.
The mistake is expecting it to last like actual shoe polish. It is a temporary blend, not a repair. For anything you care about, use matched leather cream. This is for the shoes you need to look decent in an hour.
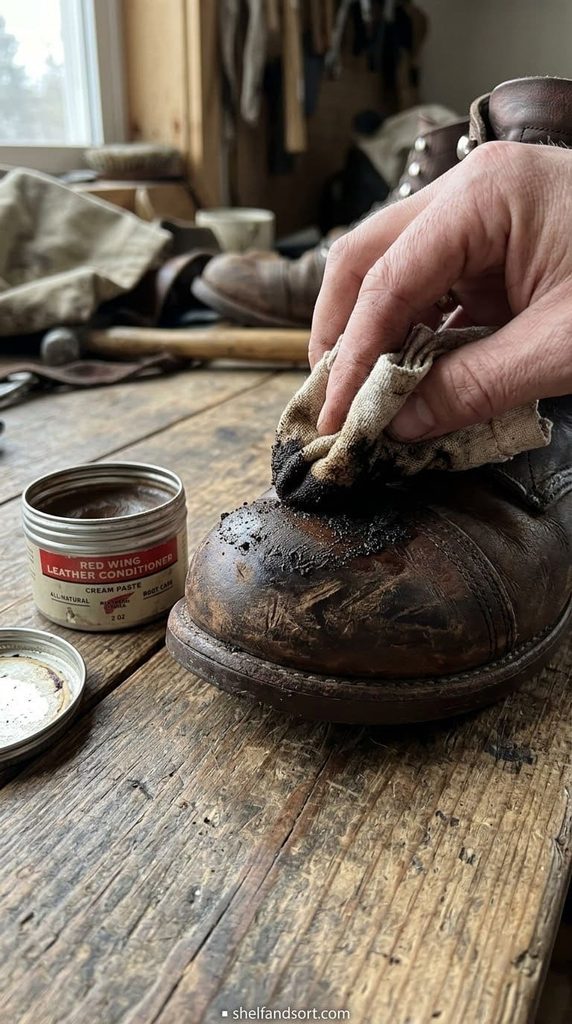
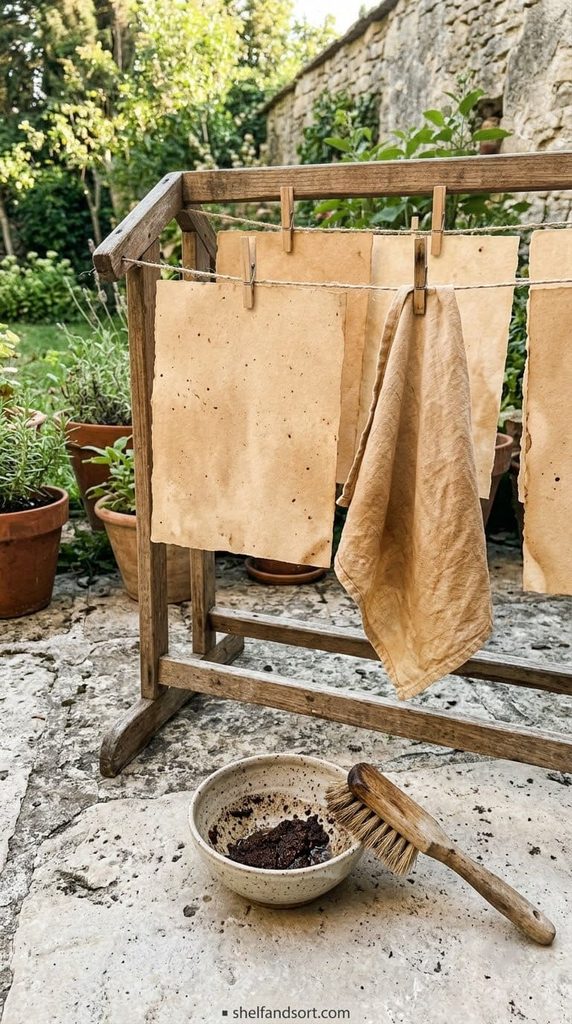
13. Dye paper, fabric, or Easter eggs a warm brown
Coffee is a real dye. Soak paper for an aged look, tint a plain cotton napkin, or color hard-boiled eggs a deep tan.
For paper, brush on strong coffee or press wet grounds and let it dry. For fabric, simmer it in strong coffee for an hour, then rinse and let it air dry. Results are muted and warm, never bright.
The mistake is expecting an even, colorfast result on synthetic fabric. Coffee dye grabs natural fibers like cotton, linen, and paper. It barely touches polyester, and it will fade with washing. Treat it as a craft finish, not permanent laundry dye.
Feed the garden, a little
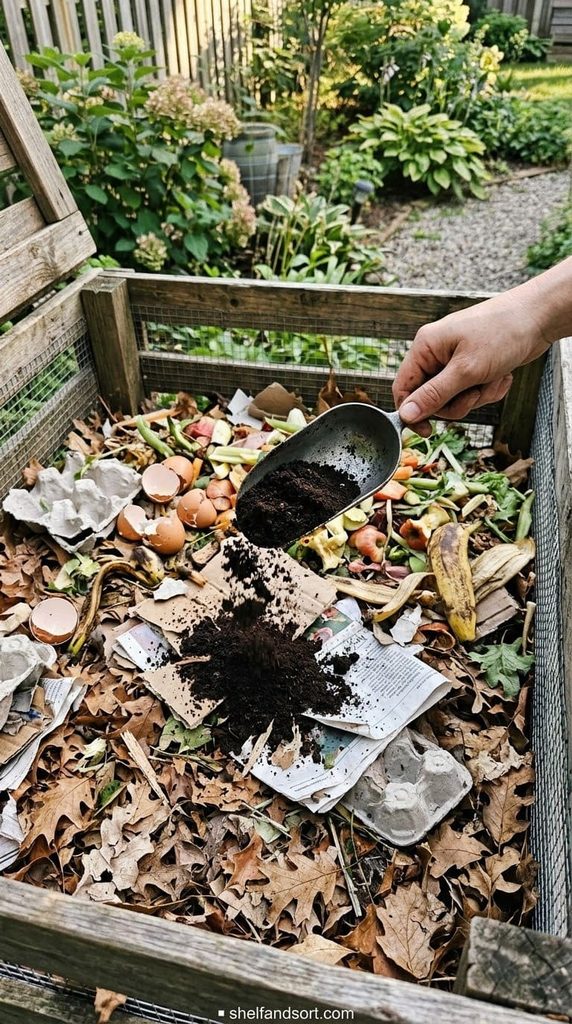
14. Add them to the compost bin as a nitrogen “green”
This is the highest and best use for the grounds you cannot use up any other way. In a compost pile, coffee grounds count as a “green,” a nitrogen source, even though they look brown.
Used grounds are about 2 percent nitrogen by volume, according to Cindy Wise, who coordinated the compost specialist program at the Lane County office of the Oregon State University Extension Service. Add them in a layer, then balance with an equal volume of “browns” like shredded paper, dried leaves, or cardboard. Their carbon-to-nitrogen ratio is around 20 to 1, close to the ideal for a pile.
The mistake is dumping a thick wet mat of grounds into the bin all at once. It packs down, goes anaerobic, and starts to stink. Layer it thin and mix it in.
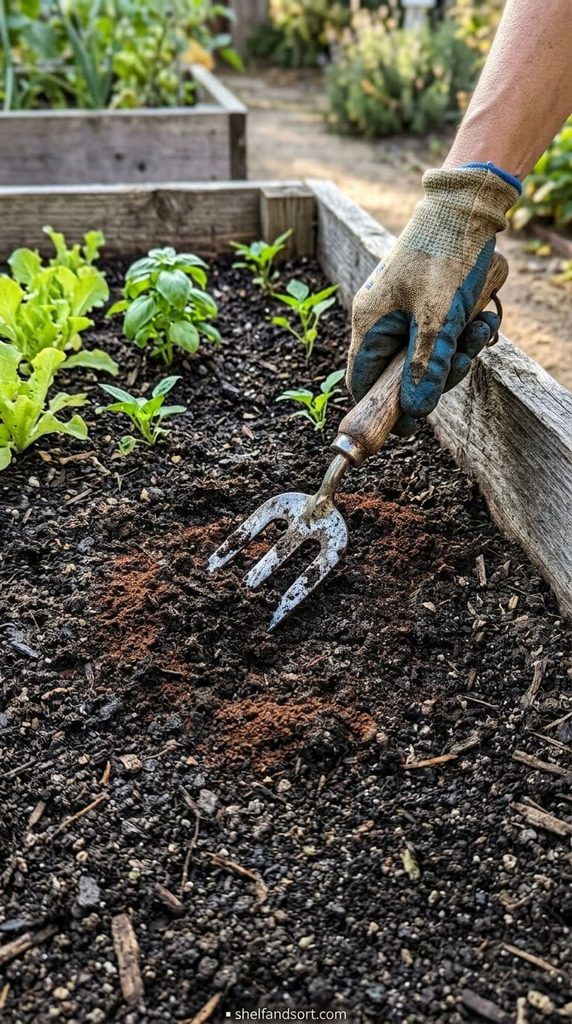
15. Work a thin layer into vegetable beds and around plants
You can use grounds directly in the garden, but the operative word is thin. Gail Reynolds of the University of Connecticut Extension recommends no more than a half inch of grounds at a time, and drying them first, because a thicker layer compacts into a crust that blocks water and air.
Scratch that thin layer into the top inch of soil rather than leaving it on the surface. Better still, use composted grounds, which sidestep the crusting problem entirely.
Two myths to drop. Grounds do not reliably make soil acidic. WSU Extension horticulturist Linda Chalker-Scott notes that the common assumption that coffee grounds are acidic “does not hold true experimentally”, because the acid leaves with the liquid when you brew. And fresh grounds can actually slow young plants down, so stick to used ones, thinly.
The mistake that matters most: if you have a dog or cat with yard access, keep grounds out of the open soil. According to the Pet Poison Helpline, caffeine is toxic to pets, dogs and cats are more sensitive to it than people are, and used grounds still hold enough to make a small dog sick. Compost in a closed bin instead, or bury the grounds.
16. Feed a worm bin
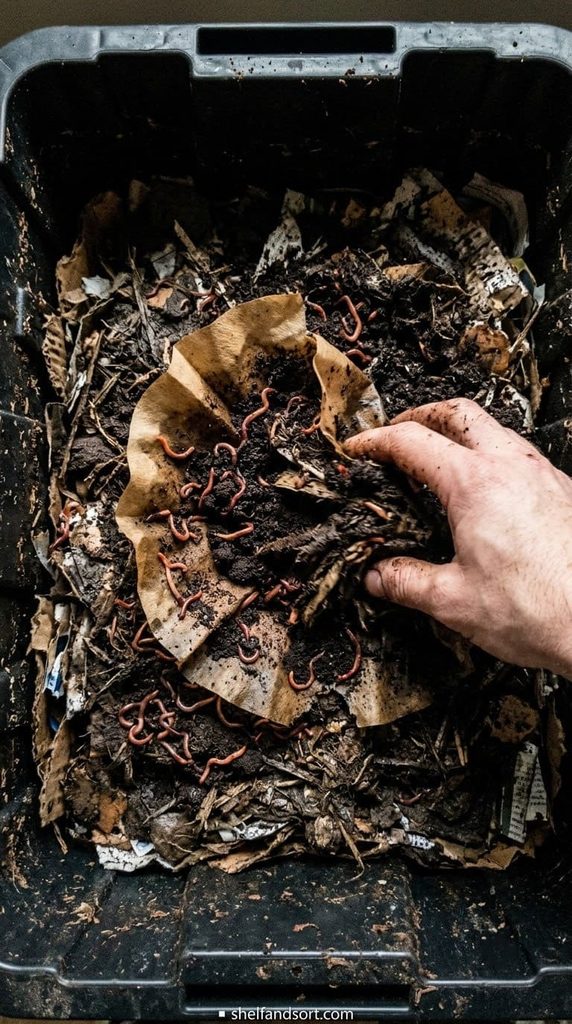
Composting worms will eat used coffee grounds and the paper filter with them. Grounds are a good regular part of a worm bin’s diet.
Add grounds in small amounts, mixed through the bedding, not in one pile. A thin scatter once a week is plenty for a home bin. The worms also seem to like the slight grit, which helps their digestion.
The mistake is overloading the bin with grounds, which can heat up as they break down and drive the worms to the far corner. Keep grounds to no more than a quarter of what you add in a given week.
17. Mix a small amount into seed-starting or potting soil
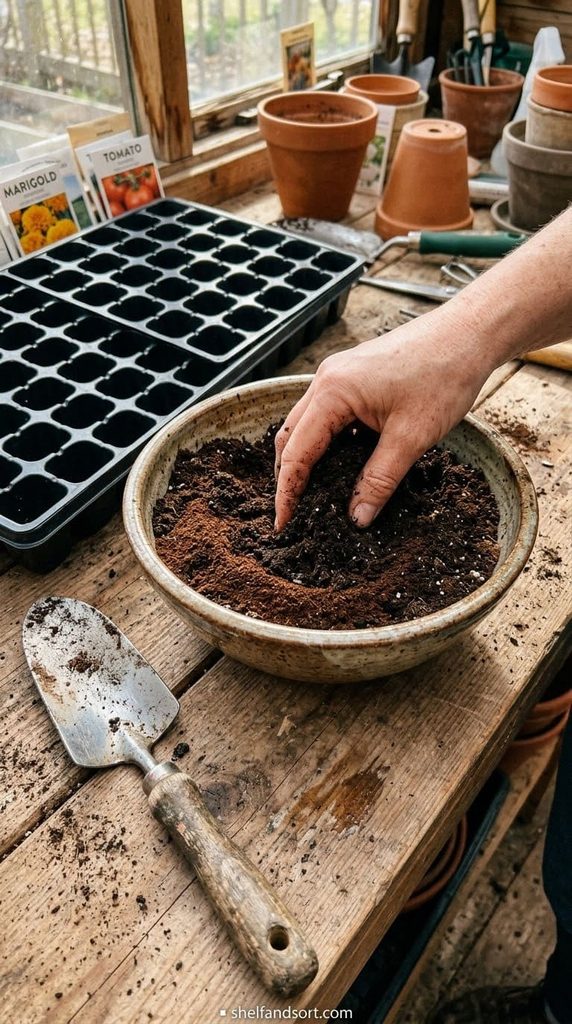
A little used grounds mixed into potting mix adds organic matter and a slow trickle of nutrients as it breaks down.
Keep it to about one part grounds to four parts mix, and use grounds that are fully dry or already composted. Blend it through evenly rather than layering it.
The mistake is a heavy hand. Too much grounds in a small pot holds water against the roots and can mat into a barrier near the surface. In a container, less is genuinely more.
Personal care and one for fun
18. Make a gritty body or foot scrub
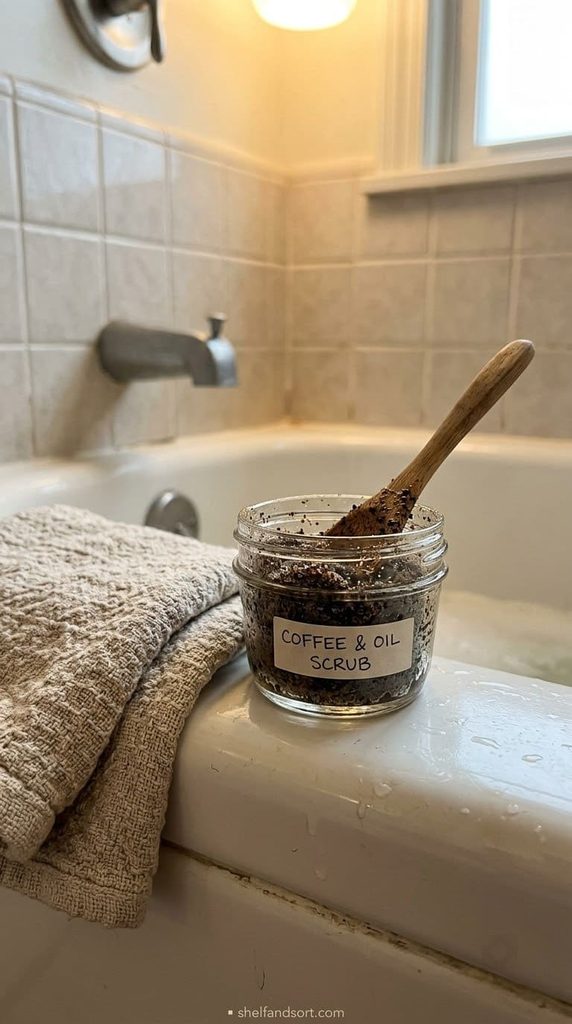
Used grounds are a cheap exfoliant. Mixed with a bit of oil, they scrub off dead skin, and rough heels are the best use.
Stir a few spoonfuls of grounds into coconut or olive oil until it holds together. In the shower, rub it over damp skin in circles, focusing on elbows, knees, and heels, then rinse. The oil leaves skin soft.
The mistake is using it on your face if your skin is sensitive, or on broken or sunburned skin. The grit is coarse. For the face, grind the grounds finer first, or skip it. And expect an oily shower floor, so rinse it down well so nobody slips.
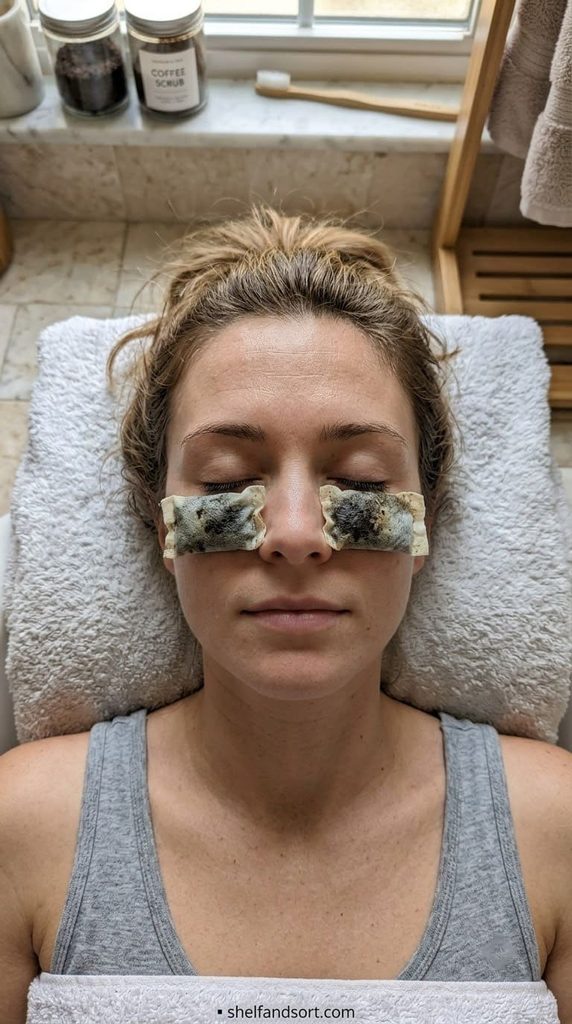
19. Press a cooled compress on puffy under-eyes
Caffeine constricts blood vessels, which is why it shows up in eye creams. A cooled coffee-grounds compress does a mild version of the same thing.
Mix cool used grounds with a few drops of water, wrap a spoonful in a thin cloth or a used tea bag shape, and rest it under each eye for 10 minutes. Keep it below the eye, not on the lid.
The mistake is putting loose grounds straight on the skin near your eyes, where a stray bit can scratch the cornea. Always keep the grounds inside a cloth barrier. Rinse gently after.
20. Grow oyster mushrooms on spent grounds
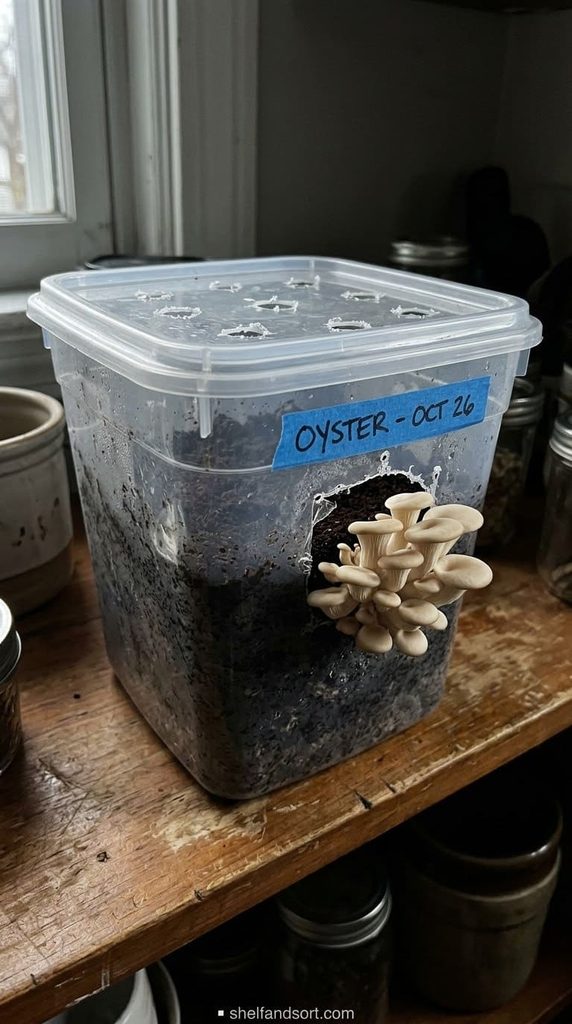
Spent coffee grounds are already pasteurized by the brew and rich enough to grow gourmet mushrooms. Oyster mushrooms are the easy starter.
Mix fresh spent grounds with oyster mushroom spawn in a clean container with a few air holes, keep it dark and around room temperature, and mist it. In a few weeks you get pinning, then mushrooms. Kits make the first try simpler.
The mistake is using grounds that already sat out and grew other mold before you inoculated them. Use grounds within 24 hours of brewing for this one, and keep everything clean, or the wrong fungus wins.
Which use fits your leftover grounds
| What you’ve got | Best uses | Skip |
|---|---|---|
| A cup or two, dried | Fridge deodorizer, odor sachets, pot scrub, dark-wood scratch fix | Anything needing bulk, like garden beds |
| Grounds every single day | Compost or worm bin as the main outlet, sachets and scrubbing on rotation | Letting them pile up wet on the counter |
| Wet grounds, no time to dry | Freeze in a bag, or straight to the compost bin | Sealed jars, potpourri, sachets |
| A dog or cat in the house or yard | Closed compost bin, indoor uses kept up high | Grounds on open soil, low sachets, trash-can scatter a pet can reach |
| Renting, no outdoor space | Deodorizing, cleaning, leather and wood fixes, freeze the rest | Compost pile, worm bin unless you want one indoors |
The rule that keeps saved grounds from becoming clutter
Coffee grounds are useful right up until you are storing four soggy containers of them “to use later.” Then they are just wet trash taking up counter space.
Keep about a week’s worth of dried grounds in one airtight container. That is enough for the deodorizing and cleaning jobs that come up in a normal week. Everything past that goes to the compost bin or the trash the day it is made, not into a second jar.
Run a quick check when you do your weekly kitchen reset. Is the grounds container still just one, is it dry inside, does it smell like coffee and not like mildew. If it smells off, dump it and start fresh. Grounds are free, so there is no reason to nurse a bad batch.
And keep the safety list short and firm. Nothing down the drain, because grounds bind with grease and clog the trap. Nothing within a pet’s reach, because caffeine is toxic to dogs and cats. Nothing stored wet, because mold. Follow those three and the rest of this list is upside with no downside.
Frequently asked questions
How long do used coffee grounds last before they go bad?
Wet used grounds start growing mold in two to three days at room temperature. Dried grounds, kept in an airtight container, stay usable for a few weeks to a couple of months. The way to tell they have turned is the smell. Fresh dried grounds smell like coffee. Bad ones smell musty or sour, and you may see gray or white fuzz. Since grounds cost nothing, throw out any batch that smells off rather than trying to use it. To keep grounds longer, freeze them wet in a sealed bag and dry a batch only when you need it.
Do coffee grounds really make soil more acidic for plants like hydrangeas and blueberries?
Not reliably. This is one of the most repeated garden myths. WSU Extension horticulturist Linda Chalker-Scott has pointed out that the assumption coffee grounds are acidic does not hold up in testing. Most of the acid in coffee dissolves into the liquid when you brew it, so used, brewed grounds test close to neutral, roughly pH 6.5 to 6.9. If you want to acidify soil for acid-loving plants, use a product made for that, like elemental sulfur or an acidic fertilizer, and test your soil first. Use coffee grounds for their organic matter and slow nitrogen, not for pH.
Are used coffee grounds safe around dogs and cats?
Treat them as not safe. Caffeine is toxic to dogs and cats, and per the Pet Poison Helpline, pets are more sensitive to it than people are. Used grounds hold much less caffeine than fresh, but a curious small dog eating a sachet or a scoop from the garden can still get sick, with symptoms like a racing heart, restlessness, vomiting, and tremors. Keep grounds in a closed compost bin, not scattered on open soil. Store indoor sachets and bowls up high or inside a closed cabinet. If a pet does eat grounds, call your vet or the Pet Poison Helpline right away.
Can I put coffee grounds down the drain or in the garbage disposal?
No. Coffee grounds do not break down in water. They clump together, bind with the grease already in your pipes, and settle in the P-trap, which is one of the most common causes of a slow kitchen drain. This is true even with a garbage disposal running. Scrape grounds into the trash, the compost, or a container for the garden instead. If grounds have been going down your drain for a while and it is draining slowly, that buildup is likely part of the reason.
What is the single best thing to do with leftover coffee grounds?
Compost them. For most households that make coffee every day, no list of clever uses will absorb grounds as fast as you produce them, and a compost bin turns the daily surplus into something genuinely useful for the yard or for houseplants. Grounds compost well as a nitrogen “green,” balanced with an equal volume of dry browns like shredded paper or leaves. Keep a small canister of dried grounds for the household jobs, deodorizing and scrubbing, and send the rest straight to the compost the day you make it.
Products We Recommend
This post contains affiliate links. We may earn a commission on qualifying purchases at no extra cost to you.
Coffee Gator Stainless Steel Canister, 16 oz, Airtight
This is the "one container, a week's worth" from the maintenance rule. The lid has a one-way valve and a date wheel, so you can seal dried grounds, note when you filled it, and dump the batch on schedule. Stainless steel means it will not hold coffee smell the way plastic does once you rinse it. The 16-ounce size is deliberately small, which stops you from stockpiling more than you will actually use.
Shop Now
Epica Stainless Steel Kitchen Compost Bin, 1.3 Gallon, Charcoal Filter
This is the main outlet for grounds you cannot use up, idea 14. The activated charcoal filter in the lid handles the smell so it can sit on the counter next to the coffee maker, which is the only way a compost habit actually sticks. It holds about a week of grounds plus other kitchen scraps before you empty it. Rinse and swap the filter every couple of months.
Shop now
Muslin Drawstring Sachet Bags, 60 Pack, 3 x 4 inch, Unbleached Cotton
These are for ideas 5 and 6, the odor sachets. Fill each about three-quarters with dry grounds, cinch the drawstring, and drop them in shoes, gym bags, the car, and closet corners. At 60 bags for the price, you can keep a rotation going and just compost the fill when it stops working. The natural cotton breathes, which is what makes the grounds absorb odor through the bag.
Shop now