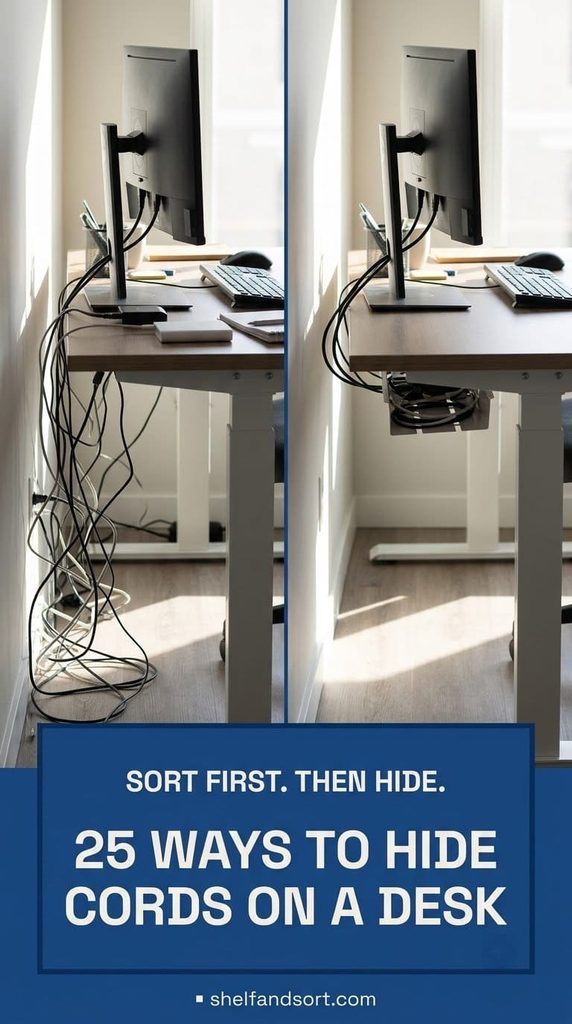
25 Clever Ways to Hide Cords on a Desk That Stay Hidden
Most desk cord fixes fail because they hide the mess without sorting it first. This guide gives you 25 ways to hide cords on a desk, split into a plan, the hardware, and the reset habit, so the cables stay hidden instead of creeping back in a month.
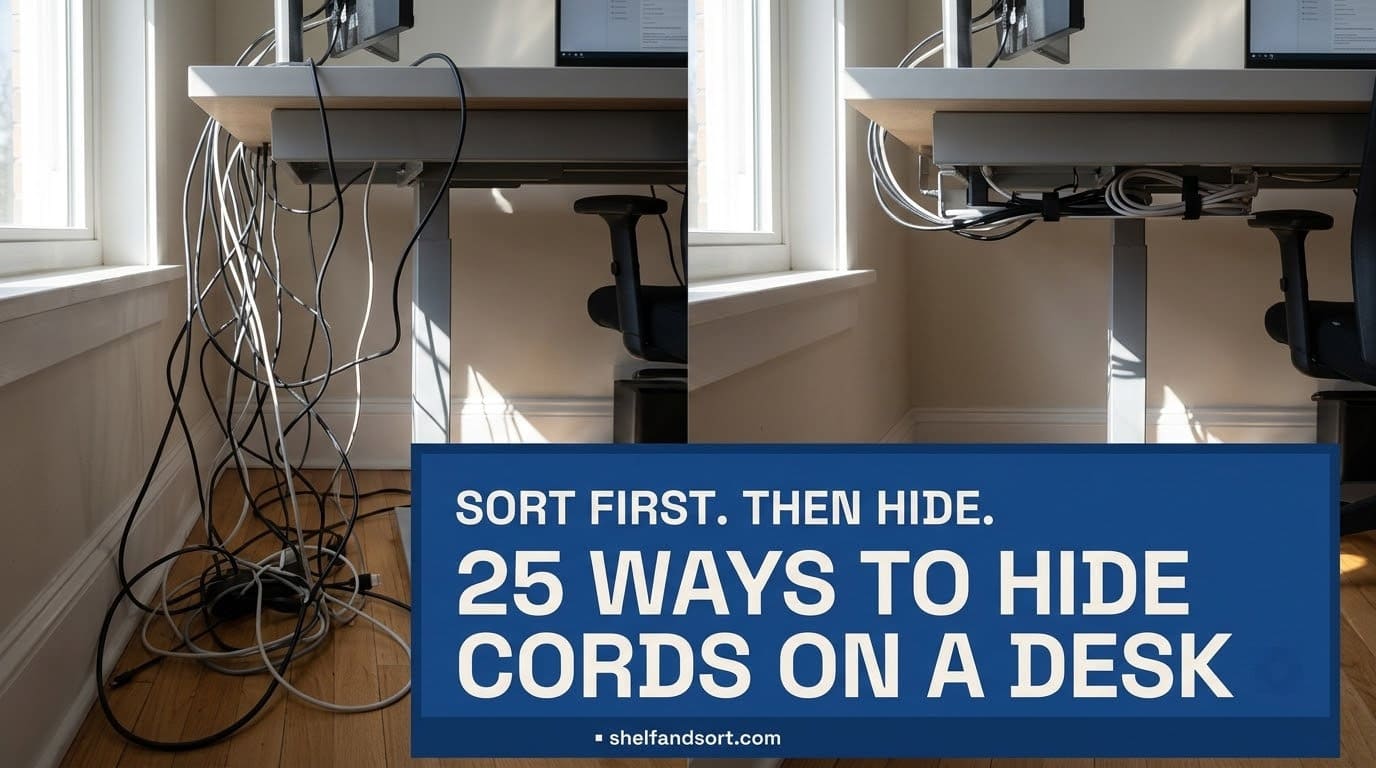
The right way to hide cords on a desk is to sort them before you hide them. First, split every cable into two groups: the ones you unplug often, like a laptop or phone charger, and the ones that never move, like the monitor and lamp. Give the permanent cords a fixed path with an under-desk cable tray and a box for the power strip.
Give the daily cords a short, reachable route with a clip at the desk edge and a weighted cord catch so they do not slide off. Feed cables through a desk grommet instead of over the edge, run the floor cord down one desk leg or a wall raceway, and leave a little slack so you can still pull the desk out to clean.
Then label both ends of every cord and spend five minutes tidying them in your weekly desk reset. Do not coil extra length tight or run cables under a rug. The Electrical Safety Foundation International warns that bundled and covered cords trap heat and are a real fire risk.
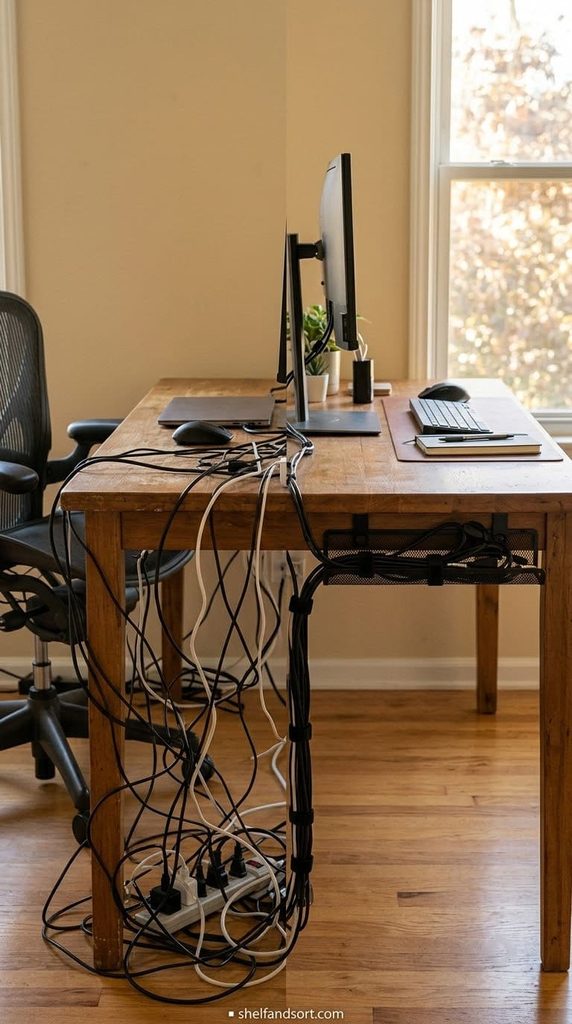
Two questions to answer before you hide a single cord
Every “hide your desk cords” list skips the step that decides whether the fix lasts. Answer these two first.
Which cords do you actually unplug? Walk around your desk and pull on each cable. A laptop charger, a phone cable, maybe a camera or a headset dock get moved every day or two. The monitor, the lamp, the speakers, the router almost never move. Those are two different problems. Permanent cords want a hidden, fixed path. Daily cords want a short path you can reach without crawling.
Where does the desk plug in, and how far is the outlet? Measure it. If the outlet is six feet away and behind a bookshelf, your floor run needs a plan of its own, not just a clip under the desk. Knowing the real distance also tells you whether your cords are three feet too long, which is the single biggest reason desks look messy.
Professional organizer Lori Gersh, owner of Leave It 2 Lori in Calabasas, California, splits the job the same way: the active cords you use around the desk, and the pile of cords people collect over the years without knowing what they plug into. Sort both before you buy a single clip.
Jamie Hord, co-founder of Horderly Professional Organizing, adds the reason it is worth doing. With a more organized space, she says, the brain is simply better able to concentrate on the task in front of you. A nest of cables in your eyeline is low-grade noise all day.
With those two answers, here are the 25 ideas, grouped into the plan, the hardware, and the habit.
Start with a plan
1. Split every cord into daily and permanent
Before any hardware, sort. Pull the desk away from the wall and look at what is back there.
Make two mental piles. Permanent: monitor, lamp, speakers, router, printer, anything you have not unplugged in a month. Daily: laptop charger, phone cable, headset, camera, anything that moves. Route them separately. The permanent group gets a fixed, hidden path you set once. The daily group gets a short route to the desk edge you can grab without tools.
The mistake is running everything into one big bundle. Then unplugging the laptop means dragging six other cords with it, and the whole thing pulls loose within a week. Keep the two groups on separate paths from the start.
Short on time? Just separate the one or two cords you unplug daily from the rest. That alone fixes most of the daily tangle.
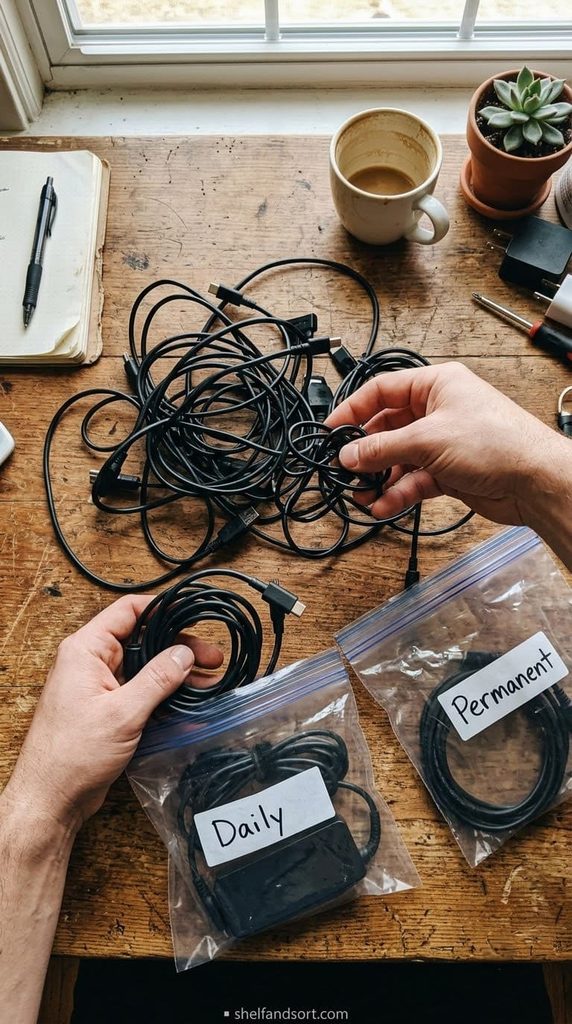
2. Unplug everything and measure before you buy anything
Do not order clips and trays yet. Unplug every cord, pull it out straight, and measure the real distance from each device to where it needs to go.
Write it down. Monitor to power strip: 2 feet. Desk to wall outlet: 6 feet. Laptop spot to charger brick: 3 feet. Now you know what length cords you actually need and how big a tray or raceway has to be. You will almost always find two or three cords that are five feet longer than the job needs.
The mistake is buying a cable management kit first, then trying to force your setup to match it. You end up with a 24-inch tray for a 40-inch run of cables and a drawer full of clips you never use.
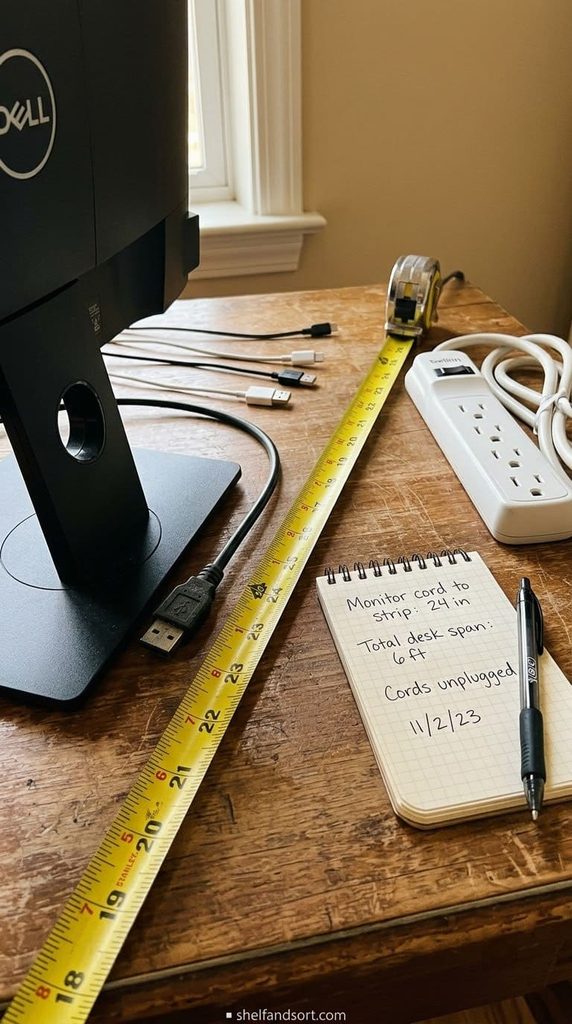
3. Decide where the “cord hub” lives
Pick one spot where the power strip, the chargers, and the excess cord length all collect. Usually that is the back left or back right corner under the desk, closest to the wall outlet.
Everything routes toward that hub. The monitor cord goes there, the lamp cord goes there, the laptop brick sits there. One spot to hide well instead of six spots to hide badly.
The mistake is a floating power strip on the floor in the middle. It slides, it collects dust, and every cord to it crosses open space where you see it. Anchor the hub to one corner and keep it off the floor, which the next section covers.
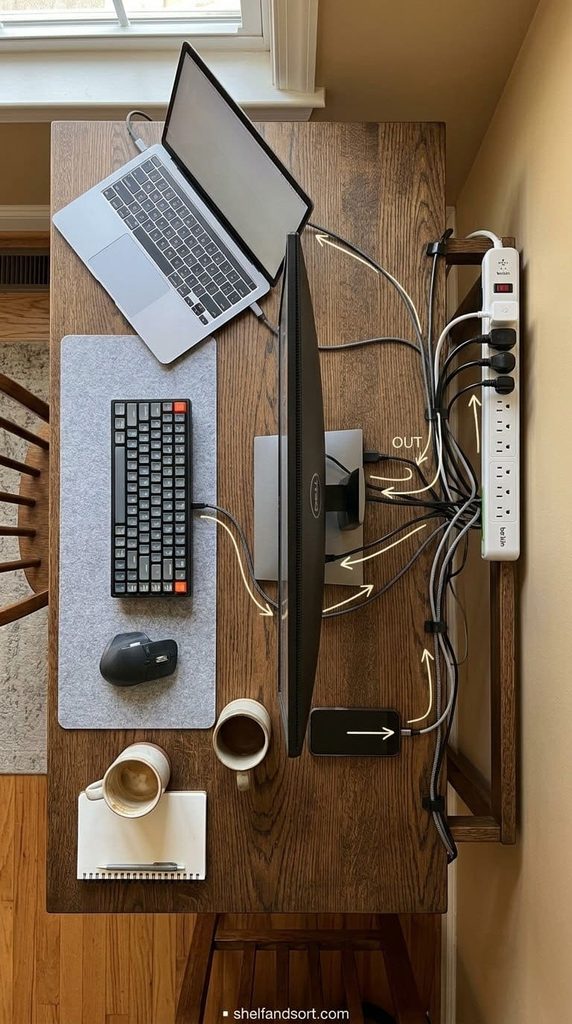
4. Map the floor run before you touch the desk cords
The stretch from the desk to the wall outlet is its own project. Look at the actual path. Does it cross a walkway? Run along a baseboard? Disappear behind a cabinet?
If it runs along the wall, plan for a raceway or a baseboard channel (ideas 6 and 18). If it has to cross open floor where people walk, plan for a floor cord cover (idea 24). Decide this now so the desk-side tidying and the floor-side tidying meet in the middle instead of leaving a messy gap.
The mistake is perfecting the under-desk tray and leaving a single fat cord snaking across the rug to the outlet. That one cord undoes the whole look, and a cord loose on a walkway is a trip hazard.
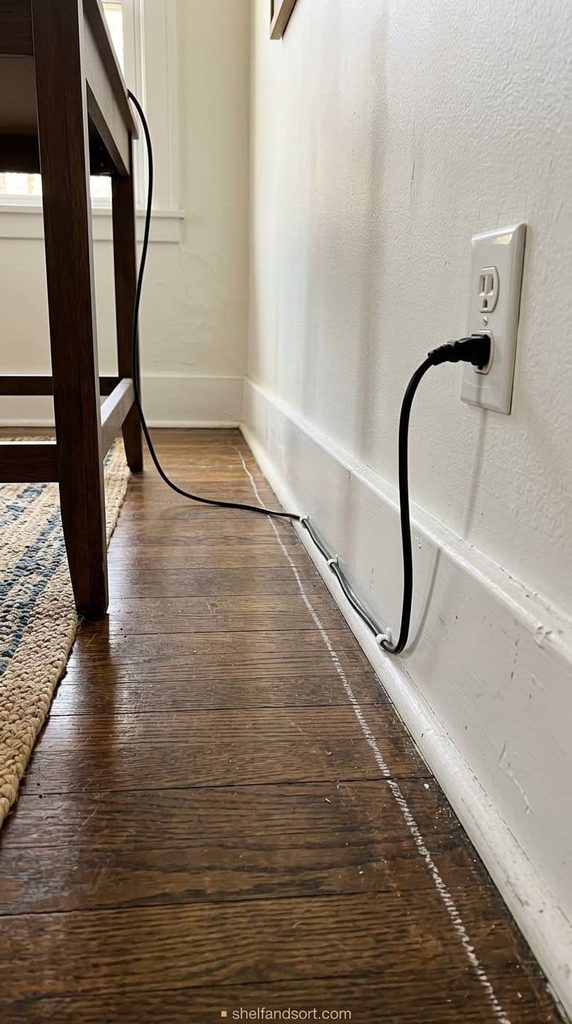
5. Keep a rental-safe version of every plan
If you rent, cross drilling and screwing off the list before you start. Almost every idea here has a no-damage version.
Under-desk tray: get a clamp-on model, not a screw-in one. Wall run: use removable adhesive raceway or a freestanding cord cover instead of a nailed channel. Drawer pass-through: use an edge clip instead of a drilled hole. Write the renter-safe swap next to each idea on your plan so you are not tempted by the permanent version mid-project.
The mistake renters make is a screw-mounted tray that leaves four holes in the desk or the wall, which can cost part of a deposit. The clamp version holds the same weight of cable and moves with you.
Hardware that hides the permanent cords
6. Run cords down the wall in a paintable cable raceway
A raceway is a slim plastic channel with an adhesive or screw back and a snap-on lid. It carries cords flat against the wall from the desk down to the outlet or up to a shelf.
Stick it to a clean, dry wall in a straight vertical line. Lay the cords in, snap the lid, and paint it your wall color so it disappears. Most raceways are half an inch to an inch wide and hold three to six standard cables.
The mistake is overstuffing it. Cram in ten cords and the lid bows off the wall and looks worse than loose cables. Size the raceway to your cord count with room to spare, and split into two channels if you need to.
Renting? Use the removable-adhesive kind and pull it off slowly with a hair dryer warming the tape when you move.
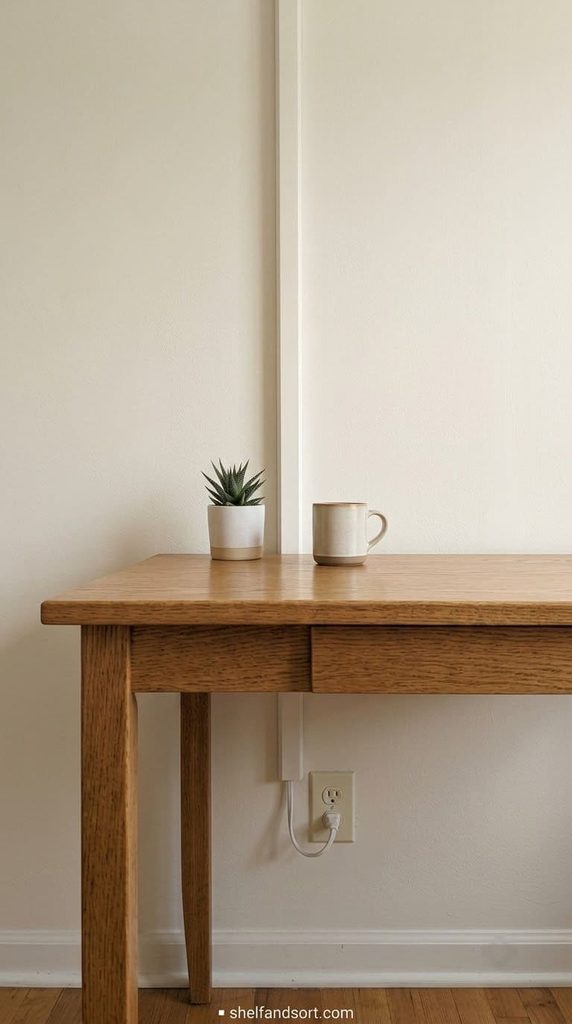
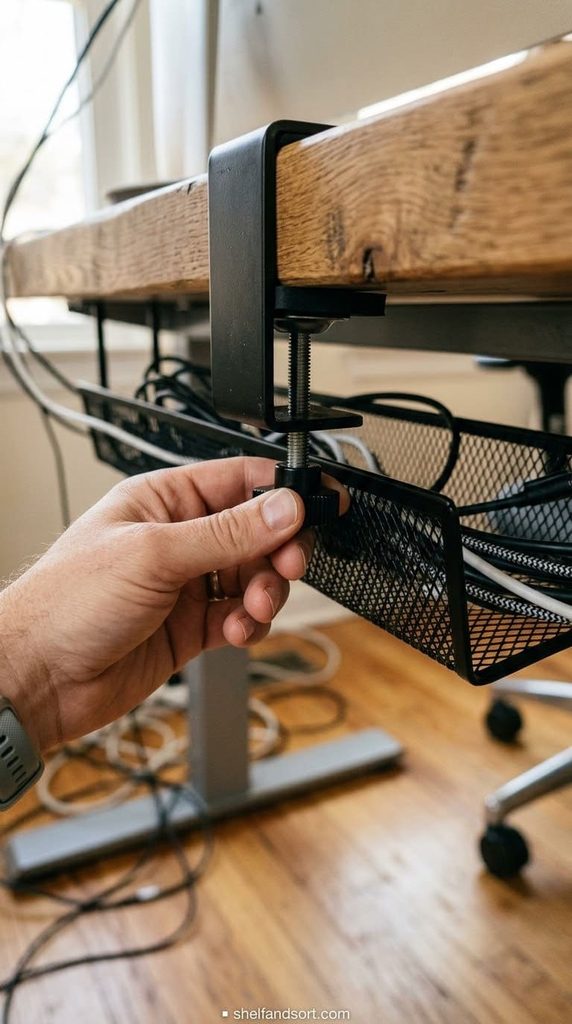
7. Mount a no-drill cable tray under the desk
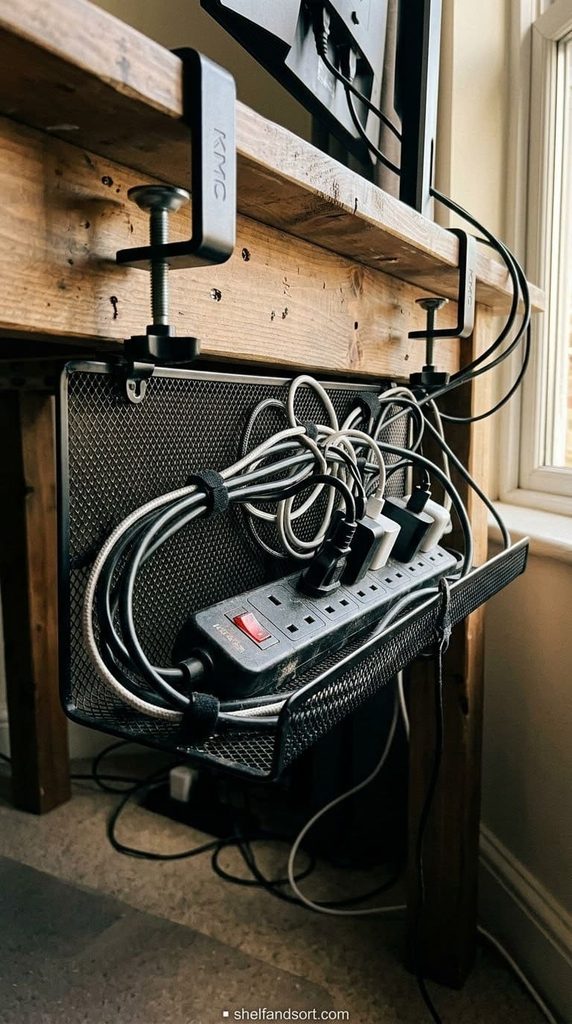
This is the core fix for permanent cords. An under-desk tray is a metal or fabric basket that holds the power strip, the chargers, and all the slack, tucked up under the desktop where you never see it.
Get a clamp-mount version if you cannot drill. Put the power strip in first, then coil each cord loosely into the tray and let the working end drop where it needs to. Mount it toward the back and toward your cord hub corner.
The mistake is mounting it dead center under the desk, where your knees hit it. Push it to the back third, behind where your chair rolls.
Only have 15 minutes? Mount the tray and just get the power strip and the two longest cords off the floor. Come back for the rest later.
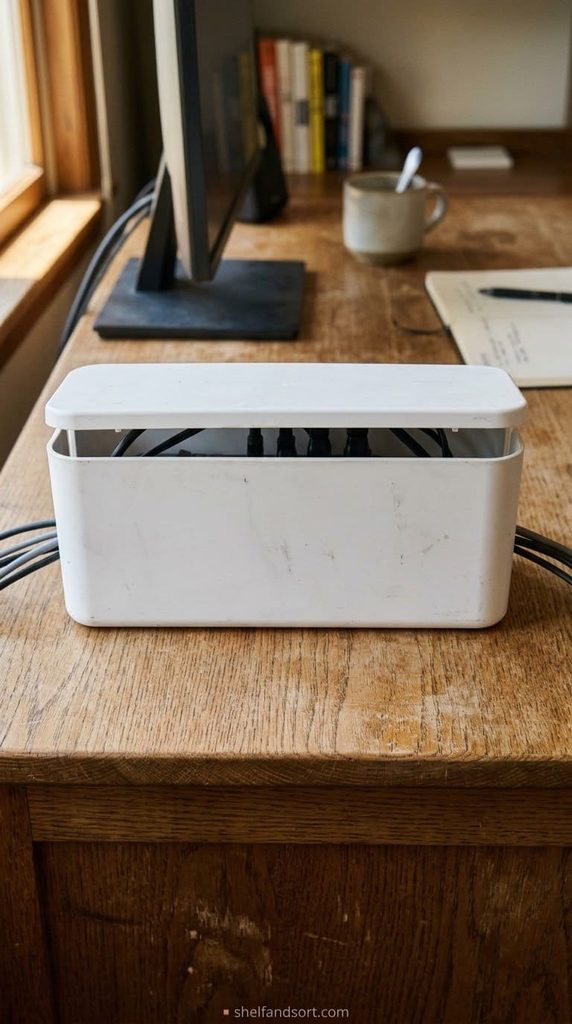
8. Put the power strip inside a cable management box
A cable box is a closed plastic case with slots at each end. The power strip lives inside, cords come out the sides, and the lid hides the plugs and the glow.
Feed the strip in, plug in only what you use, and thread the excess out the far slot into your tray. Keep the box on the desk or on the tray, not on carpet, so air still moves around it.
The mistake is packing the box full of tightly coiled extra cord. According to the Electrical Safety Foundation International, bundled and enclosed cords trap heat, and extension cords cause roughly 3,300 home fires a year. Leave the coils loose and do not overfill.
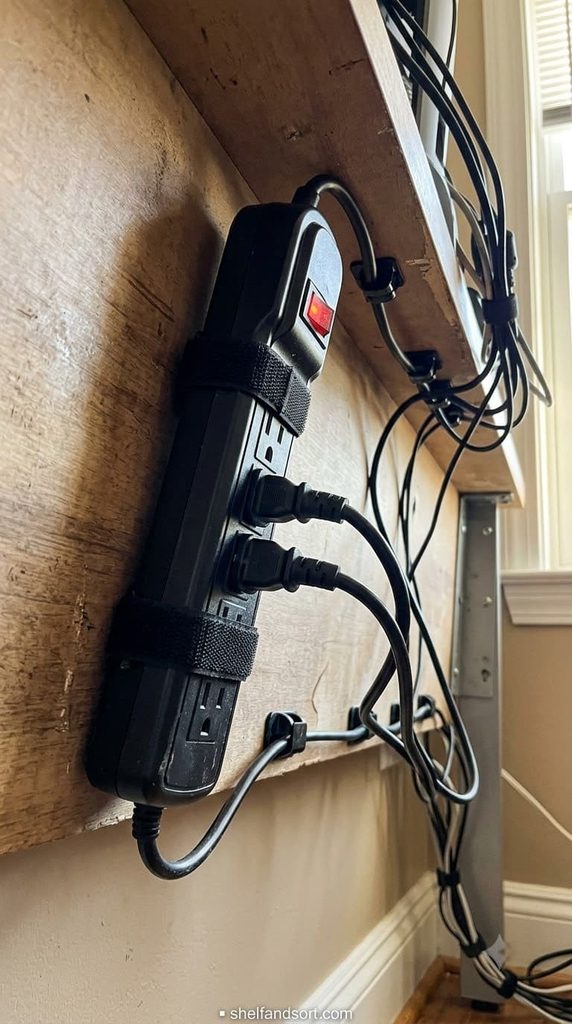
9. Anchor the power strip to the underside of the desk
Even without a full tray, getting the power strip off the floor solves half the problem. Screw it, adhesive-mount it, or strap it to the underside of the desktop near the back.
Many power strips have keyhole slots on the back for exactly this. If yours does not, two heavy-duty hook-and-loop strips or a couple of adhesive cable saddles will hold it. Mount it with the switch reachable but out of sight.
The mistake is double-sided taping a heavy strip to a dusty underside. It falls in a week. Wipe the surface with rubbing alcohol first and let it dry, then mount.
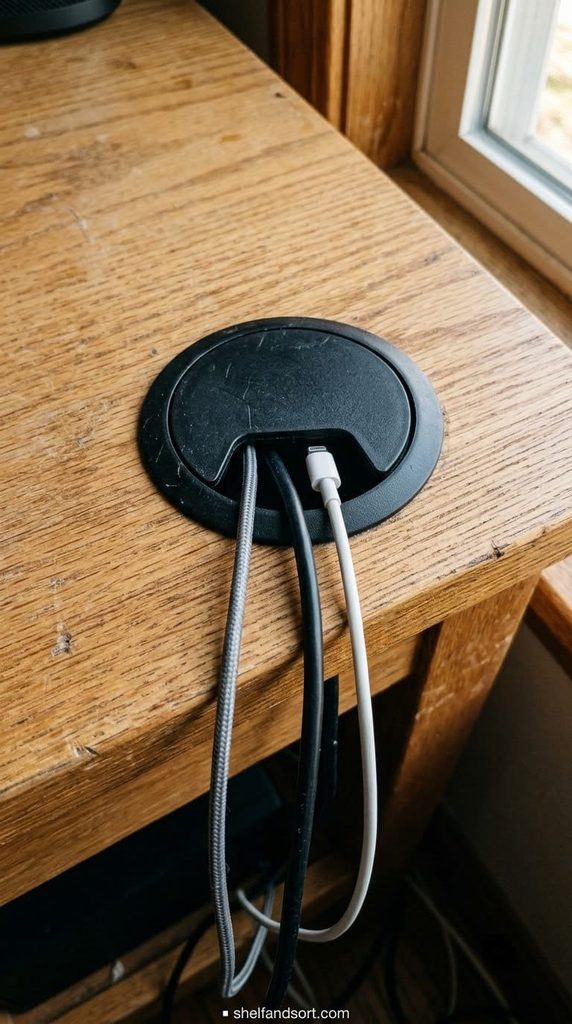
10. Feed cables through the desk grommet instead of over the edge
If your desk has a round grommet hole, use it. Cords drop straight from the desktop through the hole to the tray below, so nothing hangs over the front or side edge.
Route the monitor cable, the lamp cord, and your daily charger down through it. If the grommet cap has a slot, the cords sit in the slot and the cap still closes.
The mistake is a grommet crammed so full the cap pops off and sits crooked. Run only the cords that need to reach the desktop through it, and send everything else straight to the under-desk tray.
No grommet? Idea 11 covers the desk-edge clip route instead.
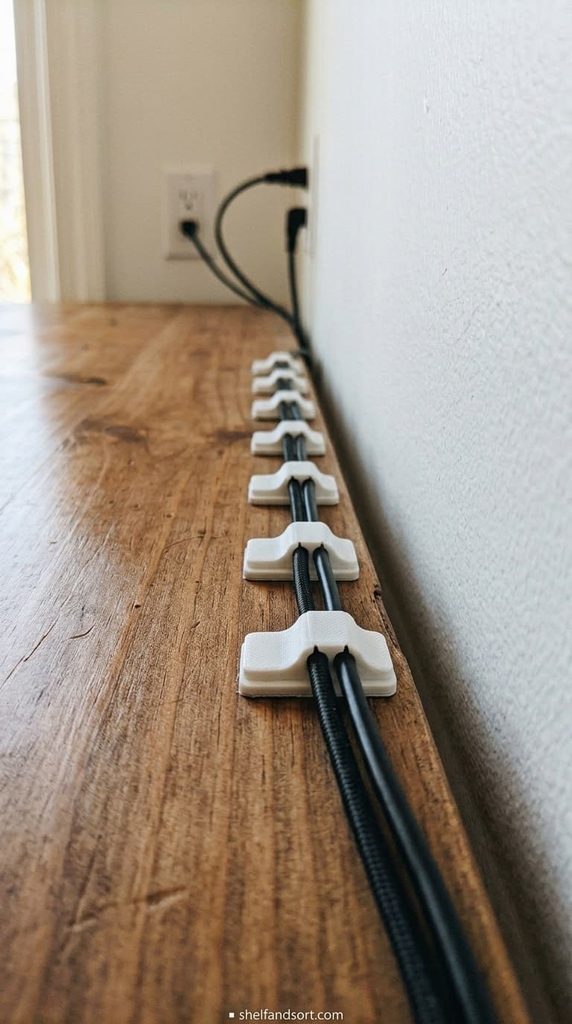
11. Line the back edge with adhesive cable clips
Adhesive clips with a small channel stick to the underside or the back edge of the desk and hold cords in a straight line instead of a droop.
Space them every 6 to 8 inches along the path you want the cord to take. Press each one for 30 seconds and wait an hour before loading cords so the adhesive sets. Run the cord along the back lip where the desktop meets the wall, so it is hidden from anyone facing the desk.
The mistake is sticking clips to raw MDF or a dusty surface. They peel. Clean with alcohol first, and on unfinished wood add a strip of painter’s tape as a base layer the clip can grip.
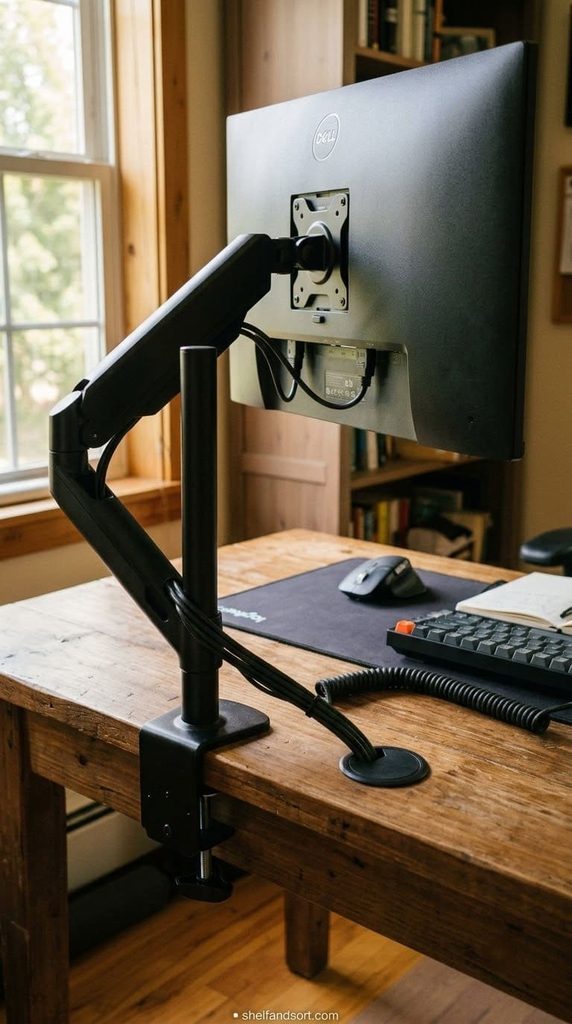
12. Route the monitor cable up through a monitor arm
A monitor arm with an internal channel or clip-on cover carries the monitor’s power and video cables along the arm, down the pole, and through the desk grommet, fully hidden.
Clamp the arm to the back edge, run the cables through the arm’s channels as you assemble it, and leave a small loop at each joint so the arm still swivels. The cables never touch the desktop.
The mistake is running the cables outside the arm and zip-tying them to it. They bind when you move the monitor and eventually the connector strains. Use the built-in channel, or a spiral wrap that flexes.
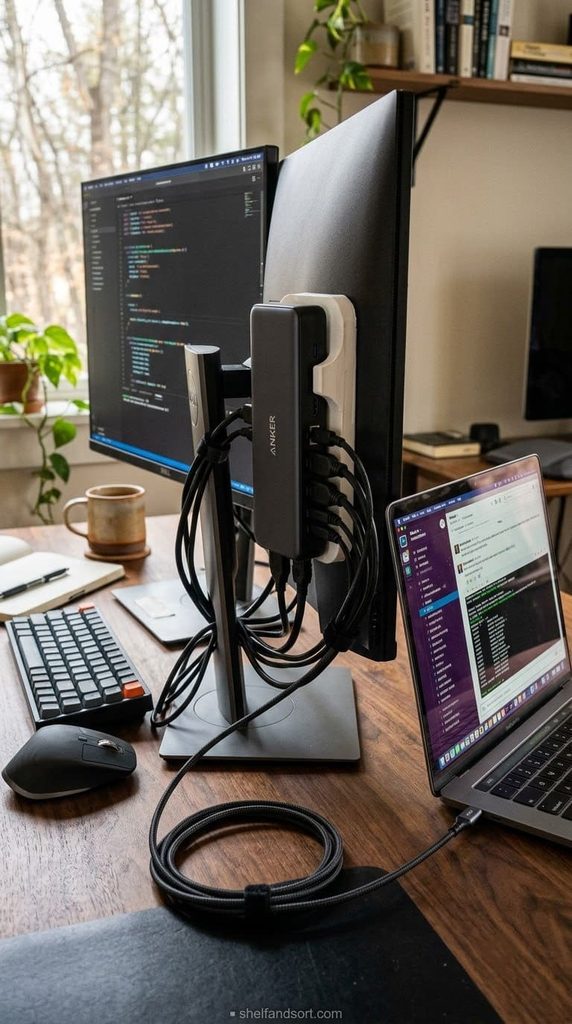
13. Hide a laptop dock or hub behind the monitor stand
A dock turns one cable to your laptop into the hub for everything else. Put the dock itself out of sight, behind the monitor foot, on the tray, or stuck to the back of the monitor.
Run all the peripheral cables into the dock back there, so the only thing crossing your desk is the single laptop cable. Mount the dock vertically with an adhesive holder to save space.
The mistake is leaving the dock loose on the desktop with six cords fanning out of it. That is the exact clutter you are trying to hide, just concentrated. Get it behind something.
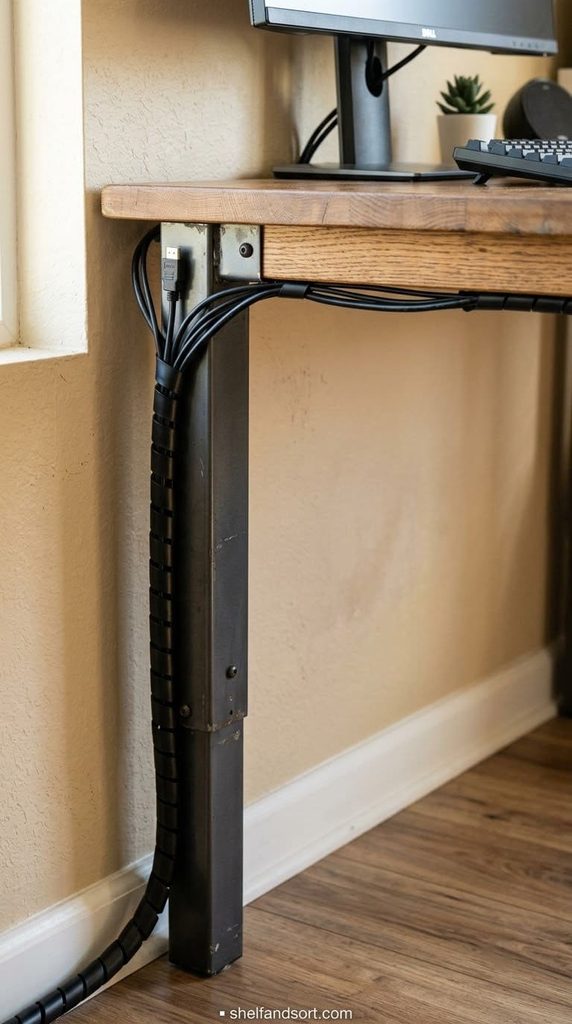
14. Send the floor cord down a single desk leg
Pick the desk leg closest to your cord hub and make it the one cord highway to the floor. Everything that has to reach the outlet runs down that leg together.
Wrap the bundle to the leg with a spiral cable wrap or a hook-and-loop sleeve, or use leg-mounted clips. Keep it on the wall side of the leg so it is hidden from the room.
The mistake is splitting cords across two or three legs. Now you have three visible cord runs instead of one. Consolidate to one leg, even if a couple of cords have to travel sideways under the desk first.
15. Wrap bundled cords in a fabric cable sleeve
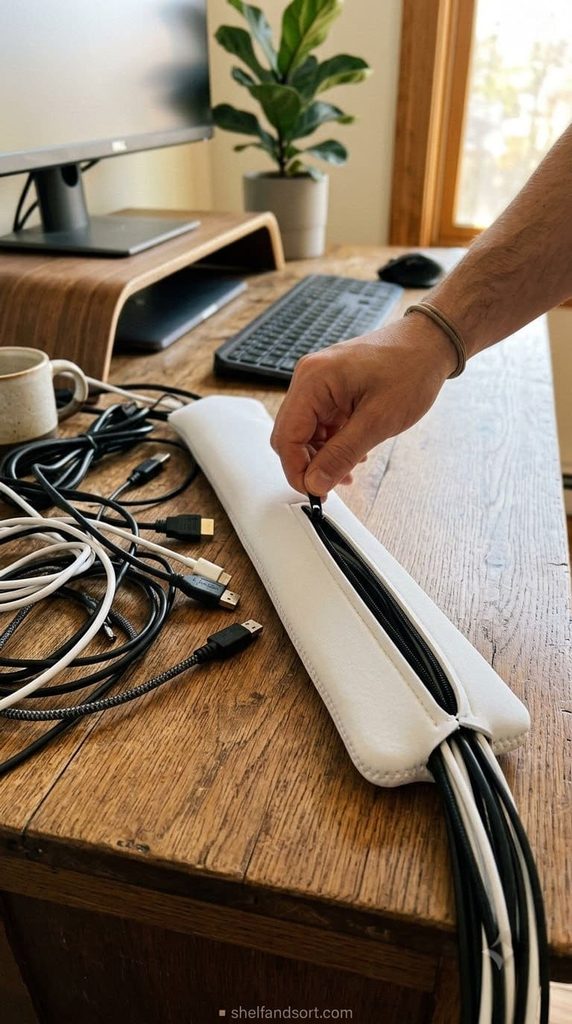
A cable sleeve is a fabric tube that zips or wraps around a group of cords so a six-cord bundle reads as one clean cable.
Group cords that travel the same route, lay them in the sleeve, and close it. Cut a small gap or use the sleeve’s opening where a cord needs to branch off. Trim the sleeve to length so there is no empty tail flapping.
The mistake is sleeving cords that split in different directions two inches later. You fight the sleeve the whole way. Only sleeve the section where the cords genuinely run together.
16. Add a service loop so you can still move the desk
Do not pull every cord tight. Leave 8 to 12 inches of slack near the desk, coiled loosely and clipped up into the tray.
That loop lets you slide the desk out a foot to vacuum behind it or fish out a dropped pen without unplugging anything. When the desk goes back, the loop takes up the slack again.
The mistake is a drum-tight run from monitor to outlet. The first time you bump the desk, a plug rips half out of the socket, which arcs and damages the outlet over time. Slack protects the connection.
17. Route cords behind a bookshelf, plant, or desk-back panel
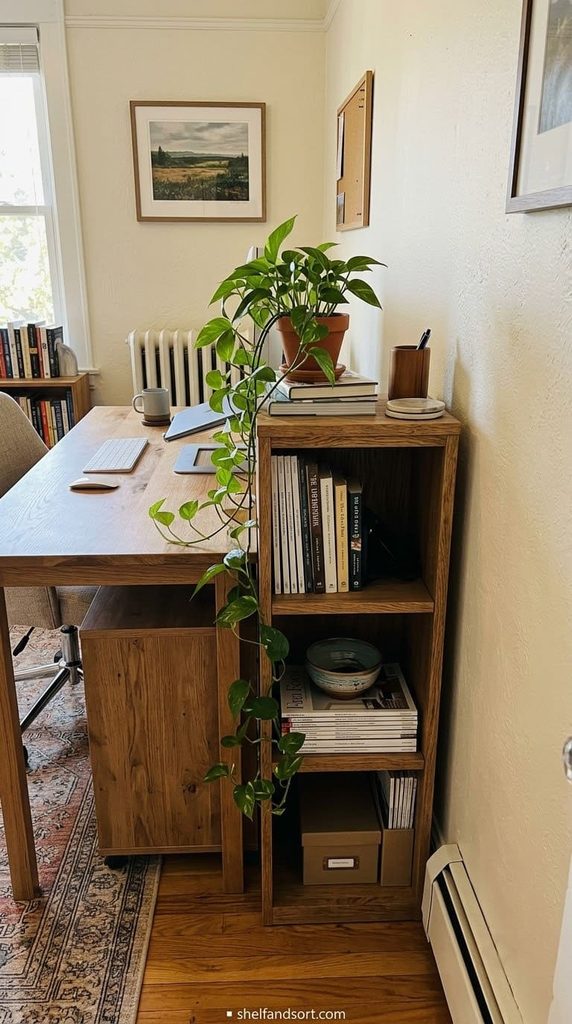
If the desk sits against a wall, put something low between the desk back and the wall. A short bookshelf, a big trailing plant, a slim storage cabinet, or a purpose-made desk-back panel.
Cords run in the gap behind it, invisible from any seat in the room. This is the easiest fix for a desk that floats a few inches off the wall and shows its back.
The mistake is picking something with an open back and open sides, so the cords are just framed instead of hidden. Use a solid-back piece, or add a fabric panel to the back of an open shelf.
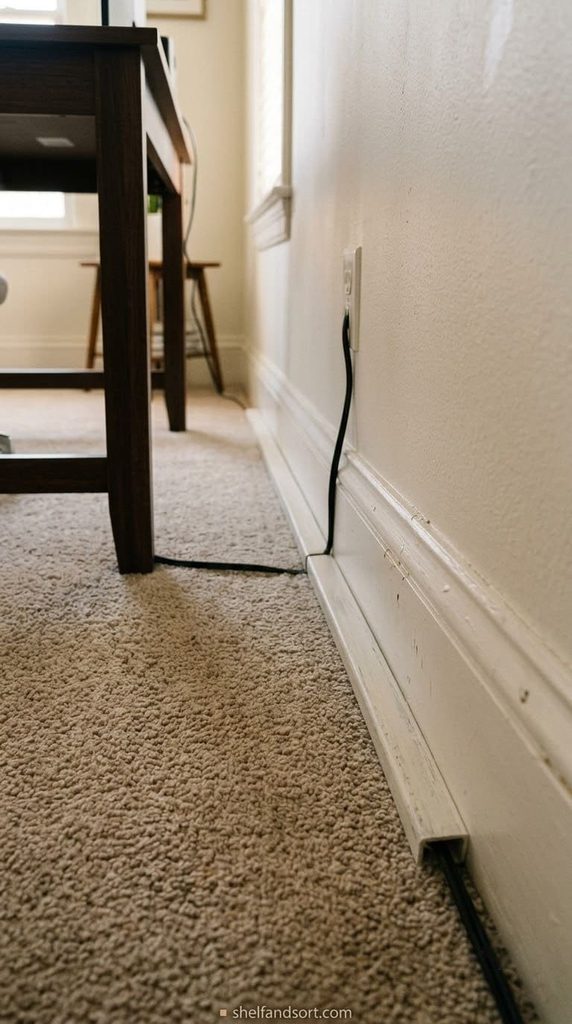
18. Snap a cable channel onto the baseboard for the floor run
Where the cord travels along the wall at floor level, a baseboard-height cable channel or a slim cord cover carries it flat against the trim.
Run it in one straight line along the baseboard from the desk leg to the outlet. Adhesive-back versions press on, and you can paint them trim color. This handles the last few feet the raceway and the desk leg do not.
The mistake is letting the floor cord bow out into the room in a lazy arc. Anyone walking past can catch a foot on it. Pinned flat to the baseboard, it is both hidden and safe.
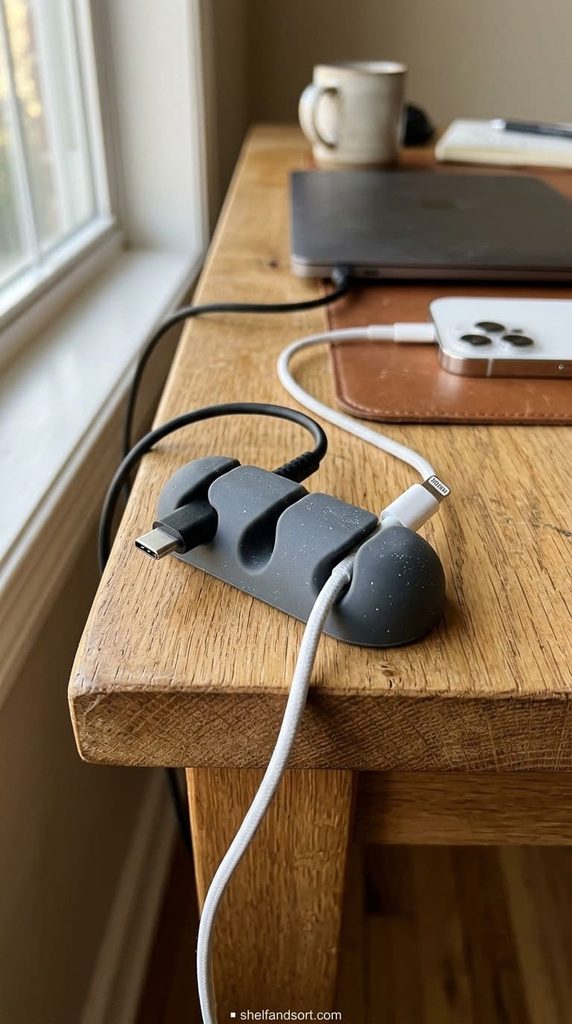
19. Use a cord catch or weighted clip at the desk edge
For the daily cords, the phone cable and the laptop charger, the problem is they slide off the desk and fall behind it when you unplug. A weighted cord catch or a magnetic edge clip holds the loose end at the desk edge, ready to grab.
Set it at the corner nearest where you sit. When you unplug the laptop, the charger end stays put on the desktop instead of vanishing.
The mistake is a light plastic clip that the cord’s own stiffness drags off the edge. Get a weighted one, 4 ounces or heavier, or a magnetic one that actually grips.
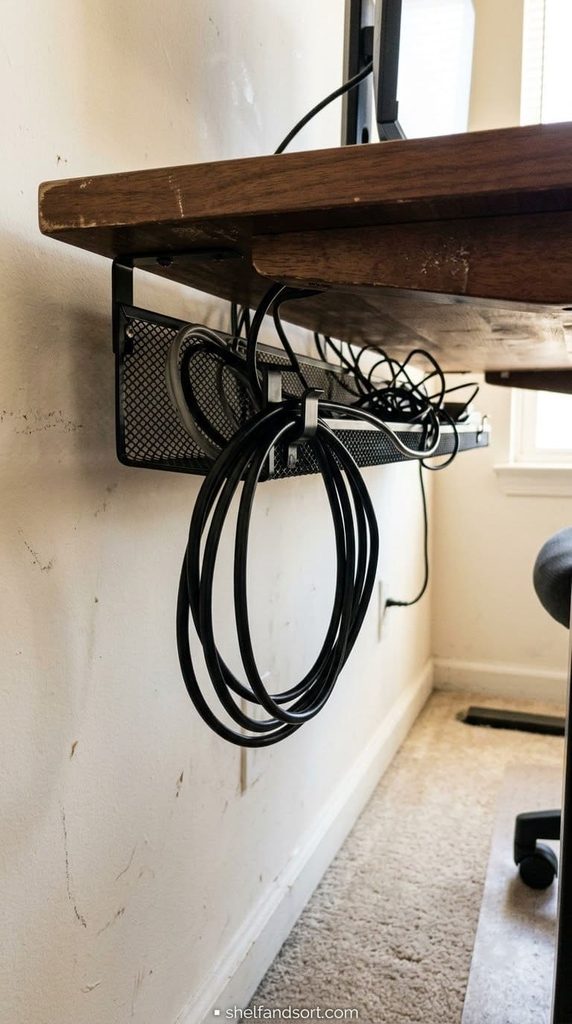
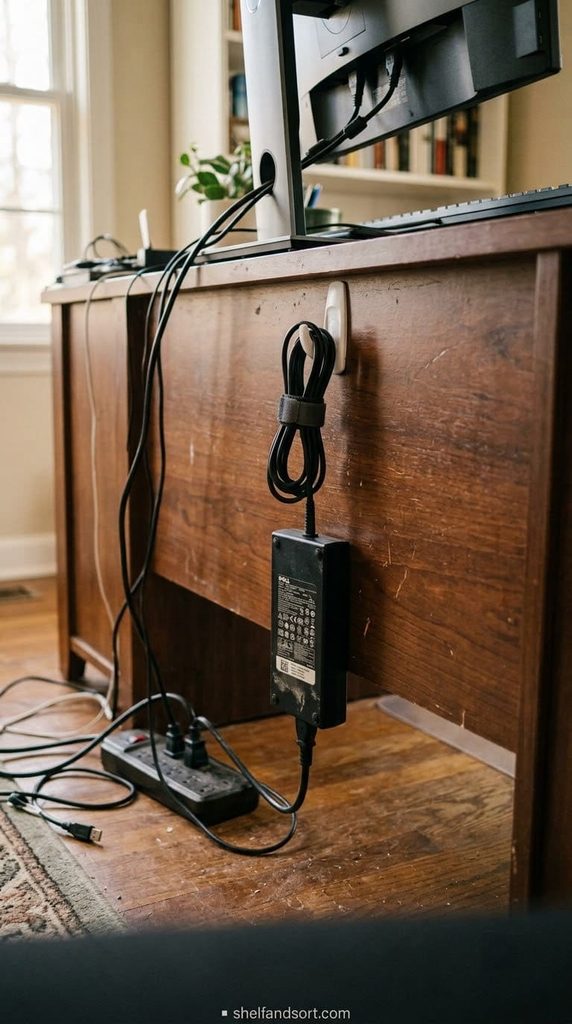
20. Keep the power brick off the floor with an under-desk hook
Laptop and monitor power bricks are heavy, and left on the floor they drag their cords into a tangle and collect dust. Hang the brick instead.
A stick-on hook or a Command hook on the back of the desk, as Jamie Hord recommends, holds the brick in the air with the cord slack managed above it. Or drop the brick into your under-desk tray so it sits in the basket, not on the carpet.
The mistake is letting the brick dangle by its own cord from the outlet. That constant weight loosens the plug and stresses the wire where it enters the brick.
Cut the number of cords in the first place
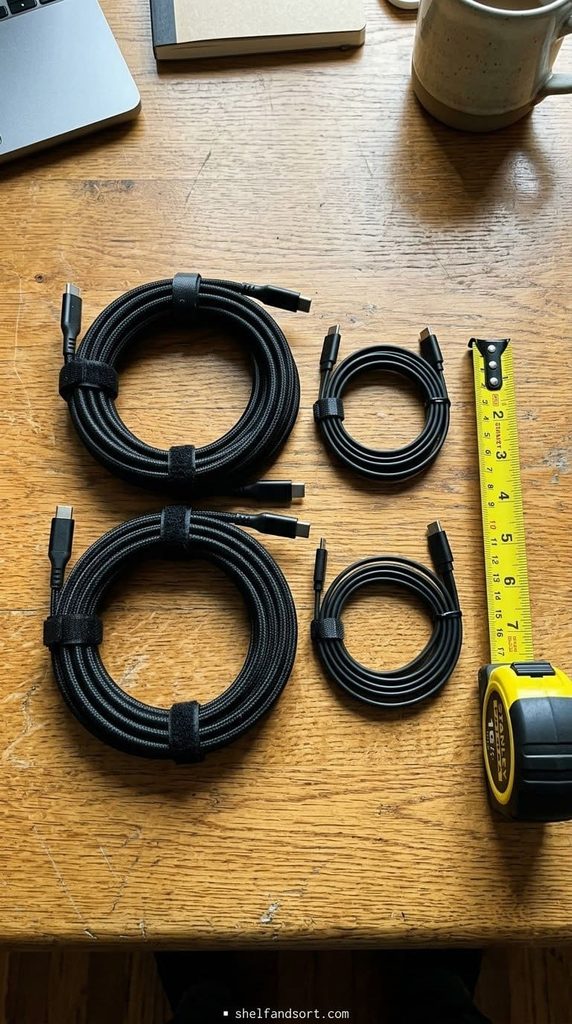
21. Swap long cords for ones cut to the real distance
Go back to your measurements from idea 2. Any cord more than about a foot longer than its job is adding slack you then have to hide.
Buy replacement cables in the right length. A 3-foot monitor cable instead of the 6-foot one it shipped with. A 1-foot cable from the dock to the monitor. Short cords have nothing to coil, so there is nothing to bundle and nothing to trap heat.
The mistake is keeping the box cables and managing the extra with tight coils. A coiled cord is worse than a straight one, both for looks and for heat. Right-length cables are the cleaner fix.
Budget version: only replace the two or three worst offenders, usually the monitor and the printer cables.
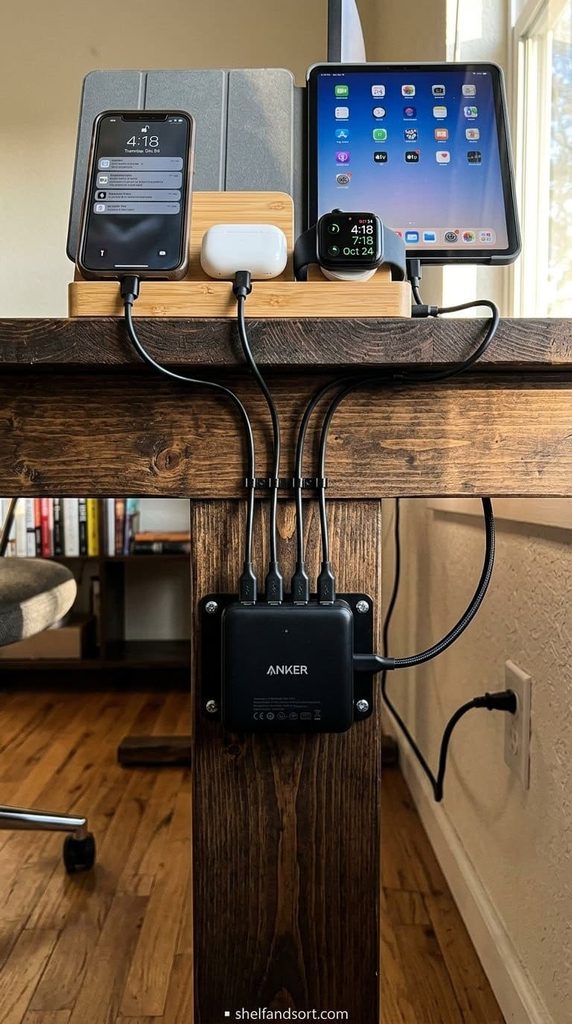
22. Replace three chargers with one multi-port charger
If you have separate bricks for a phone, earbuds, a tablet, and a watch, that is four cords and four wall plugs. One multi-port charger with a single wall cord replaces all of it.
Mount the charger on the underside of the desk or in a shallow drawer, run short cables up to a desk-edge dock, and you have one wall cord where you had four.
The mistake is buying an underpowered multi-port charger that cannot fast-charge a laptop and a phone at once. Check the total wattage against everything you will plug in, then add headroom.
23. Keep chargers and short cords inside a shallow drawer
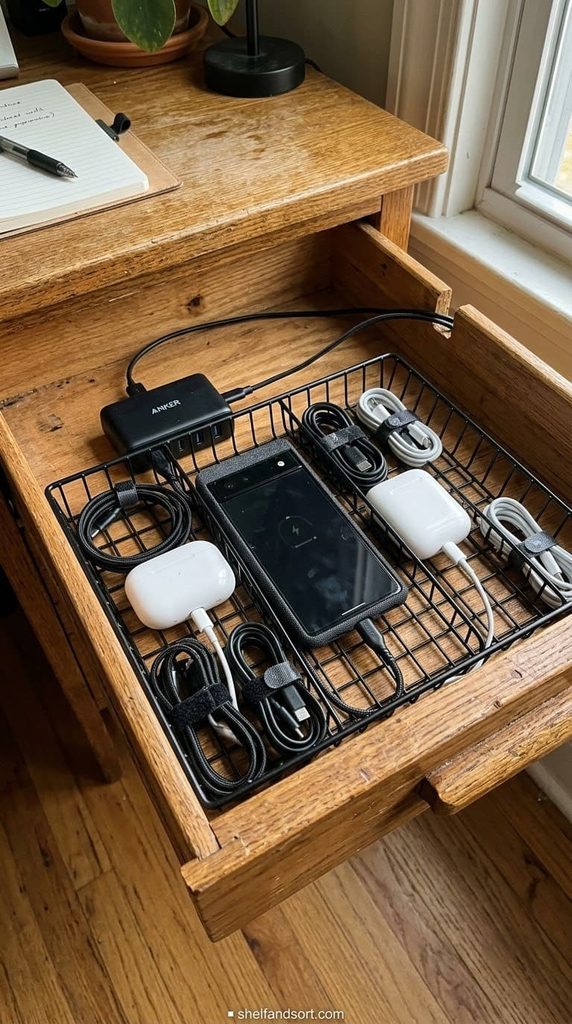
Turn the top desk drawer into a charging drawer. A multi-port charger goes in the back, short cables come up to where your devices sit, and the drawer closes over all of it.
Drill or notch a small pass-through at the back of the drawer for the one wall cord, or run it through the gap if the drawer does not fully close. Add a small bin or a drawer divider so the cables do not knot.
The mistake is a charging drawer with a full-length wall cord coiled inside it. Heat again, and the drawer will not shut. Only the short device cables and the charger live in the drawer.
Renting or cannot drill? Route the single wall cord through the back gap of the drawer instead of cutting a hole.
24. Go wireless where it is cheap and easy
Every wireless device is a cord you never have to hide. The cheap wins are a wireless keyboard and mouse, a wireless charging pad for the phone, and Bluetooth speakers or headphones.
Switch those and you can remove three or four cables from the desktop entirely. That is often the difference between a desk that needs heavy cable management and one that needs a single clip.
The mistake is going wireless on things that then die mid-task, like a mouse you forget to charge. Pick devices with long battery life or a dock, and keep one short cable in the drawer as backup.

25. Cover any cord that crosses a walkway
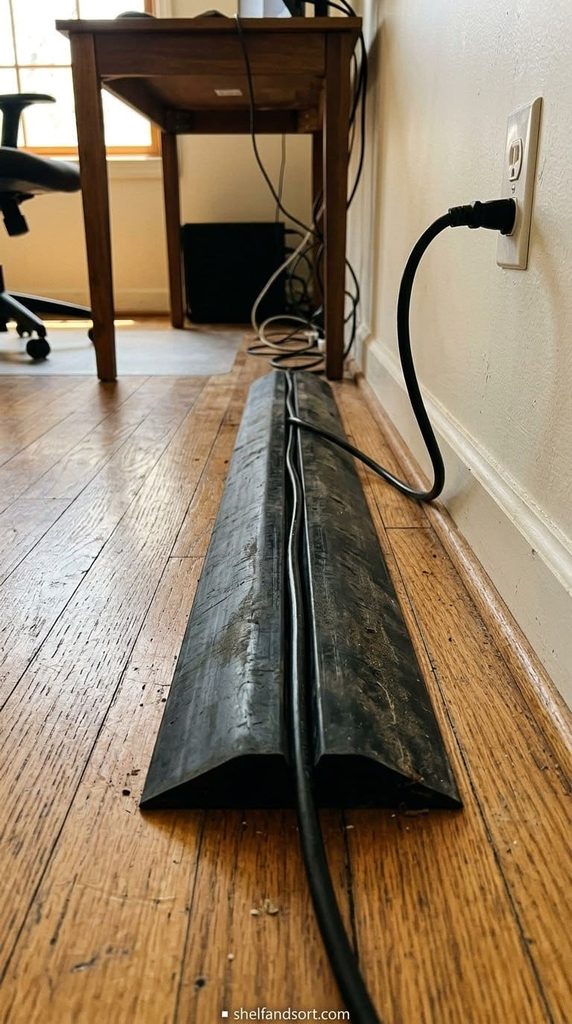
If a cord has to run where people step, hiding it is not enough, it has to be safe. A floor cord protector is a low rubber ramp with a channel that the cord sits in and people walk over.
Use it for the stretch between a floating desk and a far outlet, or anywhere a cord crosses a doorway. Tape the edges down if the protector shifts.
The mistake is tucking that cord under a rug instead. ESFI specifically warns against running cords under rugs and carpets, because foot traffic wears through the insulation and the trapped heat has nowhere to go. A floor protector is the correct fix.
Which cord-hiding method fits your desk
| Your desk setup | Start with | Skip |
|---|---|---|
| Desk against a wall, can drill | Under-desk tray, wall raceway, grommet routing | Floor cord covers you do not need |
| Renter, no drilling | Clamp-on tray, adhesive raceway, edge clips, cable box | Screw-mount trays, nailed channels |
| Floating desk, back is visible | Desk-back panel or low shelf, cable sleeve down one leg | Leaving the back open |
| Desk in the middle of the room | One leg as the cord highway, floor cord protector to the outlet | Cords fanning to multiple outlets |
| Mostly daily-use cords (laptop life) | Cord catch at the edge, charging drawer, multi-port charger | A big permanent tray you barely fill |
| Tiny budget | Hook-and-loop straps, one cable box, shorter cables for the worst two | Buying a full 200-piece kit |
The maintenance rule that keeps cords hidden
Hiding the cords once is the easy part. Keeping them hidden means one small habit.
Add a five-minute cord check to your weekly desk reset. Push the desk out an inch, look behind it, and put any cord that has crept out back on its path. Reseat any plug that has worked loose. Coil any new slack back into the tray.
Label both ends of every cord the first time you hide them, with a wrap-around label or a piece of tape. When you need to unplug the printer in six months, you pull the right cord the first time instead of yanking three and undoing your work. Lori Gersh uses labeled cubbies in a media box for spare cords for the same reason: future you should never have to trace a cable by hand.
And keep a “one in, one out” rule for the cord hub. New charger goes in the tray, old charger comes out of the house. The hub stays the size you built it, instead of quietly filling back up.
Frequently asked questions
What is the best way to hide cords on a desk?
Sort the cords first, then hide them. Split every cable into two groups: the ones you unplug often, like a laptop charger, and the ones that never move, like the monitor. Give the permanent cords a fixed hidden path with an under-desk cable tray and a box for the power strip, and feed them through a desk grommet instead of over the edge. Give the daily cords a short route to the desk edge with an adhesive clip and a weighted cord catch so they do not slide off. Run the floor cord down one desk leg and along the baseboard in a cord cover. Then label both ends and tidy them during your weekly desk reset.
How do I hide desk cords if I rent and cannot drill?
Every fix has a no-damage version. Use a clamp-on cable tray instead of a screw-in one. Use removable-adhesive wall raceway or a freestanding cord cover instead of a nailed channel. Use adhesive cable clips and edge clips instead of drilling a pass-through in the desk or drawer. Attach the power strip to the underside of the desk with heavy-duty hook-and-loop strips after wiping the surface with rubbing alcohol. When you move, warm the adhesive with a hair dryer and peel it off slowly so it does not lift paint or finish.
Is it safe to bundle desk cords together?
Loosely, yes. Tightly, no. The Electrical Safety Foundation International says bundled, coiled, and covered cords trap heat, and extension cords cause around 3,300 home fires a year. Keep any coiled slack loose, not cinched tight with a zip tie. Do not stuff a cable box full of tightly wound extra cord. Never run cords under a rug or carpet, where foot traffic wears the insulation and the heat cannot escape. A fabric sleeve around cords that run together is fine because it does not compress them, but leave airflow around anything that carries a load, like a power strip.
Should I use zip ties or Velcro straps for cable management?
Reusable hook-and-loop straps, in almost every case. Zip ties are permanent, so every time you add or remove a cord you cut the tie and start over, and an overtightened zip tie can pinch a cable’s insulation. According to VELCRO Brand, reusable straps let you open a bundle, swap a cable, and re-wrap in seconds without cutting anything. Wrap the strap snug enough to hold the bundle together but loose enough that you can slide a cord out. Keep a few zip ties only for truly permanent runs you will never touch.
How do I hide the cords on a desk that sits in the middle of the room?
Pick the desk leg closest to the outlet and make it the single cord highway to the floor, bundled with a spiral wrap or a sleeve. Route every cord that needs the wall down that one leg, even if some cables travel sideways under the desktop first, so the room sees one cord run instead of three. From the base of that leg to the outlet, use a floor cord protector, a low rubber ramp with a channel, since that stretch crosses open floor where people walk. A desk-back panel or a low console behind the desk hides the back edge from the rest of the room.